Prepping a new Blackstone grill involves thorough cleaning of the griddle top, followed by a crucial multi-layer seasoning process with a high smoke point oil to create a non-stick surface and prevent rust.
You’ll need dish soap for the body, but only water and oil for the cooking surface, heating the griddle between each thin coat of oil until a dark, even finish forms.
- TL;DR: Your new Blackstone needs a good wash (body only), then several rounds of heating and oiling the cooking surface.
- This seasoning creates a natural non-stick layer.
- It also protects against rust, making your griddle last longer.
- Use a high smoke point oil for the best results.
- Don’t skip these first steps for a fantastic cooking experience.
How To Prep A Blackstone Grill For The First Time?
To prepare your Blackstone grill for its initial use, you will first clean it thoroughly to remove manufacturing residues, then season the cooking surface multiple times with oil to build a protective, non-stick layer.
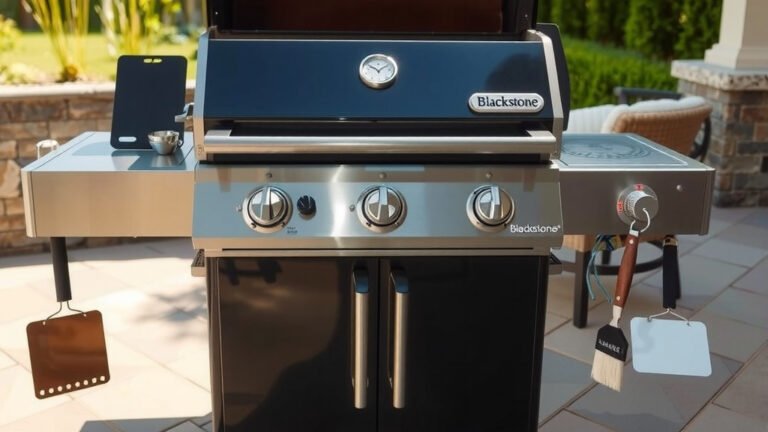
Unboxing Your New Griddle
You have just brought home a new Blackstone griddle, a fantastic tool for outdoor cooking. The first step is simple: unbox it and assemble it according to the manufacturer’s instructions. Take your time with this part.
Carefully remove all packaging materials. Check for any damage during shipping. We found that most griddles are well-packaged, but a quick inspection always helps (Griddle Owner’s Guide).
Cleaning The Griddle Top
Before you even think about cooking, your griddle top needs a good clean. This step removes any manufacturing oils, dust, or tiny metal fragments from the factory.
For the griddle surface itself, avoid soap. Simply wipe it down with a damp cloth or paper towels. Many experts say that soap can remove factory coatings or be hard to rinse fully from porous metal surfaces, affecting seasoning later.
For the rest of the griddle, like the body and side tables, a little mild dish soap and water are perfectly fine. Just make sure to rinse and dry everything completely. You want a fresh canvas for seasoning.
Why A Clean Start Matters
A clean griddle is the foundation for proper seasoning. Without cleaning off the factory residue, your seasoning layers won’t adhere correctly.
Imagine painting a wall without wiping off the dust. The paint just won’t stick well. The same idea applies here for your griddle.
The All-Important Seasoning Process
Seasoning is not just about making your griddle non-stick; it’s about protecting it. This process creates a polymerized oil layer that acts as a shield against rust.
Think of it like curing a cast iron pan. Each layer of oil bakes onto the metal, creating a slick, dark surface. This layer will make your cooking experience much more enjoyable.
What You’ll Need For Seasoning
Gather a few simple items before you start. You will need a high smoke point cooking oil. Vegetable oil, flaxseed oil, or Blackstone’s own griddle seasoning are good choices.
Also, have plenty of paper towels or a clean cotton rag ready. Tongs are also helpful to hold the paper towels. And, of course, your new Blackstone griddle!
Step-by-Step Seasoning Your Blackstone
Now, let’s get to the core process. You will repeat these steps several times to build a robust seasoning layer.
- Heat the Griddle: Turn all burners to high heat. Let your griddle heat up until it starts to smoke slightly, and the surface changes color, often getting a bit darker. This usually takes 10-15 minutes.
- Apply Oil: Once hot, turn the burners off or to low. Apply about 2-3 tablespoons of your chosen oil directly to the griddle surface. Use paper towels held with tongs to spread a very thin, even layer across the entire cooking area, including the sides.
- Burn Off the Oil: Turn the burners back to high. Let the oil heat and smoke until it completely burns off. The griddle surface will turn dark brown or black. This typically takes 15-20 minutes, or until the smoking stops.
- Repeat: Once the smoke clears, your first layer is complete. Let the griddle cool for a few minutes, then repeat the entire process (steps 1-3) at least 3-5 more times. Many experienced griddle owners even do 7-8 layers for optimal results.
You are looking for a uniform, dark, and slightly glossy surface. The more layers, the better the protection and non-stick properties.
Picking The Right Oil
Choosing the correct oil is important for effective seasoning. You need an oil with a high smoke point, meaning it can withstand high temperatures without breaking down quickly.
| Oil Type | Smoke Point (Approx.) | Notes for Seasoning |
|---|---|---|
| Flaxseed Oil | 350°F (177°C) | Excellent polymerization, but can be brittle. |
| Vegetable Oil | 400-450°F (204-232°C) | Common, good balance for initial seasoning. |
| Canola Oil | 400°F (204°C) | Similar to vegetable oil, widely available. |
| Avocado Oil | 520°F (271°C) | Very high smoke point, great for cooking too. |
| Blackstone Seasoning & Conditioning Oil | Variable | Formulated specifically for griddles, easy to use. |
We found that oils like vegetable oil or canola oil are great starting points because they are widely available and perform well. Some griddle enthusiasts prefer flaxseed oil for its strong polymerization, though it can sometimes create a more brittle layer if not applied extremely thinly (Griddle Care Forum).
The First Cook After Seasoning
You have finished seasoning! Now what? Your first few cooks are like an extension of the seasoning process. Avoid using metal spatulas to scrape aggressively.
Try cooking fattier foods initially. Bacon, sausages, or smash burgers are perfect. The natural fats will continue to build and smooth your seasoning layers. Researchers often connect early use of fatty foods with a more durable, slick cooking surface (Culinary Best Practices).
Ongoing Care After Initial Prep
Keeping your griddle in top shape requires continued attention. After each cook, scrape off food residue with a griddle scraper while the surface is still warm.
Then, apply a very thin coat of cooking oil after cleaning. This small step protects the seasoning until your next cook. Think of it as putting a blanket over your griddle to keep it cozy.
Common Mistakes To Avoid
Here’s a quick list of things to sidestep during your initial griddle journey:
- Using Too Much Oil: A thick layer of oil won’t polymerize correctly. It will become sticky and gummy.
- Not Enough Heat: The griddle needs to be hot enough for the oil to smoke and bond to the metal.
- Skipping Layers: One or two layers are not enough for lasting protection and non-stick properties.
- Using Soap on the Cooktop: This removes your hard-earned seasoning. Stick to water and scraping for cleaning.
- Ignoring Rust: If rust appears, address it quickly by cleaning and re-seasoning that spot.
Understanding Your Griddle’s Hot Spots
Every griddle, including your Blackstone, will have areas that get hotter than others. This is normal and can even be an advantage. The areas directly over the burners will be hotter.
The edges tend to be a bit cooler. You can use these temperature zones to your advantage, moving food around for perfect cooking. It’s like having different heat settings on one large surface.
Why Blackstone Griddles Are Great
Blackstone griddles offer incredible versatility. You can cook breakfast, lunch, and dinner outdoors. From pancakes to stir-fries, the possibilities are vast.
The large cooking surface makes them ideal for families or entertaining guests. Plus, the griddle community is very supportive, full of tips and tricks for making the most of your outdoor cooking adventure.
Conclusion
Prepping your new Blackstone griddle correctly for the first time sets you up for countless delicious meals. By thoroughly cleaning and patiently seasoning the griddle surface, you build a durable, non-stick foundation.
Remember, this initial effort is an investment in your griddle’s longevity and performance. Treat your griddle well, and it will serve you faithfully for many years of outdoor cooking enjoyment. Now, get ready to cook something amazing!
What kind of oil is best for seasoning a new Blackstone?
High smoke point oils are best for seasoning your new Blackstone griddle. Options like vegetable oil, canola oil, avocado oil, or specialized griddle seasoning oils work well because they can withstand the high heat needed for proper polymerization.
How many layers of seasoning do I need on a new Blackstone?
You should aim for at least 3-5 layers of seasoning on your new Blackstone griddle. Many experienced users even apply 7-8 layers. Each thin layer builds on the last, creating a more durable and non-stick surface.
Can I use dish soap to clean the griddle top before seasoning?
No, you should not use dish soap on the griddle top itself before or after seasoning. For initial cleaning, simply wipe it down with water and paper towels to remove manufacturing residue. Soap can strip away the factory coating or your hard-earned seasoning.
What should I cook first on a newly seasoned Blackstone?
For your first cook after seasoning, choose foods with a higher fat content. Bacon, sausages, smash burgers, or even frying potatoes are excellent choices. The natural fats help to further smooth and reinforce your griddle’s seasoning layers.
How do I know if my Blackstone griddle is properly seasoned?
A properly seasoned Blackstone griddle will have a uniform, dark brown or black, slightly glossy appearance. It should feel smooth and relatively non-stick. Water droplets will bead up on the surface, indicating a good hydrophobic, protective layer.