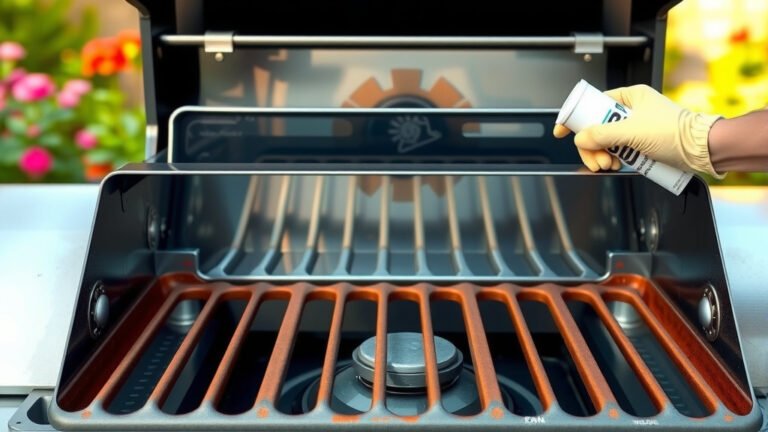
To prep a Blackstone grill, first ensure it’s clean by scraping off any old food and wiping down the surface. Next, you will want to perform an initial seasoning process to create a non-stick surface and protect the griddle from rust.
Prepping a Blackstone grill properly means applying a thin, even layer of high-smoke point oil and heating it until it smokes, then repeating this process multiple times to build up a durable, seasoned coating.
Here’s a quick guide to prepping your Blackstone grill for a fantastic cooking experience:
- Before anything, clean your new griddle thoroughly.
- You’ll need a good high-smoke point oil for seasoning.
- Apply very thin layers of oil during the seasoning process.
- Heat your griddle to its smoke point and repeat the oiling process multiple times.
- Maintaining this seasoning layer is key for longevity and performance.
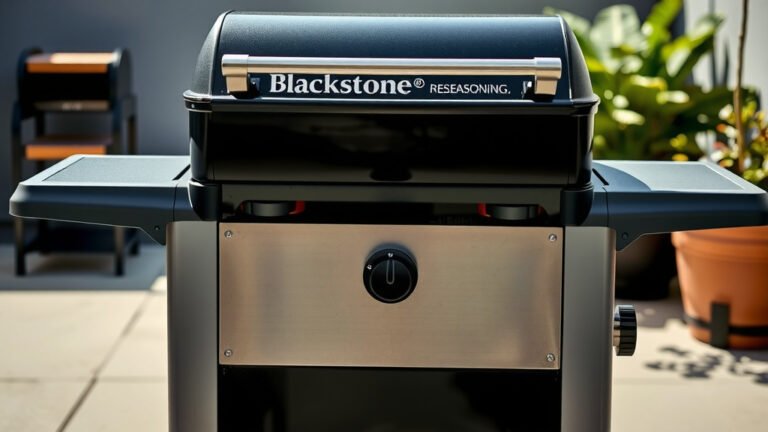
How To Prep A Blackstone Grill?
Prepping your Blackstone grill involves cleaning and seasoning the griddle surface for its best performance. This preparation builds a protective, non-stick layer that makes cooking a joy and keeps your griddle rust-free for years.
Unboxing Your New Blackstone
When your new Blackstone grill arrives, it is an exciting moment for any outdoor cooking enthusiast. You might be eager to start cooking immediately, but a few initial steps are essential. We found that taking your time here makes all the difference.
Initial Inspection for Damage
Before assembly, always take a moment to inspect all parts. Look for any dents or scratches that might have occurred during shipping. Noticing these issues early can save you hassle later (Blackstone Support).
Gather Your Tools
Assembling your griddle is straightforward, but having the right tools helps. Typically, you’ll need a Phillips head screwdriver and an adjustable wrench. The instruction manual will guide you perfectly through each step.
The All-Important First Clean
Even a brand-new griddle needs a good clean before its first use. Often, manufacturers apply a protective coating for shipping, which must be removed. Many experts say a thorough cleaning sets the stage for proper seasoning.
Here’s how to approach that initial cleanup:
- Warm, Soapy Water: Use a mild dish soap and warm water.
- Soft Sponge: Gently scrub the entire griddle top.
- Rinse Thoroughly: Make sure no soap residue remains.
- Dry Completely: Use paper towels or a clean cloth to dry it quickly.
- No Abrasives: Avoid steel wool or harsh scrubbers that could scratch the surface.
Why Seasoning Your Blackstone Matters
Seasoning isn’t just a suggestion; it’s a critical step for Blackstone grills. This process creates a polymerized oil layer that shields the metal. Research often connects proper seasoning with superior non-stick properties and rust prevention (Culinary Institute of America).
The Science Behind Seasoning
When you apply oil and heat it, the oil undergoes a process called polymerization. It essentially bakes onto the metal, forming a slick, dark, and protective layer. Think of it like a natural non-stick coating.
Choosing the Right Oil for Seasoning
Not all oils are created equal when it comes to seasoning. You need an oil with a high smoke point and good polymerization properties. Many experts recommend specific types of oil for this task.
| Oil Type | Smoke Point (Approx.) | Why It’s Good for Seasoning |
|---|---|---|
| Flaxseed Oil | 225°F (107°C) | Creates a very hard, durable layer (some find it brittle). |
| Avocado Oil | 520°F (271°C) | High smoke point, neutral flavor, excellent choice. |
| Grapeseed Oil | 420°F (216°C) | High smoke point, light, very popular among users. |
| Vegetable Oil | 400°F (204°C) | Common, affordable, good all-rounder for seasoning. |
While flaxseed oil forms a tough layer, it can sometimes be a bit brittle. We found that avocado or grapeseed oil offer a great balance of durability and ease of use for most people.
Step-by-Step Seasoning Process
Ready to get that griddle gleaming with a perfect season? This process is all about thin layers and patience. You are essentially baking oil onto the surface, layer by layer.
Heat It Up First
Turn your Blackstone burners to a medium-high setting. You want the griddle to get hot enough for the oil to start smoking. This usually takes about 10-15 minutes.
Apply a Thin Layer of Oil
Using a paper towel, apply a very thin, even layer of your chosen seasoning oil over the entire griddle surface. Seriously, less is more here! If you see pooling, you’ve used too much. Think of it like polishing furniture, not painting it.
Let It Smoke Away
Allow the oil to heat until it stops smoking completely. This process, where the oil turns dark and bonds to the griddle, is polymerization. It might take 15-20 minutes, depending on your heat and oil.
Repeat, Repeat, Repeat!
Once the smoke has subsided, turn off the burners and let the griddle cool slightly. Then, repeat the entire oiling and smoking process. Most experts agree that 3-5 layers are ideal for a strong initial seasoning. You’ll notice the griddle getting darker with each layer.
Post-Seasoning Care for Your Griddle
Your initial seasoning is complete, congratulations! But the work doesn’t stop there. Think of seasoning as a living thing, it improves with use and care. Regular maintenance is your best friend.
Cooking to Build Seasoning
The best way to maintain and enhance your griddle’s seasoning is by cooking on it! Fats from bacon, burgers, and stir-fries naturally contribute to the seasoned layer. So, get cooking!
Cleaning After Each Use
After each cook, scrape off any food residue with your griddle scraper. While the griddle is still warm, apply a very thin layer of cooking oil (like vegetable or canola) to protect the surface until next time. Avoid soap for daily cleaning, as it can strip the seasoning.
Common Prepping Mistakes to Avoid
Nobody wants a rusty or sticky griddle, right? Many newcomers make simple mistakes that hinder their Blackstone experience. Knowing these pitfalls helps you steer clear.
Too Much Oil
Applying too much oil during seasoning is a common error. This leads to a sticky, gummy surface, not a smooth, non-stick one. Always remember: thin, even coats are the goal.
Not Enough Heat
If your griddle doesn’t get hot enough, the oil won’t polymerize properly. The seasoning won’t bond effectively to the metal. You need that smoke point to be reached for the magic to happen.
Using the Wrong Oil
Using oils with a low smoke point, like butter or extra virgin olive oil, can burn and leave a sticky residue. Stick to the high-smoke point options we discussed earlier for best results.
Checklist for Your First Cookout
Alright, you’ve prepped your Blackstone like a pro. What’s next? Getting ready for that first epic meal! Here’s a quick list to ensure you’re fully prepared.
- Griddle surface is seasoned and dark.
- Fuel tank is full or connected.
- Utensils (spatulas, tongs) are clean and ready.
- Food is prepped and organized.
- A thin layer of cooking oil is handy.
- Water bottle for steam cleaning is ready.
Conclusion
Prepping your Blackstone grill is a simple yet vital ritual that guarantees years of delicious meals and hassle-free cooking. From the initial cleaning to the careful layering of oil, each step contributes to creating a durable, non-stick surface. Remember, patience and thin layers are your best allies in this process. With a properly prepped and maintained griddle, you’re not just cooking; you’re creating memories and culinary masterpieces. So, go ahead, fire up that Blackstone, and enjoy the griddle life!
How long does it take to season a new Blackstone grill?
Seasoning a new Blackstone grill typically takes about 1 to 1.5 hours. This includes the time needed for initial cleaning and applying 3-5 layers of oil, allowing each layer to heat and smoke off completely.
Can I use butter to season my Blackstone griddle?
No, it’s not recommended to use butter for initial seasoning. Butter has a low smoke point and contains milk solids that can burn, leaving a sticky or gummy residue on your griddle. Stick to high-smoke point oils like grapeseed or avocado oil.
What if my Blackstone griddle is still sticky after seasoning?
A sticky griddle usually indicates that too much oil was applied in each layer during seasoning, or the oil didn’t reach its smoke point to fully polymerize. You can try to heat the griddle to a high temperature and scrape off the sticky residue, then re-season with very thin layers of oil.
How often should I re-season my Blackstone grill?
After the initial seasoning, you don’t typically need a full re-seasoning unless you notice rust or food sticking excessively. For daily maintenance, simply apply a thin layer of cooking oil after each use. Regular cooking with fats will naturally maintain and improve your seasoning over time.
Do I need to clean the bottom or sides of the griddle top during prep?
While the focus is primarily on the cooking surface, it’s a good idea to wipe down the exterior components to remove any manufacturing residues or dust. However, the seasoning process itself only applies to the flat cooking surface where food will touch.