To prepare a Blackstone grill, start by cleaning the griddle surface thoroughly to remove any factory oils. Next, apply several thin layers of high-smoke point cooking oil, like flaxseed or grapeseed, heating the griddle between each application to create a robust, non-stick seasoning.
Seasoning your Blackstone griddle correctly is key for great food and protecting your investment. This process creates a natural non-stick surface, prevents rust, and boosts flavor over time. Think of it as building a protective shield for your grill.
Here’s a quick rundown to get your Blackstone grill ready:
- Unpack and assemble your grill, ensuring all parts are secure.
- Give the griddle surface a good wash with warm, soapy water to remove factory residue.
- Rinse thoroughly and dry completely to prevent rust from forming.
- Apply multiple thin coats of cooking oil, heating and cooling the griddle between each layer.
- Preheat your newly seasoned griddle to cook your favorite meals.
How To Prepare A Blackstone Grill?
Preparing a Blackstone grill involves a few simple steps: initial cleaning, proper seasoning, and regular maintenance. These actions ensure your griddle performs its best, giving you perfectly cooked food every time.
Unpacking and Assembly: Your First Steps
Getting your new Blackstone out of the box is exciting, isn’t it? Take your time during assembly. You want everything stable and secure before you even think about cooking. Many users find the instructions clear and easy to follow, allowing you to set up your grill without much fuss.
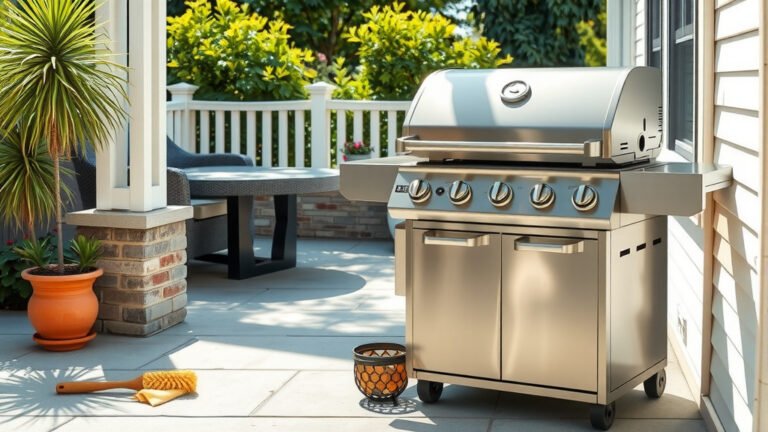
Initial Cleaning: Washing Away the Factory
When your Blackstone arrives, its griddle surface usually has a protective coating. This isn’t for cooking; it’s to prevent rust during shipping. You need to remove this. We found that a simple wash with warm, soapy water and a soft cloth works best. Scrub gently to get rid of any residue.
Rinse and Dry Thoroughly
After cleaning with soap, rinse the griddle surface completely with clean water. You don’t want any soap left behind. Then, this part is vital: dry the griddle fully. Water can lead to rust, and we definitely want to avoid any rust spots on your new grill.
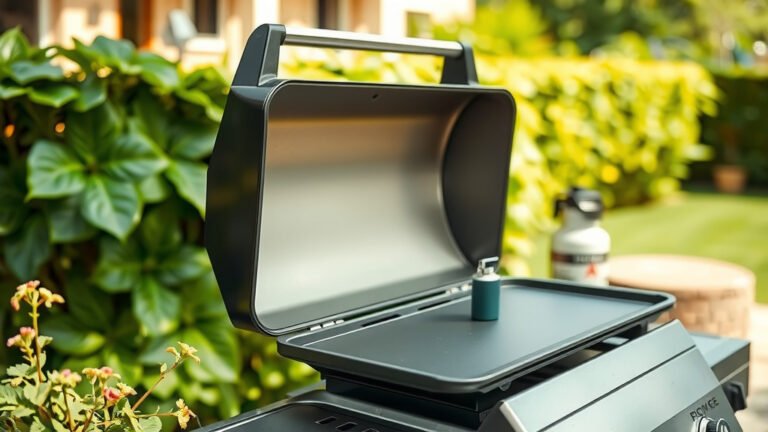
Understanding the Seasoning Process
Seasoning is perhaps the most important step for any griddle. It’s not just about applying oil; it’s about baking that oil into the metal. This creates a polymerized layer that acts as a natural non-stick surface and a barrier against rust. Think of it as building up layers of protection and flavor.
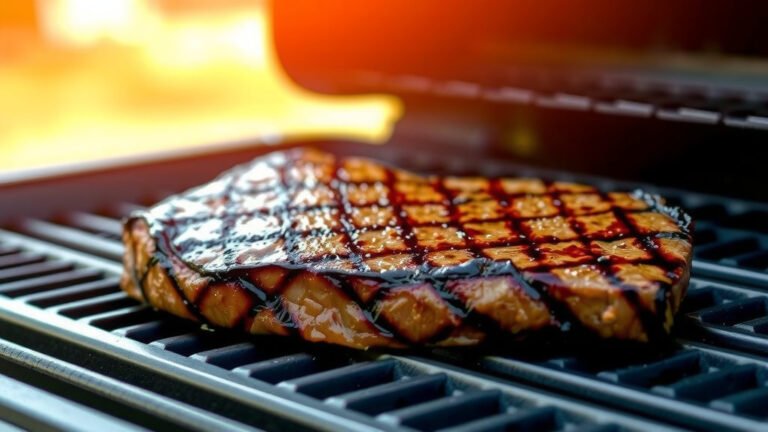
Why Seasoning Matters So Much
A well-seasoned griddle cooks better. Food won’t stick, and you’ll get that beautiful crust on your burgers and stir-fries. Many experts say that proper seasoning extends the life of your griddle, making it a long-term kitchen companion (Blackstone Grills’ own guidelines often highlight this).
Choosing the Right Oil for Seasoning
What oil should you use? This is a common question. You need an oil with a high smoke point, meaning it can handle high temperatures without burning. Research often connects certain oils with better seasoning results due to their fatty acid composition. Here are some popular choices:
| Type of Oil | Smoke Point | Pros for Seasoning | Cons for Seasoning |
|---|---|---|---|
| Flaxseed Oil | Low (225°F) | Forms a very hard, durable seasoning | Can be tricky, prone to flaking if applied too thick |
| Grapeseed Oil | High (420°F) | Neutral flavor, great for multiple thin layers | Slightly less durable than flaxseed |
| Canola Oil | High (400°F) | Accessible, affordable, good all-rounder | Can sometimes be sticky if not applied thinly |
| Blackstone Seasoning & Conditioning Oil | High | Specifically formulated for griddles, easy to use | Proprietary product, may cost more |
Many people find grapeseed or canola oil to be excellent starting points. They are easy to work with and provide solid, reliable seasoning.
The Step-by-Step Seasoning Process
Ready to season? This is where the magic happens! You’ll repeat a few simple steps several times. Patience is your friend here. We found that thin coats are far better than thick ones for building a strong seasoning.
Heating the Griddle
First, turn on your Blackstone grill. Set the burners to medium-high heat. You want the griddle surface to get hot, really hot. Wait until the surface starts to smoke slightly, indicating it’s ready for the oil.
Applying the First Layer of Oil
Once hot, turn off the burners. Apply a very small amount of your chosen oil to the griddle. How much? Think a tablespoon or two. Use a paper towel to rub a very, very thin layer across the entire cooking surface. You want to cover every inch, but barely see the oil.
Burning Off the Oil
Now, turn the burners back on to high. You’ll see the oil start to smoke. This is good! Let it smoke until it completely stops. This process, known as polymerization, is what bakes the oil into the metal. The surface will turn from shiny to dark brown or black. This usually takes about 15-20 minutes for each layer.
Cooling Down and Repeating
Once the smoke stops, turn off the burners and let the griddle cool down completely. This allows the seasoning to set. After it’s cool, repeat the entire process: heat, apply thin oil, burn off, cool down. Most experts recommend at least 3-5 layers of seasoning for a strong foundation. Can you do more? Absolutely!
First Cook Prep: A Quick Checklist
Your griddle is seasoned, beautiful, and ready for action. Before your very first cook, here’s a quick checklist to ensure a great experience:
- Preheat the griddle to your desired cooking temperature.
- Add a small amount of cooking oil to prevent initial sticking.
- Have your ingredients ready and close by.
- Consider cooking something fatty for your first meal, like bacon or smash burgers, to help further season the surface.
- Enjoy the process and your amazing new grill!
Post-Cook Care: Maintaining Your Seasoning
Your seasoning isn’t a one-and-done deal; it’s a living surface that gets better with use. After each cook, scrape off any food residue, then wipe down the griddle. Many users find that a very light coat of oil after cleaning helps maintain the seasoning and protect against rust.
Dealing with Sticky Spots or Flaking
Sometimes, despite your best efforts, you might get a sticky spot or even some flaking. Don’t worry, it happens! This often means too much oil was applied in one layer. You can usually fix this by scraping the affected area, reapplying a very thin layer of oil, and burning it off again. It’s all part of the griddle’s journey and yours.
Conclusion
Preparing your Blackstone grill correctly is a foundational step for years of incredible outdoor cooking. From the initial cleaning to the layered seasoning process, each action builds towards a resilient, non-stick cooking surface. Remember, patience with seasoning pays off, creating a griddle that truly enhances every meal. By following these steps, you’re not just preparing a grill; you’re creating a culinary cornerstone for your home.
What kind of oil is best for regular cooking on a Blackstone?
For regular cooking on a Blackstone, oils like canola, vegetable, or grapeseed are excellent choices. They have high smoke points, are readily available, and contribute to maintaining your griddle’s seasoning with each use. Many home cooks prefer these for their versatility.
How often should I re-season my Blackstone griddle?
You generally don’t need to do a full re-seasoning often if you maintain it properly. If you notice food sticking more, rust spots appearing, or the surface looking dull, it might be time for a few additional seasoning layers. Daily cooking often adds to the seasoning naturally.
Can I use soap to clean my Blackstone after it’s seasoned?
After your griddle is seasoned, it’s best to avoid harsh soaps for regular cleaning. Soap can strip away the hard-earned seasoning. Instead, scrape off food, use hot water if needed, and wipe clean. A light layer of oil after cleaning helps protect the seasoning.
What if my Blackstone griddle rusts? Can I fix it?
Yes, rust on a griddle is usually fixable! Gently scrape or scrub the rusted areas with a griddle scraper or steel wool. Once the rust is removed, clean the area thoroughly, dry completely, and then reapply several layers of seasoning to that specific spot. We found this method quite effective.
How long does it take for a new Blackstone griddle to be fully seasoned?
A new Blackstone griddle can be “fully” seasoned enough for cooking after 3-5 initial layers, which might take an hour or two on your first day. However, a griddle truly develops its best seasoning over time, through repeated use and proper post-cook care. It gets better with every cook!