To season a gas grill, you first clean the grates thoroughly, then apply a thin layer of high-heat cooking oil to all surfaces, and finally heat the grill to a medium-high temperature for about 15-20 minutes until the oil bakes on.
This process creates a non-stick surface, protects your grill grates from rust, and helps food cook more evenly by providing a better heat transfer.
- TL;DR: Seasoning a gas grill is quick and important.
- You’ll need to clean your grates, coat them with a high-smoke-point oil, and then heat the grill.
- This simple step creates a protective, non-stick layer, preventing food from sticking and stopping rust.
- It also ensures your grilled meals taste better right from the start.
- Regular seasoning keeps your grill performing its best for years.
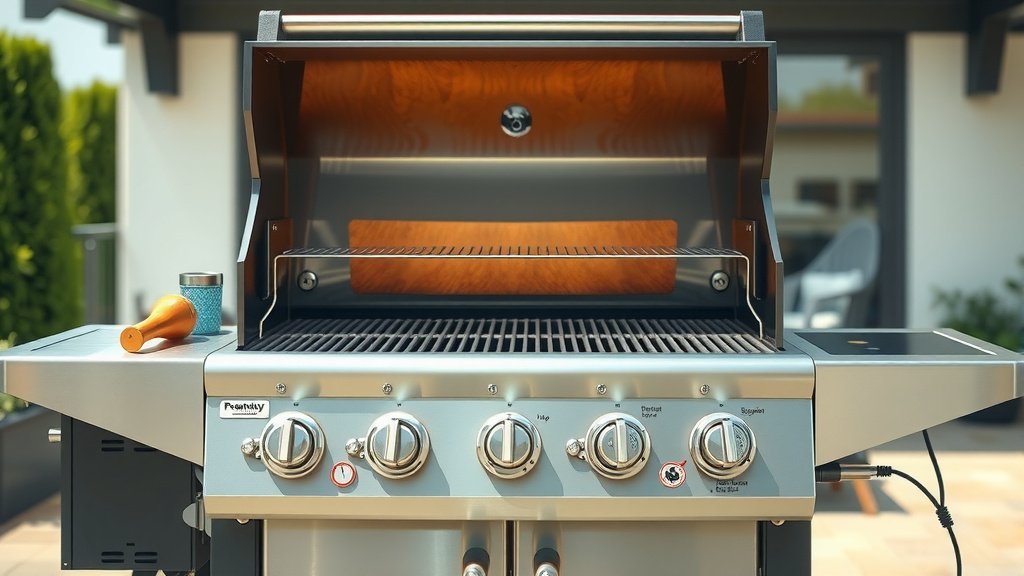
How Do You Season A Gas Grill?
Seasoning a gas grill involves cleaning, oiling, and heating the grates to create a protective, non-stick coating. This simple task prepares your grill for delicious cooking and extends its lifespan.
Why Bother Seasoning Your Gas Grill?
You might wonder why seasoning is so important for a gas grill. Unlike cast iron, gas grill grates, especially new ones, don’t always come perfectly non-stick. Seasoning helps fill in microscopic pores on the grates’ surface.
This creates a smooth barrier between your food and the metal. It’s a bit like giving your grill armor, making it ready for battle against sticky situations and rust (Consumer Reports).
The Non-Stick Advantage
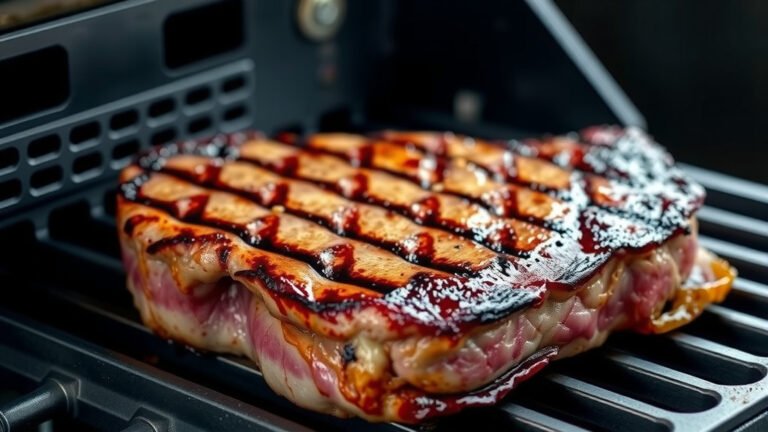
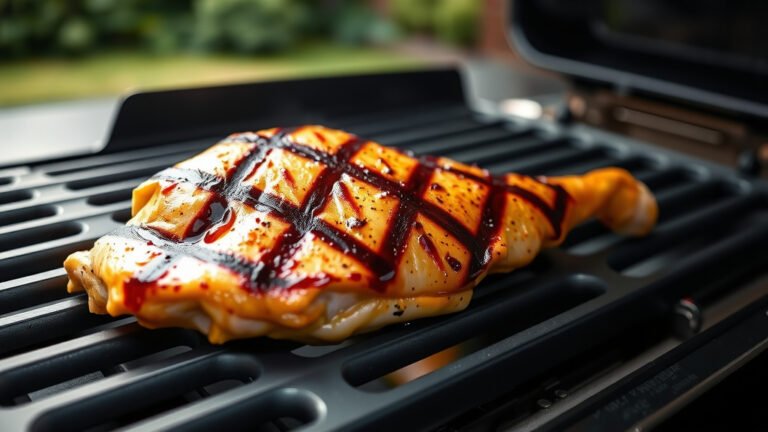
Imagine trying to flip a delicate fish fillet only for it to tear apart. Frustrating, right? A well-seasoned grill minimizes this problem. The baked-on oil creates a smooth, non-stick surface.
This means your burgers, chicken, and veggies release easily. No more stuck-on messes means happier grilling for you.
Rust Protection is Key
Exposure to moisture and air can cause grill grates to rust over time. The seasoning layer acts as a shield. It prevents oxygen from directly touching the metal.
This protection is vital for maintaining the integrity of your grates. Rust not only looks bad but can also affect food safety and cooking performance.
Gather Your Tools: What You’ll Need
Before you begin, gather a few basic items. Having everything ready saves time and makes the process smooth. Think of it like preparing your kitchen before baking a cake.
- Stiff wire brush or grill scraper: For cleaning the grates.
- High-heat cooking oil: Vegetable, canola, grapeseed, or flaxseed oil work best.
- Paper towels or a clean rag: For applying oil.
- Heat-resistant gloves: To protect your hands.
Choosing the Right Oil for Your Grill
Not all oils are created equal when it comes to seasoning. You need an oil with a high smoke point. Why? Because you’ll be heating it to high temperatures, and you want it to polymerize, not just burn.
| Oil Type | Smoke Point (Approx.) | Notes for Grilling |
|---|---|---|
| Vegetable Oil | 400-450°F | Common, affordable, good choice. |
| Canola Oil | 400-450°F | Similar to vegetable oil, widely available. |
| Grapeseed Oil | 420°F | Lighter texture, neutral flavor, excellent choice. |
| Flaxseed Oil | 225°F | Lower smoke point, but creates a very hard, durable seasoning (requires specific method). |
| Olive Oil | 375°F (Extra Virgin) | Too low for high-heat seasoning, not recommended. |
Many grill experts prefer grapeseed or canola oil for their balance of high smoke point and neutral flavor. Flaxseed oil offers a very durable finish but requires a slightly different, slower heating process (Serious Eats).
The Step-by-Step Seasoning Process
Are you ready to give your gas grill the VIP treatment? Let’s walk through the steps together. It’s simpler than you might think.
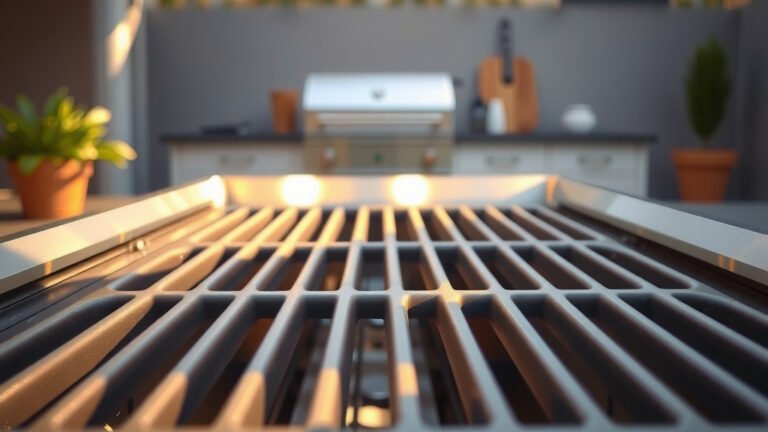
Step 1: Clean Your Grill Grates Thoroughly
Before you add anything new, you need a clean slate. This is perhaps the most important part. Any leftover food bits or old grease will prevent the new seasoning from adhering properly.
Turn your grill to high heat for about 10-15 minutes. This incinerates most residue. Then, use a stiff wire brush or scraper to remove any remaining carbonized gunk. Make sure the grates are as clean as possible.
Step 2: Apply a Thin Layer of Oil
Now for the oil! Pour a small amount of your chosen high-heat oil onto a paper towel or clean rag. With your heat-resistant gloves on, carefully wipe a very thin, even layer of oil over all surfaces of the grates.
You don’t want pools of oil; just a light, visible sheen. Too much oil can lead to a sticky, gummy mess, not a smooth, non-stick surface. Think of it like polishing a shoe, not painting a wall.
Step 3: Heat the Grill to Bake On the Oil
Close the grill lid and turn the burners to medium-high heat. Let it heat for about 15-20 minutes. You might see some smoke; that’s the oil burning off and polymerizing.
After 15-20 minutes, turn off the burners. Let the grill cool completely with the lid closed. This allows the oil to properly bond with the metal as it cools. Some people repeat this process a couple of times for an even stronger bond (Weber Grills).
Repeat for Best Results?
While one round of seasoning is good, repeating the oiling and heating steps two to three times can build up a more robust, durable seasoning layer. It’s like applying multiple thin coats of paint instead of one thick one.
This is especially helpful for new grills or after a very deep cleaning. Each layer adds to the non-stick and protective qualities.
Post-Seasoning Care: Keeping Your Grates Happy
Seasoning isn’t a one-time deal. It’s an ongoing relationship with your grill. Proper care after each cook will maintain that beautiful non-stick surface.
Quick Clean After Each Use
After you finish grilling, turn the heat up to high for a few minutes. This burns off any food residue. Then, give the grates a quick brush with your wire brush. This keeps them clean without stripping away the seasoning.
Light Oiling Before Each Cook
Before you put food on your grill for the next cook, apply a very light coat of high-heat oil to the grates. This refreshes the seasoning and ensures food doesn’t stick. It’s a simple habit that pays off big time.
Common Seasoning Mistakes to Avoid
Even seasoned grill masters can make small errors. Knowing what to watch out for can save you a headache later.
Using the Wrong Oil
Using olive oil or butter for seasoning is a common pitfall. These oils have low smoke points and will simply burn, leaving a sticky, carbonized residue instead of a proper seasoning layer. Always opt for oils with smoke points above 400°F.
Applying Too Much Oil
More isn’t always better. A thick layer of oil won’t properly polymerize. It will become gummy and difficult to remove. Remember, a very thin, even coating is what you’re aiming for.
Not Cleaning First
Trying to season over old food bits or rust is like building a house on a shaky foundation. The seasoning won’t adhere correctly and will flake off. Always start with a thoroughly clean surface.
When Should You Re-Season Your Gas Grill?
How often do you need to do a full seasoning? It depends on how often you grill and how well you maintain it. Think of it like changing your car’s oil; it’s preventative.
If you notice food sticking more often, or if you see signs of rust, it’s probably time. A deep cleaning often requires re-seasoning as well. Many experts suggest a full re-seasoning a couple of times a year (Food Network).
Your Seasoning Checklist:
- Is your grill grate visibly clean before you start?
- Did you use a high-smoke-point oil?
- Is the oil layer thin and even?
- Did you heat the grill to a medium-high temperature?
- Did you allow it to cool completely after heating?
- Do you perform a quick clean and light oiling before each cook?
Conclusion
Seasoning your gas grill might seem like an extra step, but it’s a crucial one for getting the most out of your grilling experience. By investing a little time in cleaning, oiling, and heating your grates, you’re not just preventing rust and sticking; you’re ensuring every meal cooked on your grill is as delicious and effortless as possible.
A well-seasoned grill is a happy grill, ready to create countless memorable meals for you and your loved ones. So go ahead, give your grill the care it deserves!
How do you season new gas grill grates?
To season new gas grill grates, first wash them with warm, soapy water to remove any manufacturing residues, rinse thoroughly, and dry completely. Then, apply a thin, even coat of high-smoke-point oil (like canola or grapeseed oil) to all surfaces. Heat the grill to medium-high for 15-20 minutes until the oil bakes on, then let it cool completely. Repeating this process 2-3 times can build a stronger initial seasoning.
Can you use cooking spray to season a grill?
While cooking spray can be convenient for a quick non-stick layer before cooking, it’s generally not recommended for a full seasoning process. Many cooking sprays contain propellants and additives that can burn or leave a sticky residue rather than forming a durable, polymerized layer. For proper seasoning, it’s best to use liquid high-smoke-point oils applied with a cloth.
What is the best temperature to season a gas grill?
The best temperature to season a gas grill is medium-high, typically around 350-450°F. This range is hot enough to allow the oil to polymerize and bond with the metal without immediately burning it off or creating excessive smoke. Always follow the oil’s smoke point guidelines, ensuring the grill’s temperature stays below that point for effective seasoning.
How often should you season a gas grill?
You should perform a full seasoning on your gas grill when it’s brand new, after a very deep cleaning, or if you notice food consistently sticking and the protective layer seems to have worn off. For regular maintenance, a light re-oiling before each cook, after cleaning off food residue, helps maintain the seasoning. Most people find a full re-seasoning a couple of times a year sufficient for a well-cared-for grill.
Can you season stainless steel grill grates?
Yes, you can season stainless steel grill grates, though it’s not as critical as with cast iron. Stainless steel is naturally more resistant to sticking and rust. However, a light seasoning can still provide an improved non-stick surface, make cleanup easier, and offer an extra layer of protection. Follow the same cleaning, oiling, and heating steps as you would for other grate materials.