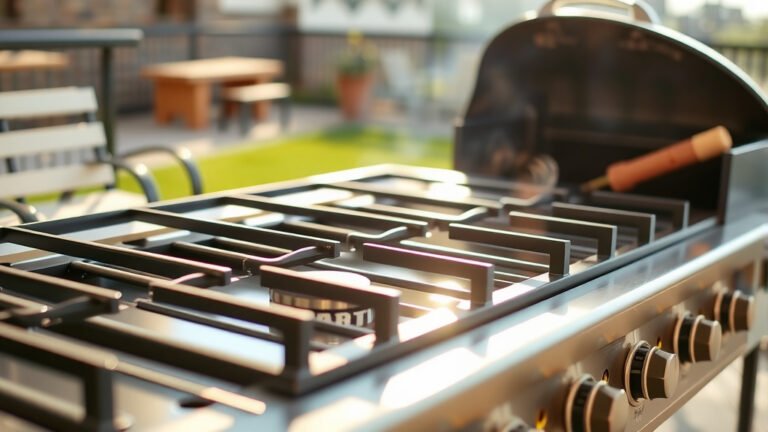
You season a charcoal grill by thoroughly cleaning the grates, applying a thin, even coat of high smoke point cooking oil, and then heating the grill to a moderate temperature. This process bakes the oil onto the metal, creating a naturally non-stick and protective layer.
This initial seasoning helps prevent rust, makes food less likely to stick during cooking, and contributes to the grill’s longevity and performance.
- To season your charcoal grill, first clean it very well to remove any manufacturing residues or old food bits.
- Then, apply a light, even coating of a high smoke point oil, like flaxseed or grapeseed oil, to all metal surfaces that contact food.
- Next, heat your grill to around 350-400°F (175-200°C) for about an hour, allowing the oil to polymerize and bond to the metal.
- Repeat the oiling and heating process a few times for the best, most durable seasoning.
- This creates a protective, non-stick surface, helping your grill last longer and cook better.
How Do You Season A Charcoal Grill?
Seasoning your charcoal grill involves a few simple steps that build a protective, non-stick surface on your grates. It’s much like seasoning a cast-iron skillet, creating a durable layer that keeps your food from sticking and wards off rust.
This process is very important for new grills and older ones alike, ensuring even cooking and easier cleaning later on.
Why Is Seasoning So Important For Your Grill?
Seasoning isn’t just a nicety; it’s a vital step for any charcoal grill owner. Think of it as preparing your grill for a long, happy life of delicious meals. We found that a good seasoning coat offers multiple practical benefits for every grill master.
Firstly, it creates a non-stick surface, meaning your burgers and chicken won’t cling to the grates. Secondly, it protects the metal from rust, especially important for cast iron components (many grill manufacturers note this). This layer seals the pores of the metal, keeping moisture out and preventing corrosion. Lastly, a well-seasoned grill can actually help your food cook more evenly by conducting heat better.
Gathering Your Supplies for Grill Seasoning
Before you jump into the actual seasoning process, it’s smart to gather everything you’ll need. This makes the job smooth and efficient, without any mid-task scrambles. Having your tools ready helps you complete the task properly and without interruption.
You’ll need a good wire brush for cleaning, some warm soapy water, a clean rag or paper towels, and your chosen high smoke point oil. A pair of heat-resistant gloves can also be a helpful addition for handling warm grates. Having these items close by means you can tackle each step with confidence.
Choosing the Best Oil for Seasoning
The type of oil you use plays a big role in how well your seasoning takes. You need an oil with a high smoke point; this means it can withstand high temperatures without burning off too quickly. Many experts in outdoor cooking say oils like flaxseed, grapeseed, canola, or vegetable oil are excellent choices.
Flaxseed oil, in particular, is often praised for creating a very durable, hard seasoning. Avoid olive oil or butter, as they have low smoke points and will simply burn, leaving a sticky mess instead of a seasoned surface.
Your Complete Guide to Seasoning a Charcoal Grill
Now that you understand the “why” and have your supplies, let’s walk through the “how.” Follow these steps closely, and you’ll have a beautifully seasoned grill ready for action. It’s a straightforward process, but patience makes all the difference for lasting results.
First, Give Your Grill a Good Clean
This is arguably the most crucial first step. You can’t season over dirt or manufacturing residues; the oil simply won’t bond properly. A clean surface is a must for the oil to effectively create its protective layer (grill manufacturer guidelines often stress this initial cleaning).
Whether your grill is brand new or has seen many cookouts, a thorough scrub is essential. Don’t skip this part, as it sets the stage for a successful seasoning.
Cleaning a Brand-New Charcoal Grill
If you’ve just unboxed a new charcoal grill, you might think it’s clean, but it’s not truly ready. New grills often have factory oils, waxes, or metallic dust from the manufacturing process. These need to be removed before you begin cooking.
Wash the grates and any other cooking surfaces with warm, soapy water. Use a sponge or soft brush to gently scrub them, then rinse very well with clean water. Make sure to dry them completely to prevent any rust from forming before seasoning begins.
Cleaning a Previously Used Grill
For an older grill, cleaning means removing all the old food bits, grease, and ash. Start by scraping off any caked-on residue with a stiff wire brush. Then, wash the grates with warm, soapy water, just as you would for a new grill. Rinse them thoroughly and let them air dry or wipe them down.
If there’s any rust, you might need to use a rust remover or a more abrasive brush to get rid of it. Remember, a clean slate is key for the oil to adhere properly and evenly.
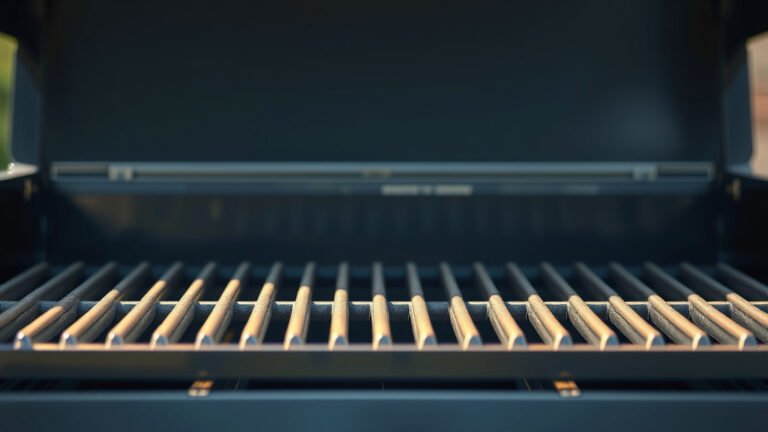
Next, Apply a Thin Layer of Oil
Once your grill grates are clean and dry, it’s time for the oil. Pour a small amount of your chosen high smoke point oil onto a clean paper towel or lint-free cloth. You want to apply a very thin, even coating to all sides of the grates, including the edges. The goal is to lightly coat, not drench, the metal.
Too much oil will lead to a sticky, gummy residue rather than a proper seasoning. You want just enough oil to create a subtle sheen on the metal surface. Work in small sections to ensure even coverage.
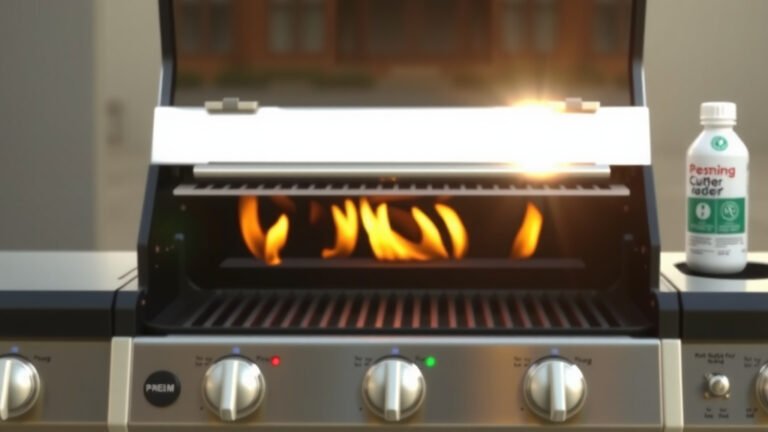
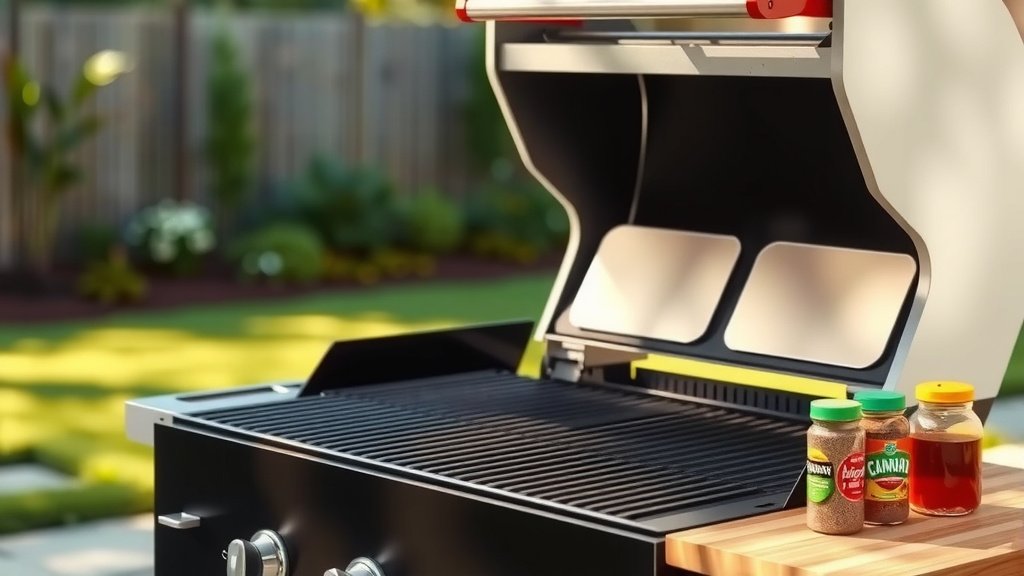
Then, Heat It Up: The Burn-In Phase
This is where the magic happens! Place your oiled grates back into the charcoal grill. Light your charcoal and bring the grill up to temperature. The heat causes the oil to polymerize, changing its chemical structure and bonding it to the metal. This process creates that durable, non-stick layer we’re aiming for.
Keep the grill closed as it heats up, allowing the grates to absorb the heat evenly. You might see a bit of smoke, which is normal as the oil bakes on. This “burn-in” helps make the seasoning strong and ready for use.
Getting the Right Temperature for Curing
For most high smoke point oils, you’re aiming for a grill temperature between 350-400°F (175-200°C). Maintain this temperature for about 45 minutes to an hour. You want enough heat to cure the oil without burning it completely off. If your grill thermometer isn’t accurate, use an oven thermometer placed on the grate to verify (many culinary experts suggest this for accuracy).
Regulate your airflow to keep the temperature steady. If it gets too hot, close your vents a bit; if it’s too cool, open them more. A consistent temperature helps ensure an even and strong seasoning bond.
Finally, Repeat for a Stronger Seasoning
One coat of seasoning is good, but multiple coats are even better! After the first burn-in cycle, let the grill cool down completely. Then, repeat the oiling process: apply another thin layer of oil to the grates, and run the grill through another burn-in cycle at the same temperature and duration. We found that doing this 2-3 times creates a much more robust and lasting seasoning.
Each layer builds upon the last, making the non-stick surface stronger and more resilient. Think of it like painting; multiple thin coats are always better than one thick one. This patience early on really pays off.
Things to Watch Out For: Common Seasoning Mistakes
Even with the best intentions, it’s easy to make a few common errors when seasoning. Being aware of these pitfalls can help you avoid a sticky, smoky, or less effective seasoning. We want your grilling experience to be smooth and trouble-free right from the start.
Using Too Much Oil
This is perhaps the most frequent mistake. You might think more oil equals better seasoning, but the opposite is true. Too much oil will pool, turn gummy, and create a sticky, uneven surface that burns easily. It won’t polymerize properly and will likely flake off.
Remember, a thin, almost invisible layer is what you’re after. If you see visible oil droplets after applying, you’ve used too much. Wipe off any excess before heating the grill to prevent a gummy mess.
Skipping the Cleaning Step
As we talked about earlier, seasoning needs a clean canvas. Applying oil over grime, rust, or factory residues prevents the oil from bonding directly to the metal. This leads to a weak, easily-removed seasoning that won’t give you the benefits you desire.
Always take the time to clean your grates thoroughly. It’s an investment in your grill’s performance and the taste of your food. Research consistently shows that proper prep leads to better results.
Keeping Your Grill Seasoned for Years of Great Food
Seasoning isn’t a one-time event; it’s an ongoing relationship with your grill. With a little care, you can maintain that beautiful non-stick surface for many seasons of delicious cooking. Think of it as a small effort for big rewards in grilling pleasure.
Here’s a quick checklist to help you keep your grill well-seasoned:
- Always clean grates gently after each use.
- Apply a very thin coat of oil after cleaning, if needed.
- Avoid harsh soaps or abrasive cleaners on seasoned grates.
- Store your grill in a dry place, away from moisture.
- Inspect grates for rust or flaking before each use.
Simple Cleaning After Each Use
The best way to maintain your seasoning is with gentle cleaning after every cookout. While the grates are still warm (but not scalding hot), use a grill brush to scrape off any food residue. Many grilling resources suggest doing this quickly after removing your food.
You don’t need soap; simply scrape, and if desired, wipe with a paper towel lightly coated in oil. This helps reinforce the seasoning and keeps it ready for the next time. Harsh scrubbing or strong detergents will strip away your hard-earned seasoning.
When to Re-Season Your Grill Grates
Over time, even with good care, your grill’s seasoning might wear down, especially in high-use areas. You’ll notice food starting to stick more, or you might see areas where the metal looks dull and unprotected. These are signs it’s time for a touch-up.
A full re-seasoning, following all the initial steps, might be needed once or twice a year, depending on how often you grill. If you see rust, that’s a clear signal to clean the area, remove the rust, and then re-season. Regular checks ensure your grill is always in top cooking condition.
| Oil Type | Smoke Point (approx.) | Notes for Seasoning |
|---|---|---|
| Flaxseed Oil | 225°F (107°C) | Forms a very hard, durable seasoning; popular for cast iron. |
| Grapeseed Oil | 420°F (216°C) | Neutral flavor, good all-around choice. |
| Canola Oil | 400°F (204°C) | Common and affordable, good for general use. |
| Vegetable Oil | 400°F (204°C) | Similar to canola, blend of oils, readily available. |
| Avocado Oil | 520°F (271°C) | Very high smoke point, but often more expensive. |
Conclusion
Seasoning your charcoal grill is a simple yet incredibly beneficial process. It’s about setting your grill up for success, creating a non-stick surface, and protecting it from the elements. By taking the time to clean, oil, and bake in those initial layers, you’re not just preparing your grill; you’re investing in countless future meals filled with flavor and fun. Remember, a well-cared-for grill lasts longer and performs better, making every cookout more enjoyable.
How often should I season my charcoal grill?
You should perform an initial, full seasoning when your grill is new. After that, you’ll want to re-season whenever you notice food sticking more or if you see signs of rust. For frequent grillers, a light re-oiling after cleaning each time helps maintain the surface. A complete re-seasoning might be needed once or twice a year for typical home use.
Can I use cooking spray to season my grill?
While convenient, most cooking sprays contain propellants and additives that can leave a sticky residue rather than a proper seasoned layer. It’s generally better to use a liquid high smoke point oil applied with a cloth or paper towel to ensure an even, thin coating that cures correctly.
What if my grill starts to rust after seasoning?
If you see rust, it usually means the seasoning has worn off in that spot, or moisture was allowed to sit on the metal. Gently scrub the rust away with a wire brush, clean the area thoroughly, and then apply a few new layers of seasoning oil, performing the burn-in steps just as you did initially. Ensure you dry your grill completely after cleaning to prevent future rust.
Do I need to season stainless steel grill grates?
Stainless steel grates are naturally more resistant to rust and sticking than cast iron. While a full seasoning isn’t as critical, a light wipe-down with a high smoke point oil before each cook can help improve non-stick properties and add a bit of extra protection. It won’t form the same thick seasoning as on cast iron, but it can still be beneficial.
My seasoned grill grates feel sticky. What went wrong?
Sticky grates are almost always a sign of too much oil being applied during the seasoning process, or the temperature wasn’t high enough or held long enough to properly cure the oil. To fix this, you’ll need to clean the sticky residue off thoroughly, then re-season the grates, ensuring you apply only a very thin layer of oil and maintain the correct burn-in temperature for the full duration.