
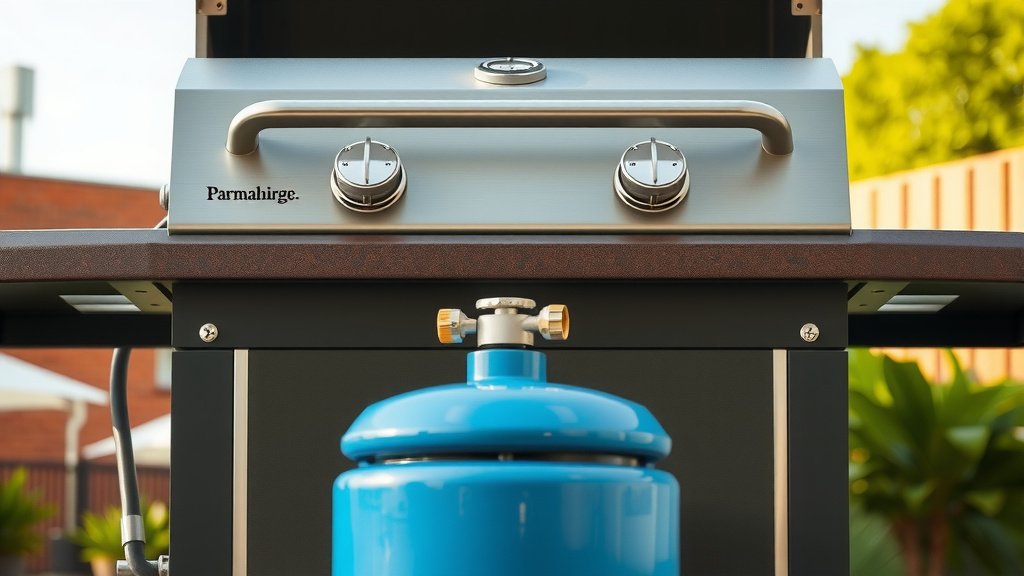
To connect a grill to a gas line, you typically need to connect a flexible gas hose from your grill to a dedicated gas shut-off valve, often using Quick-Connect fittings for safety and convenience.
Always ensure your grill is rated for natural gas or propane, depending on your home’s supply, and use a certified gas fitter for installation to prevent leaks and ensure proper operation.
TL;DR: Here’s the quick guide to hooking up your grill:
- Confirm your grill type (natural gas or propane).
- Identify your home’s gas supply and proper shut-off valve.
- Gather necessary tools and approved gas lines.
- Always check for leaks using a soapy water solution.
- Consider hiring a professional for peace of mind.
Ah, the smell of sizzling burgers and grilled veggies! There’s nothing quite like it. But before you fire up that grill, you might be wondering how to get it safely connected to your home’s gas line. It can seem a bit daunting, right? Don’t worry, we’re here to guide you through it.
Connecting your grill to a permanent gas supply means no more propane tank refills. It’s a game-changer for backyard chefs! However, working with gas lines requires serious attention to safety. Let’s make sure your grilling experience is both delicious and safe.
How To Connect Grill To Gas Line?
Connecting a grill to your gas line involves ensuring compatibility, preparing the gas supply with a dedicated shut-off, and using appropriate fittings and hoses, always followed by a thorough leak check.
Understanding Your Gas Type: Natural Gas vs. Propane
First things first, what kind of gas does your grill use? This is a critical distinction. Grills are designed for either natural gas or liquid propane (LP). You cannot simply switch between them without a conversion kit (Consumer Reports).
Natural gas comes from your home’s utility line. Propane usually comes from those portable tanks you swap out. They operate at different pressures, so don’t mix them up.
Checking Grill Compatibility
Before you even think about connecting, check your grill’s label or manual. Does it say “Natural Gas” or “LP Gas”? If your grill is for propane and you want to use natural gas, you’ll need a conversion kit. We found that many experts recommend having a qualified technician perform any gas grill conversion (National Fire Protection Association).
Safety First: Essential Precautions
We can’t stress this enough: safety is paramount. Gas is flammable, and leaks can be dangerous. Always treat gas line work with the utmost respect.
- Turn off the gas supply at the main valve before starting any work. This is non-negotiable.
- Ventilate the area well if working indoors or in an enclosed space.
- Wear appropriate safety gear, like gloves and eye protection.
- Have a fire extinguisher nearby, just in case.
- Never use an open flame to check for leaks.
Tools and Materials You’ll Need
Getting your supplies ready beforehand makes the job smoother. You don’t want to be running back and forth while working with gas.
| Item | Purpose | Notes |
|---|---|---|
| Adjustable Wrenches (2) | Tightening fittings | One to hold, one to turn |
| Gas-Rated Thread Sealant | Sealing pipe threads | Yellow Teflon tape or pipe dope |
| Flexible Gas Hose | Connects grill to line | Specific length, certified for outdoor gas use |
| Quick-Connect Fitting | Easy grill connection/disconnection | Optional but highly recommended |
| Gas Shut-Off Valve | Controls gas flow to grill | Essential for safety and maintenance |
| Leak Detection Solution | Finds gas leaks | Soapy water in a spray bottle |
Preparing Your Home’s Gas Line
Most homes need a dedicated gas line installed for an outdoor grill. This usually means running a new branch off your existing gas supply. Many experts recommend that any new gas line installation should be done by a licensed plumber or gas technician (International Residential Code).
They will ensure the line is properly sized, pressure-tested, and meets local codes. An existing outdoor gas connection will likely already have a shut-off valve and proper termination.
Step-by-Step Connection Guide
Alright, let’s walk through the actual connection process. Remember, take your time and follow each step carefully. No rushing allowed!
1. Installing the Shut-Off Valve
If you don’t have one, a proper gas shut-off valve is essential. It’s usually installed by your plumber during the initial gas line setup. This valve lets you completely stop gas flow to the grill for safety or maintenance. Make sure it’s easily accessible but protected from damage.
2. Applying Thread Sealant
Before connecting any threaded fittings, apply gas-rated thread sealant. If using yellow Teflon tape, wrap it clockwise 3-4 times around the male threads. This helps create a tight, leak-proof seal. Don’t apply it to flare fittings.
3. Connecting the Quick-Connect Fitting (Optional but Recommended)
A quick-connect fitting makes it super easy to attach or detach your grill. It’s like a garden hose connector for gas. The female end typically attaches to your gas supply line (after the shut-off valve) and the male end to your flexible hose. We found that these fittings should be outdoor-rated and designed for gas use.
4. Attaching the Flexible Gas Hose
This hose connects your grill to the gas supply line. One end attaches to your grill’s gas inlet, and the other to your quick-connect fitting or directly to the gas line extension. Ensure the hose is the correct length and made for outdoor gas appliances (CSA Group standards). Don’t use a hose that’s too long or too short, which could cause strain or a trip hazard.
5. Securing All Connections
Use two wrenches to tighten all fittings. Hold one wrench steady on the stationary fitting and turn the other wrench to tighten the connecting piece. This prevents twisting or damaging the pipes. Don’t overtighten, but make sure they are snug and secure.
The Crucial Leak Test
You’ve connected everything, but are there any leaks? This step is absolutely vital. Never skip it.
Here’s your leak test checklist:
- Turn on the main gas supply valve slowly.
- Spray your soapy water solution generously over all new connections.
- Watch for bubbles. Bubbles mean a gas leak.
- If you see bubbles, turn off the gas immediately.
- Tighten the connection, reapply sealant, and test again.
- Repeat until no bubbles appear at any connection point.
- No bubbles? Great! Your connections are sealed.
Final Checks and Tips
Once you’ve confirmed there are no leaks, you’re almost ready to grill. Give your setup one last look.
Ensure your grill is on a stable, level surface. The flexible hose should not be kinked or stretched. Keep it away from hot surfaces or traffic areas. Now, you can carefully turn on the gas at the shut-off valve near your grill and follow your grill’s lighting instructions.
Conclusion
Connecting your grill to a gas line offers amazing convenience, but it’s a job that demands precision and respect for safety. From understanding your gas type to the final leak test, each step is important. While it’s possible for a DIY enthusiast to perform the connection itself, especially if the outdoor gas line is already installed, many professionals advocate for licensed technicians to handle the entire installation. This ensures everything meets local codes and operates safely. With careful attention to detail and proper tools, you’ll be enjoying perfectly grilled meals without ever running out of fuel!
What size gas line do I need for a grill?
The size of the gas line needed for a grill typically depends on the BTU rating of your grill and the distance from your main gas supply. Most standard residential grills can use a 1/2-inch or 3/4-inch gas line, but a professional technician can accurately size it based on your specific appliance and home setup.
Can I use a propane grill with a natural gas line?
No, you cannot directly use a propane grill with a natural gas line without a conversion kit. Propane and natural gas operate at different pressures and require specific orifices and regulators. Attempting to connect them without proper conversion is extremely dangerous and can cause explosions or fires.
How do I check for gas leaks after connecting my grill?
To check for gas leaks, create a solution of dish soap and water. With the gas turned on, spray this solution generously over all connections, especially newly installed ones. If you see bubbles forming, it indicates a gas leak. Immediately turn off the gas, tighten the connection, and retest until no bubbles appear.
Is it better to have a natural gas grill or a propane grill?
Both natural gas and propane grills have their advantages. Natural gas offers unlimited fuel supply from your home line, eliminating tank refills. Propane grills are portable and offer more flexibility in placement. The “better” option depends on your preference for convenience versus portability and whether your home has a natural gas line available.
When should I call a professional for gas line installation?
You should call a professional for gas line installation whenever new gas lines need to be run, or if you feel uncomfortable at any point during the process. Professionals ensure proper sizing, code compliance, and safe installation, minimizing risks associated with gas hookups. Many local codes require new gas line work to be performed by licensed technicians.
