
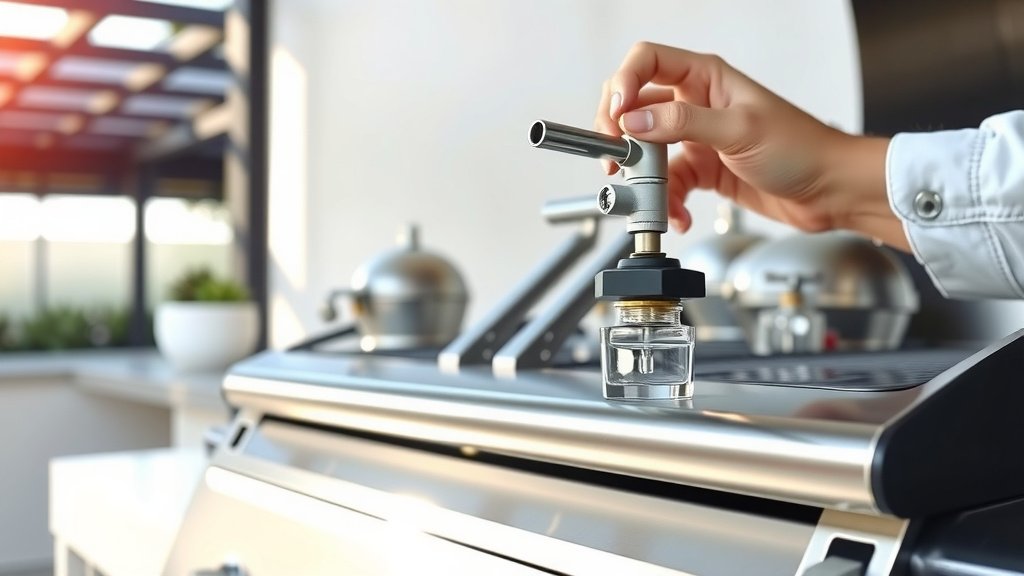
To connect a natural gas line to your grill, you will typically need a natural gas conversion kit, a shut-off valve, quick-disconnect fittings, and a flexible natural gas hose designed for outdoor use.
Always prioritize safety by turning off the main gas supply, using proper thread sealant, and leak testing all connections before use when connecting a natural gas line to grill.
- Safety First: Always turn off your home’s main gas supply before starting any work.
- Tools and Parts: Gather specific tools and approved gas-rated components like conversion kits and hoses.
- Step-by-Step: Follow a clear process involving shut-off valves, quick connects, and flexible hoses.
- Leak Test: Use a soapy water solution to rigorously test all new connections for leaks.
- Professional Help: Consider hiring a licensed plumber for initial gas line installation or if you feel unsure.
How To Connect Natural Gas Line To Grill?
Connecting a natural gas line to your grill involves a few key steps focusing on safety and correct component use. You’ll typically convert your grill, install a shut-off valve, and then use a flexible hose to connect to your grill.
Why Choose Natural Gas for Grilling?
Imagine never running out of propane in the middle of a cookout. Many grill enthusiasts find natural gas incredibly convenient. It offers an endless fuel supply right from your home, making impromptu grilling sessions simple and budget-friendly over time.
We found that natural gas grills heat up consistently and maintain temperature well. This can lead to better cooking results and a more enjoyable experience. Plus, it eliminates the need to store heavy propane tanks, freeing up space.
Safety First: Essential Preparations
Before touching any gas line, your first step is crucial: turn off the main gas supply to your house. This prevents gas leaks and potential hazards during your work. Locate your main shut-off valve, usually near your gas meter, and turn it off.
Once the gas is off, you should open a gas burner on your stove for a minute or two to release any residual pressure in the lines. This ensures the line is completely de-pressurized. Double-check that your grill is also turned off and disconnected from any fuel source if it was previously propane.
What Tools and Materials Do You Need?
Having the right tools and materials makes the job much smoother. We’ve compiled a list to help you prepare effectively. You want to make sure every item is rated for natural gas use and outdoor conditions (NFPA).
- Adjustable wrenches or pipe wrenches
- Pipe thread sealant (yellow Teflon tape or pipe dope)
- Natural gas rated shut-off valve
- Natural gas quick-disconnect fitting (male and female)
- Flexible natural gas hose (correct length and rating)
- Gas leak detection solution (or soapy water)
- Natural gas grill conversion kit (if applicable)
Consider the type of connection you will use. Some prefer rigid piping from the house to a specific point, then a flexible hose to the grill. Others opt for a fully flexible connection from a stub-out.
| Connection Type | Pros | Cons |
|---|---|---|
| Flexible Natural Gas Hose | Easy to install, allows grill movement | Can be a tripping hazard, less permanent |
| Rigid Piping (Copper or Black Iron) | Permanent, very durable, neat appearance | Requires plumbing skills, less flexible for grill placement |
Step-by-Step Guide: The Connection Process
Let’s walk through the steps to get your grill ready for natural gas. Remember to work carefully and deliberately. Your safety depends on attention to detail at each stage.
1. Locating Your Gas Stub Out
You’ll need an existing natural gas stub-out pipe on your patio or deck. This is the endpoint of your home’s gas line. If you don’t have one, many experts say it’s best to hire a licensed plumber to install it safely (American Gas Association). Trying to extend a gas line yourself can be very dangerous.
2. Applying Thread Sealant
Thread sealant is your best friend against leaks. Apply a generous amount of yellow Teflon tape (specifically for gas lines) or pipe dope to the male threads of all fittings. Wrap the tape clockwise, ensuring good coverage, but leave the very first thread exposed to avoid contamination.
3. Attaching the Shut-Off Valve
The shut-off valve is a critical safety component. It allows you to turn off gas to the grill without shutting off gas to your entire home. Thread the female end of the valve onto the male threads of your gas stub-out. Use two wrenches: one to hold the stub-out firm and the other to tighten the valve, preventing damage to the existing pipe.
4. Connecting the Quick-Disconnect
A quick-disconnect fitting makes it easy to move or store your grill. Attach the female end of the quick-disconnect to the open end of your shut-off valve. Then, attach the male end to one end of your flexible gas hose. Ensure all connections are tightened securely with wrenches.
5. Running the Flexible Hose
Connect the other end of your flexible natural gas hose to your grill’s gas inlet. Make sure the hose isn’t kinked, stretched, or placed where it could be damaged or tripped over. Position your grill to allow for easy, safe hose routing.
6. Testing for Leaks – The Soap Test
This step is non-negotiable. With all connections made and the main gas supply back on, turn on the shut-off valve to the grill. Mix dish soap and water into a foamy solution. Spray or brush this solution generously over all new connections.
Watch for bubbles. If you see any bubbles forming and expanding, you have a leak. Immediately turn off the gas supply and re-tighten the faulty connection. Repeat the soap test until no bubbles appear. No bubbles mean no leaks, and you’re safe.
Common Mistakes to Avoid
Even experienced DIYers can make small errors. Here’s a quick checklist to help you avoid common pitfalls when working with gas lines:
- Forgetting to turn off the main gas supply.
- Using white Teflon tape instead of yellow gas-rated tape.
- Not using two wrenches when tightening fittings.
- Over-tightening fittings, which can strip threads.
- Skipping the crucial leak test, or doing it improperly.
- Using indoor-rated components for an outdoor setup.
When to Call a Professional?
While connecting a grill can be a DIY project, sometimes calling in an expert is the smartest choice. If you don’t have an existing gas stub-out, or if you feel uncertain at any point, a licensed plumber is invaluable. They have the tools, experience, and knowledge to ensure your gas line is installed correctly and safely, meeting all local codes.
Conclusion
Connecting your grill to a natural gas line offers tremendous convenience and a consistent fuel source for countless delicious meals. By following these steps carefully, prioritizing safety above all else, and using the correct, gas-rated components, you can enjoy the benefits of natural gas grilling.
Remember, always perform a thorough leak test and never hesitate to call a professional if you’re unsure about any part of the process. Your grilling enjoyment, and your safety, are worth the extra care.
What kind of hose do I need for a natural gas grill?
You need a flexible natural gas hose specifically rated for outdoor use and the correct pressure. These hoses often come with quick-disconnect fittings and are yellow or black, clearly marked for natural gas.
Can I convert a propane grill to natural gas?
Yes, many propane grills can be converted to natural gas. This typically requires a natural gas conversion kit specific to your grill model. The kit usually includes new orifices and sometimes a new regulator to adjust for natural gas pressure.
How far can my natural gas grill be from the gas stub-out?
The distance depends on the length of your flexible natural gas hose. Hoses vary in length, but commonly range from 10 to 20 feet. Make sure the hose is not stretched, kinked, or creating a tripping hazard. Consider local codes for maximum hose length.
Do I need a regulator for a natural gas grill?
Most natural gas grills come with their own built-in regulator or require one as part of a conversion kit. Natural gas is supplied at a lower pressure than propane, so the grill’s regulator adjusts this pressure for optimal performance. Ensure the correct regulator is installed for natural gas.
What should I do if I smell gas after connecting my grill?
If you smell gas, immediately turn off the gas supply at the main shut-off valve to your house and at the grill’s shut-off valve. Evacuate the area and do not use any ignition sources (like light switches or phones). Then, call your gas company or a licensed professional to inspect for leaks and ensure safety.
