To clean a gas grill after a grease fire, ensure it’s fully cooled and the gas supply is off, then meticulously remove and clean all components, including grates, flavorizer bars, burner tubes, and the grease tray.
You should scrub away all charred debris and grease residue from the interior surfaces and replace any damaged parts to ensure safe future grilling.
Here’s what you need to know about cleaning your grill after a grease fire:
- Always let your grill cool completely and disconnect the gas first.
- Remove and clean all internal parts like grates, flavorizer bars, and burner tubes.
- Scrape away all soot, ash, and old grease from the firebox.
- Inspect for damaged parts and replace them if needed for safety.
- Regular cleaning of your grill’s interior helps prevent future grease fires.
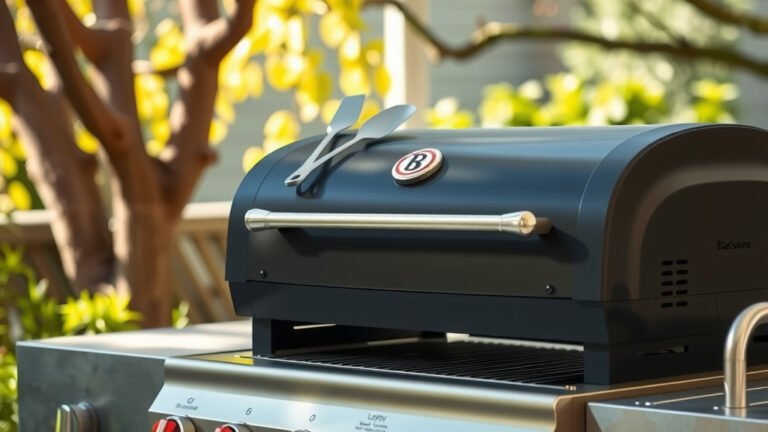
How To Clean A Gas Grill After A Grease Fire?
Cleaning your gas grill after a grease fire involves a thorough, multi-step process to remove all charred debris and ensure your grill is safe to use again.
You’ll need to dismantle key components, scrub away residue, and check for any fire-related damage.
Understanding Why Grease Fires Happen
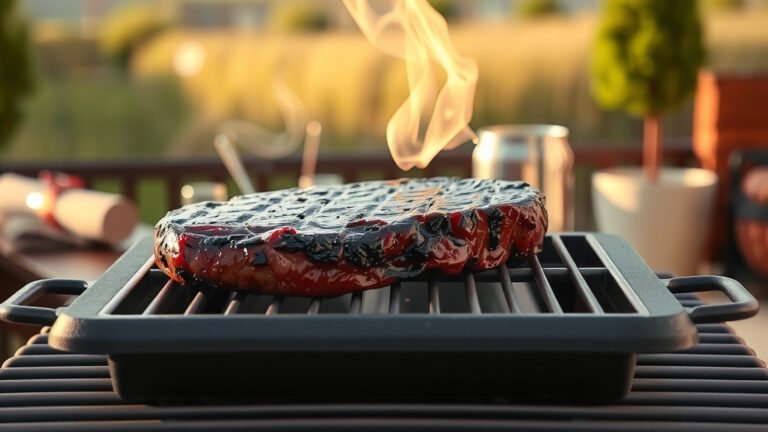
Grease fires can be alarming, but they often happen for simple reasons. Old grease and food bits build up inside your grill, creating fuel for a fire.
When cooking at high temperatures, this residue can ignite. It’s a common issue we found that many grill owners face.
Safety First: Essential Steps Before Cleaning
Your safety is the most important thing. Never try to clean a grill that is still hot or even warm after a fire.
Make sure the grill has completely cooled down. This often means waiting several hours, or even overnight, to be truly safe.
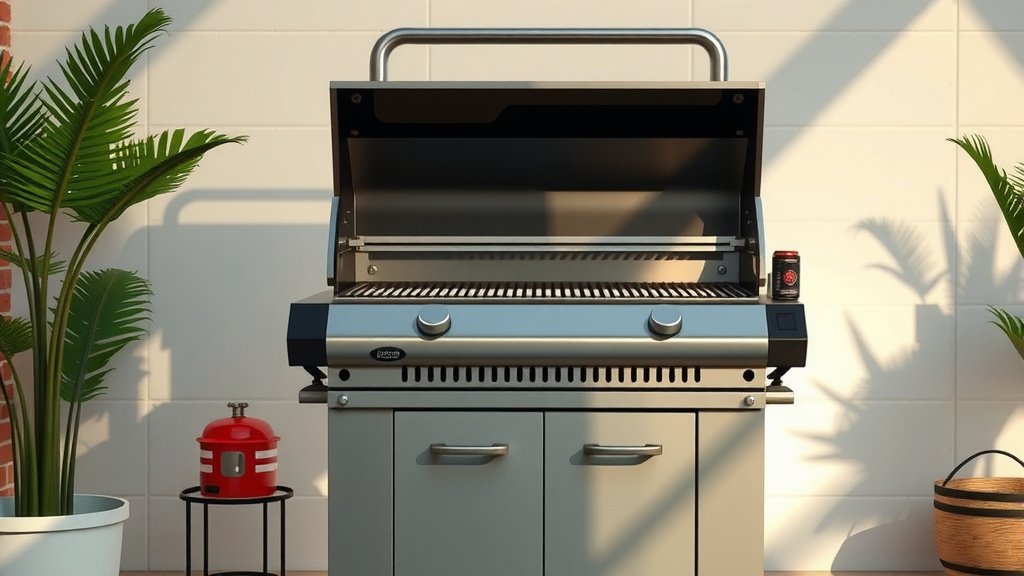
Disconnecting the Gas Supply
Before doing anything else, turn off the gas supply to your grill. Close the valve on your propane tank.
If you have a natural gas grill, shut off the gas at the connection point. This step prevents any accidental gas leaks.
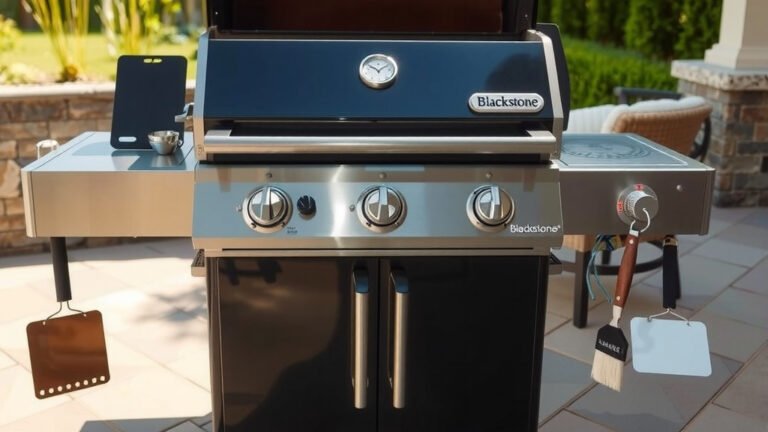
Gathering Your Cleaning Tools
You’ll need the right tools to tackle this job. Gathering them all beforehand makes the process smoother.
This includes items like heavy-duty gloves, a stiff wire brush, and a good degreaser. Having everything ready saves time.
- Heavy-duty gloves
- Stiff wire brush
- Plastic scraper or putty knife
- Grill brush (nylon for grates if preferred)
- Bucket of hot, soapy water
- Degreaser or grill cleaner
- Old rags or paper towels
- Large trash bag
- Shop vacuum (optional, but very helpful)
The Step-by-Step Post-Fire Cleaning Process
This is where the real work begins. Take your time with each step for a truly clean and safe grill.
Working methodically helps you avoid missing any crucial spots or components.
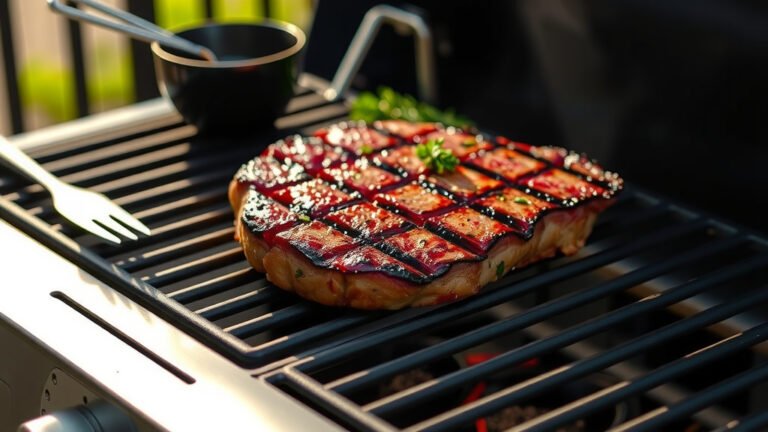
Removing and Cleaning Grill Grates
Start by taking out your grill grates. They will likely be covered in soot and charred residue from the fire.
Use your stiff wire brush to scrub them thoroughly. For tougher spots, a degreaser can help break down the grime.
Cleaning Flavorizer Bars or Heat Tents
Below the grates, you’ll find flavorizer bars or heat tents. These catch drippings and distribute heat.
Remove them carefully. Scrape off all carbon buildup and grease using your plastic scraper and wire brush. They often collect a lot of burnt debris.
Addressing Burner Tubes
The burner tubes are vital for even heat. A grease fire can clog the small gas ports on these tubes.
Gently remove the burner tubes. Use a brush or an unbent paper clip to clear any blocked ports. Many experts recommend checking them for blockages (Weber).
Clearing the Firebox and Interior
The firebox is the main body of your grill. It will likely be filled with ash, charred bits, and grease.
Scrape down the sides and bottom with a plastic scraper. Use a shop vacuum to suck up all the loose debris. This avoids pushing gunk into drain holes.
Cleaning the Grease Tray and Drip Pan
The grease tray and drip pan are designed to collect drippings. After a fire, they will be very dirty.
Remove the pan and tray. Empty any contents into a trash bag. Then, wash them thoroughly with hot, soapy water and a degreaser.
Washing the Interior Walls and Lid
Don’t forget the inside of the grill lid and the walls of the firebox. Soot and grease can accumulate there too.
Wipe them down with a damp cloth and a mild grill cleaner. Rinse well to remove any chemical residues.
Cleaning the Exterior of the Grill
While the focus is internal, the exterior might also have soot or smoke stains.
Wipe down the outside surfaces with a general household cleaner or mild soap and water. Polish stainless steel if your grill has those features.
Reassembly and Final Checks
Once everything is clean and dry, reassemble your grill. Put the burner tubes back, then the flavorizer bars, and finally the grates.
Double-check that all connections are secure. Then, perform a leak test on your gas lines (using soapy water) before lighting.
Post-Clean Inspection Checklist
After cleaning, a thorough inspection ensures everything is safe:
| Component | What to Check | Action If Damaged |
|---|---|---|
| Gas Hoses | Cracks, fraying, blisters | Replace immediately |
| Regulator | Damage, melted plastic, secure fit | Replace immediately |
| Burner Tubes | Corrosion, large holes, warping, blocked ports | Clean thoroughly or replace |
| Grates/Bars | Severe rust, warping, deep pitting | Consider replacing for even cooking |
| Igniter | Functionality, electrode cracks | Replace if not sparking reliably |
When to Consider Replacing Parts
Sometimes, cleaning isn’t enough. Intense heat from a grease fire can damage grill components.
If you find severely warped grates, melted plastic on the regulator, or corroded burner tubes, it’s safer to replace them. Safety should always come first (NFPA).
Preventing Future Grease Fires
An ounce of prevention is worth a pound of cure, right? Keeping your grill clean is the best defense.
Regular maintenance will help you avoid the hassle and danger of another grease fire.
Establish Regular Cleaning Habits
Make a habit of cleaning your grill after every few uses. Scrape grates and empty the drip pan.
A deeper clean, involving the flavorizer bars and firebox, should happen at least twice a year. We found that consistency is key.
Managing Grease and Drips
Always use your drip pan and make sure it’s positioned correctly. Avoid overloading your grill with greasy foods, especially at high temperatures.
Trim excess fat from meats before grilling. This simple step reduces the amount of grease that drips into your grill.
Conclusion
Cleaning your gas grill after a grease fire might seem daunting, but it’s a vital process for safety and grill longevity. By following these steps, you can restore your grill to a clean, functional, and safe condition.
Remember, patience and thoroughness are your best friends here. A well-maintained grill provides many more seasons of enjoyable cooking experiences.
What should I do immediately after a grill grease fire?
Immediately after a grill grease fire, turn off the gas supply and close the lid to smother the flames. Do not use water. Let the grill cool down completely and naturally before attempting any inspection or cleaning.
Can a gas grill be safely used again after a grease fire?
Yes, a gas grill can often be safely used again after a grease fire, but only after a thorough cleaning and inspection. You must ensure no components are warped, cracked, or melted, especially gas lines, regulators, and burner tubes. Replace any damaged parts.
What cleaning agents are best for removing charred grease?
For removing charred grease, a strong degreaser specifically designed for grills or ovens works well. Alternatively, a paste of baking soda and vinegar can be effective for scrubbing tough spots. Always rinse thoroughly to remove any chemical residue.
How often should I clean my gas grill to prevent grease fires?
To prevent grease fires, you should scrape your grill grates after every use and empty the drip pan regularly. A more thorough deep clean, addressing the firebox, burner tubes, and flavorizer bars, should ideally be done every 2-3 months during grilling season, or at least twice a year.
Is it normal for a gas grill to have some flare-ups?
Minor flare-ups are common when grilling fatty foods, and they are generally harmless if controlled. However, a full-blown grease fire that doesn’t quickly extinguish itself indicates an excessive buildup of grease and calls for immediate action and a deep cleaning.