
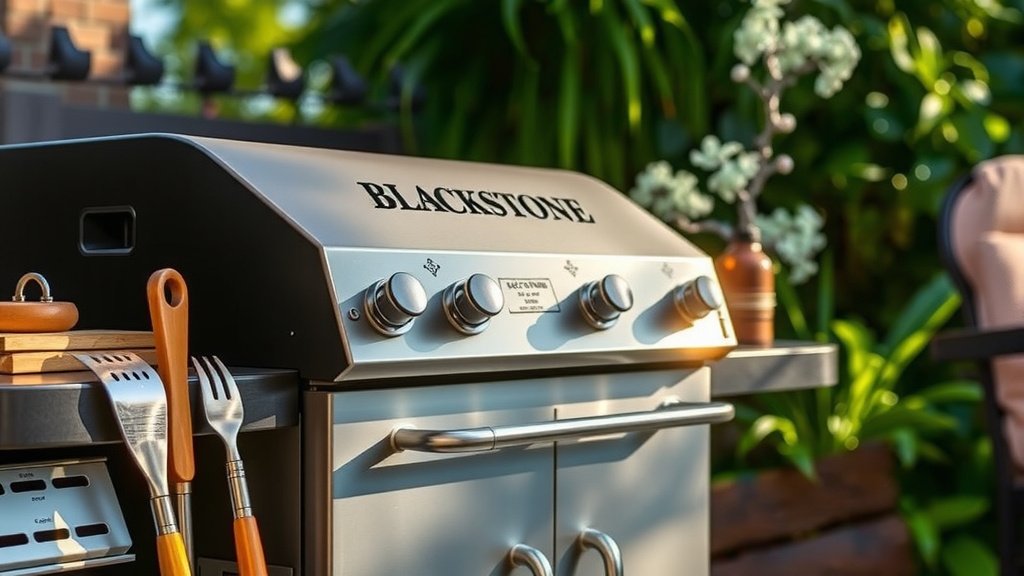
Curing your Blackstone grill creates a natural, non-stick cooking surface and protects it from rust, making your griddle ready for delicious meals.
To cure a Blackstone grill, you’ll heat it, apply a thin layer of cooking oil, let it smoke off, and repeat this process 3-5 times to build a strong seasoning.
Here’s a quick summary to get you started:
- Heat your griddle to medium-high until it changes color.
- Apply a very thin layer of high-smoke-point oil to the hot surface.
- Let the oil smoke until it completely burns off, turning the surface dark.
- Repeat the oiling and smoking steps 3 to 5 times for a durable cure.
- This method prevents rust and provides a non-stick cooking experience for years.
How To Cure A Blackstone Grill?
Curing your Blackstone grill involves heating the griddle to a high temperature, applying a very thin layer of high-smoke-point oil, and allowing it to smoke completely off. You repeat this heating and oiling process 3-5 times to build a durable, non-stick surface that protects against rust.
Why Does My Blackstone Grill Need Curing?
Imagine your griddle as a blank canvas. Curing is the first, vital step to prepare it for countless meals. It creates a protective barrier, like a shield, over the raw steel.
This barrier is essential for two main reasons. First, it prevents rust from forming, keeping your investment safe. Second, it develops a fantastic, natural non-stick cooking surface. Who doesn’t want eggs that slide right off?
Many experts say that a well-cured griddle also deepens the flavor of your food over time. It’s much like seasoning a cast iron pan; the more you use it and care for it, the better it performs.
Choosing the Right Oil for Your Blackstone
Selecting the correct oil for curing is a big deal. You want an oil with a high smoke point. Why? These oils can handle the heat without burning too quickly and leaving a gummy residue.
We found that flaxseed oil, avocado oil, and grapeseed oil work exceptionally well. Vegetable oil or canola oil are also good, accessible options. These oils polymerize beautifully, which is key.
Avoid oils with low smoke points, like extra virgin olive oil or butter, for the initial cure. They will smoke too fast and not create the tough, lasting bond you need.
The Power of Polymerization
When you cure your griddle, you’re not just oiling it; you’re sparking a chemical reaction called polymerization. Research often connects this process with creating a durable, non-stick layer (NIH).
The oil molecules break down under heat, then bond together to form a hard, plastic-like coating on the steel. This isn’t just a layer of grease; it’s a part of the griddle surface now, offering true protection.
Before You Begin: Initial Prep for Your New Griddle
Before you even think about oil, your brand-new Blackstone needs a good cleaning. Factory grease protects it during shipping, but it’s not for cooking. Grab some hot, soapy water and a sponge.
Scrub down the entire cooking surface to remove any residue. Rinse it thoroughly with clean water. Then, and this is important, dry it completely and quickly to prevent any flash rust from forming on the bare metal.
The Step-by-Step Curing Process
Ready to cure your griddle? It’s simpler than it sounds, and quite satisfying! Follow these steps carefully, and you’ll have a beautifully seasoned surface.
Step 1: Heat Your Griddle Evenly
Turn on all the burners of your Blackstone to a medium-high setting. Let it heat up for about 10-15 minutes. You’ll notice the steel start to change color, often turning a light brown or amber shade. This means it’s ready.
Step 2: Apply a Thin Layer of Oil
Now, pour a small amount of your chosen high-smoke-point oil onto the griddle. We’re talking 1-2 tablespoons, not a lot. Use a paper towel or a clean, lint-free cloth to spread it evenly across the entire cooking surface, including the sides.
The key here is thin. Think “barely visible.” If you apply too much, your griddle will turn sticky. Imagine wiping down a kitchen counter; you want just a light sheen.
Step 3: Let it Smoke and Burn Off
As the oil heats, it will start to smoke heavily. Don’t worry, this is exactly what you want! The smoke is a sign that polymerization is happening. Let it smoke until it completely stops. This might take 15-30 minutes per layer.
The griddle surface will darken, going from brown to a deep, dark brown or even black. This glossy, dark layer is your developing seasoning. Once the smoke clears, you’re ready for the next layer.
Step 4: Repeat for Optimal Seasoning
You’ll need to repeat steps 2 and 3 at least 3 to 5 times. Each layer builds upon the last, making the seasoning stronger and more effective. Many grill enthusiasts do five layers for the best results.
With each pass, the griddle surface will become darker and more uniform. You’re building a fortress of flavor and protection, one thin, smoky layer at a time. Be patient; it pays off.
What to Look For: A Good Cure
After several layers, your griddle should have a uniform, dark brown to black appearance. It should look somewhat glossy, not dull. When you touch it (after it cools!), it shouldn’t feel sticky at all. A well-cured surface will also cause water to bead up, much like a freshly waxed car.
Troubleshooting Common Curing Issues
It’s okay if your first cure isn’t picture-perfect. Here are some common issues and their quick fixes:
Sticky spots: This usually means you applied too much oil in one spot or didn’t let it smoke off completely. Re-heat the griddle to a high temperature, scrub the sticky area with a metal scraper, then re-apply a *very* thin layer of oil and let it burn off.
Uneven color: If parts are darker than others, your heat might be inconsistent, or your oil application was uneven. Try to spread the oil more uniformly next time, and ensure all burners are working correctly for consistent heat across the surface.
Flaking: Sometimes, a new cure might flake a little. This is typically nothing to worry about. Just keep cooking, and the flaking areas will naturally re-season and smooth out over time with regular use and care.
A Quick Guide to Oil Smoke Points
| Oil Type | Smoke Point (approx.) | Recommendation for Curing |
|---|---|---|
| Flaxseed Oil | 225°F (107°C) | Excellent (though lower smoke point requires care) |
| Grapeseed Oil | 420°F (216°C) | Great choice |
| Avocado Oil | 520°F (271°C) | Fantastic choice |
| Canola Oil | 400°F (204°C) | Good, accessible option |
| Vegetable Oil | 400°F (204°C) | Good, accessible option |
| Extra Virgin Olive Oil | 375°F (190°C) | Not recommended (too low) |
Maintaining Your Blackstone’s Seasoning
Curing is just the start; maintaining that beautiful seasoning is a constant joy. After each cooking session, scrape off any food debris with a metal scraper. Then, use hot water and a paper towel to wipe the surface clean. Avoid harsh soaps; they can strip the seasoning you worked so hard to build.
After cleaning, apply a very thin layer of cooking oil to the still-warm griddle. This protective coat prevents rust and keeps your seasoning happy. Cooking with foods high in fat, like bacon or burgers, also helps maintain and improve your seasoning over time. It’s an ongoing process that just gets better.
Post-Cure Checklist
- Wipe your griddle clean after every cooking session.
- Apply a thin, protective oil layer after cleaning.
- Store your Blackstone griddle in a dry, covered place.
- Use appropriate metal utensils; they won’t harm your seasoning.
- Never use abrasive scrubbers or harsh chemical cleaners.
Conclusion
Curing your Blackstone grill is an investment in countless delicious meals and years of enjoyment. It’s a foundational step that protects your griddle from rust and provides that highly sought-after non-stick surface. By following these simple steps, you’ve created a durable, functional cooking surface.
Remember, patience and consistency are your friends throughout this process. Each layer you build contributes to a better cooking experience. Now that your Blackstone is cured, it’s time to fire it up and create some amazing food!
How long does the initial curing process take?
The initial curing process for your Blackstone griddle typically takes about 1 to 2 hours in total. This includes the time needed for heating the griddle, applying 3-5 layers of oil, and allowing each layer to smoke off completely.
Can I use butter or olive oil for curing?
No, it’s generally not recommended to use butter or extra virgin olive oil for the initial curing of your Blackstone griddle. These oils have lower smoke points and will burn quickly, creating a sticky or gummy residue rather than a durable, polymerized seasoning layer.
What if my Blackstone griddle gets rusty after curing?
If your Blackstone griddle develops rust after curing, it usually means the seasoning layer was not thick or robust enough, or it was exposed to moisture. To fix this, you’ll need to gently scrub off the rust with a rust eraser or fine-grit sandpaper, clean the area thoroughly, and then re-cure that specific spot, or the entire griddle, with several new layers of high-smoke-point oil.
How often should I re-cure my Blackstone?
You shouldn’t need to perform a full re-cure of your Blackstone griddle often if you maintain it properly. Regular use of a thin oil layer after each cooking session and avoiding harsh soaps will keep the seasoning intact. A full re-cure is usually only needed if significant rust appears, or if the non-stick properties begin to fade considerably across the entire surface.
Is it normal for my griddle to smoke a lot during curing?
Yes, it is completely normal and expected for your Blackstone griddle to smoke a lot during the curing process. This smoke is a sign that the oil is reaching its smoke point and undergoing polymerization, which is the chemical reaction essential for creating the non-stick, protective seasoning layer. Just ensure you have proper ventilation.
