
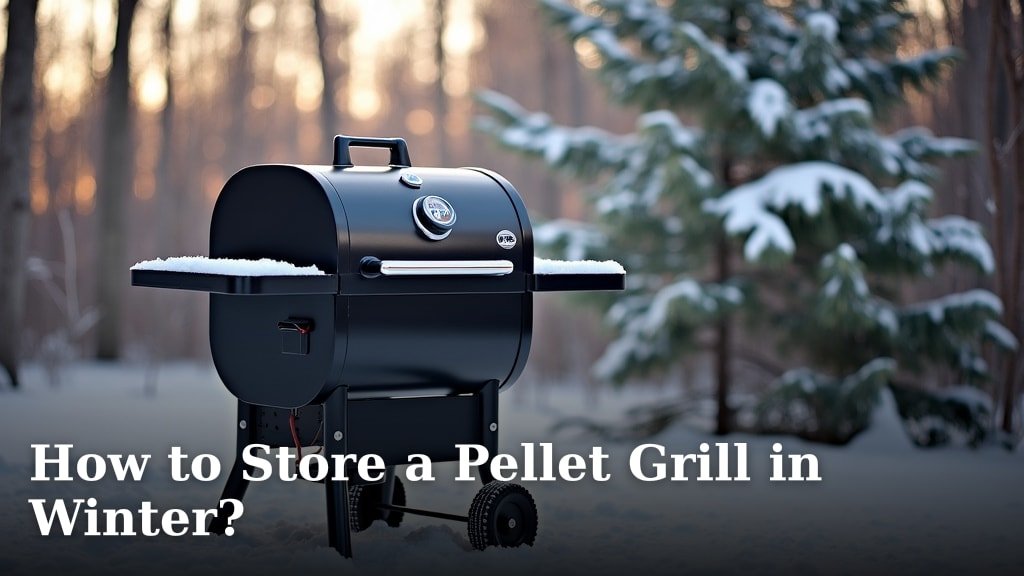
Storing your pellet grill for the winter is easier than you think. The best way to store your pellet grill involves cleaning it thoroughly, covering it properly, and finding a sheltered spot to protect it from the elements. Doing this prevents rust and damage, ensuring your grill is ready for spring grilling season.
Taking a little time now saves a lot of headaches later. Many owners wonder if they need to do anything special before tucking their grill away. We found that a little preparation goes a long way in extending your grill’s life and keeping it looking great. Think of it as a winter spa day for your trusty smoker.
- Clean your grill before storing.
- Protect it with a cover.
- Find a dry, sheltered location.
- Consider removing the hopper.
- Check for rust prevention tips.
Ready to get your pellet grill winter-ready? Let’s walk through the simple steps to ensure it stays in top shape until the weather warms up.
Getting Your Pellet Grill Ready for Winter Storage
Storing your pellet grill properly ensures it lasts for many grilling seasons. A little preparation now prevents rust and damage. We’ll guide you through the best steps to protect your investment.
Step 1: Give Your Pellet Grill a Deep Clean
Think of this as your grill’s final spa treatment before its long winter nap. A clean grill resists rust and prevents lingering food odors. You don’t want to open it up in spring to a surprise party of pests. We found that thoroughly cleaning it is the most important first step.
Cleaning the Interior: Inside and Out
Start with the inside of the grill. Scrape down the fire pot. Use a shop vac to remove any ash and debris. This ash can absorb moisture, leading to corrosion. Next, clean the heat deflector and the grates. You can use a grill brush for this. For tougher grime, warm water and a bit of dish soap work wonders.
Don’t forget the grease management system. Empty and clean the grease drip pan. A clean drip pan prevents sticky residue and potential fire hazards. If your model has a grease bucket, empty and wash that too. Research shows that grease buildup can attract pests.
Cleaning the Exterior and Components
Wipe down the outside of your grill. Use a mild soap and water solution. Avoid abrasive cleaners that can scratch the finish. Pay attention to the pellet hopper. Clear out any remaining pellets. Moisture can cause them to clump or even mold.
Check the auger tube for any pellet debris. Ensure the lid seals are clean. Even small bits of food or grease can cause problems over time. Many experts recommend a good scrub down to remove all traces of cooking residue. This ensures a fresh start for the next grilling season.
Step 2: Safely Store Remaining Pellets
Pellets are sensitive to moisture. Left in the hopper, they can absorb humidity from the air. This causes them to swell and break down. It can also lead to mold growth. Many grill owners report issues with clumpy or unusable pellets after winter storage. We found that removing them is the safest bet.
Emptying the Pellet Hopper
Completely empty the pellet hopper. You can do this by tilting the grill carefully or using a small scoop. Pour the pellets into an airtight container. Specially designed pellet storage containers are available. You can also use sturdy plastic bins with secure lids. Make sure the container is completely dry before adding the pellets.
Store the container in a cool, dry place. A garage or basement is often ideal. This keeps the pellets fresh and ready for your first spring cookout. Leaving them out can lead to spoilage and wasted money. Proper storage is key to maintaining pellet quality.
Step 3: Protect Your Grill with a Cover
A grill cover is your grill’s first line of defense against the elements. Even if you’re storing it in a sheltered spot, a cover adds an extra layer of protection. It keeps out dust, dirt, and moisture. Many manufacturers offer custom-fit covers for their grills.
Choosing the Right Cover
Look for a cover made from durable, waterproof material. It should fit snugly to prevent wind from getting underneath. Some covers also offer UV protection, which is great for preventing paint fading. Ensure the cover has good ventilation. This helps prevent moisture buildup inside the grill.
If you don’t have a manufacturer’s cover, a heavy-duty tarp can work. Secure it well with bungee cords or rope. Just make sure it doesn’t trap moisture against the grill’s surface. A breathable cover is always preferred. Research suggests that trapped moisture is a major cause of rust.
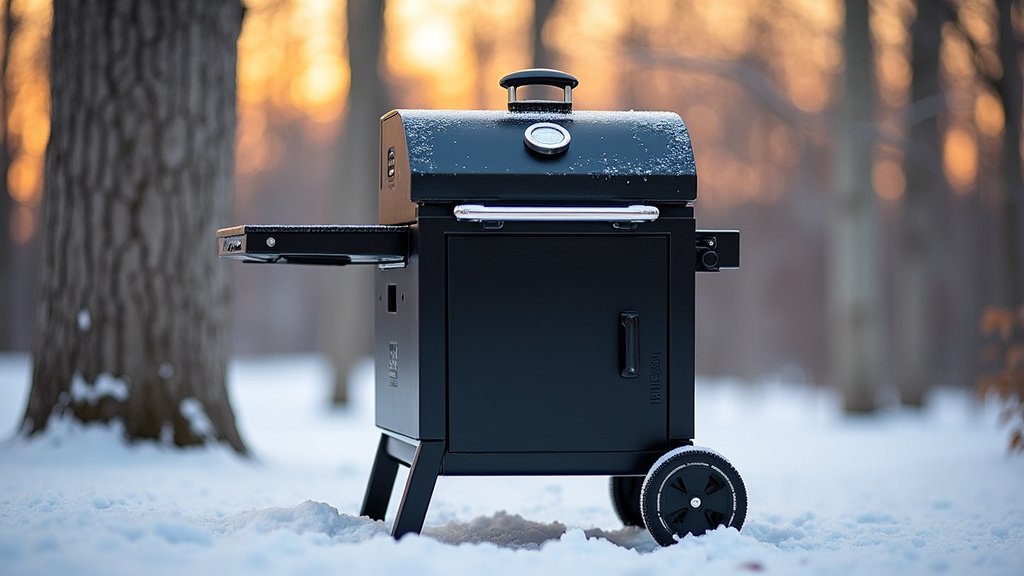
Step 4: Find the Ideal Winter Storage Location
Where you store your grill matters. The goal is to keep it away from harsh weather conditions. This includes rain, snow, ice, and direct sunlight. A sheltered location significantly extends its lifespan. Many experts agree on the importance of a dry environment.
Options for Sheltered Storage
The best option is usually indoors. A garage is perfect. A shed or covered patio also works well. If indoor storage isn’t possible, a carport or a covered deck is the next best thing. Make sure the area is dry and doesn’t collect standing water.
Avoid storing your grill directly on the ground. This can lead to moisture buildup on the underside. If storing outdoors, even under cover, place it on a pallet or blocks. This elevates it and allows for better air circulation. Keeping it off the ground is a simple but effective way to prevent rust.
Step 5: Prepare for Long-Term Protection
Beyond the basic cleaning and covering, a few extra steps can ensure your grill stays in top condition. These are minor tweaks that make a big difference over the winter months.
Dealing with Metal Surfaces
Inspect any exposed metal parts. If you notice any surface rust, address it. Light rust can often be removed with steel wool or a wire brush. After cleaning, apply a light coating of food-grade mineral oil to these areas. This creates a barrier against moisture. Many grill enthusiasts swear by this method for rust prevention.
For stainless steel components, a specialized stainless steel cleaner and polish can be beneficial. This not only cleans but also leaves a protective layer. Remember to use a soft cloth for application. Harsh chemicals can damage the finish.
Protecting Electrical Components
Pellet grills have electrical parts. While usually designed to withstand some outdoor use, long-term exposure to moisture isn’t ideal. Ensure the control panel and any wiring are dry. Some people choose to cover these sensitive areas with a plastic bag or wrap before putting on the main grill cover.
Make sure all cords are neatly stored. Avoid leaving them dangling where they could be a tripping hazard or collect debris. A little attention to detail here can prevent future electrical headaches. We found that many users overlook these smaller components.
Quick Checklist for Winter Grill Storage
Here’s a simple checklist to make sure you haven’t missed anything:
- Thoroughly clean the interior and exterior.
- Empty and store all remaining grill pellets.
- Apply a protective oil to metal surfaces if needed.
- Cover your grill with a weather-resistant cover.
- Choose a dry, sheltered location for storage.
- Elevate the grill off the ground if possible.
Conclusion
You’ve done a great job preparing your pellet grill for its winter rest. By giving it a thorough cleaning, safely storing your pellets, and protecting it with a good cover in a dry spot, you’ve set yourself up for success. These steps are your best defense against rust and damage. Following this advice ensures your grill will be ready for action as soon as the grilling season returns. Now, kick back and relax, knowing your pellet grill is well taken care of until spring.
Frequently Asked Questions
How often should I check on my grill during winter storage?
You don’t need to check on your grill constantly. A quick look-over once a month is usually sufficient. This allows you to ensure the cover is still secure and that no unexpected moisture has gotten in. It’s a simple way to maintain peace of mind.
Can I leave my pellet grill outside if it’s under a covered patio?
While a covered patio is better than direct exposure, it’s still not ideal for long-term storage. Moisture can still get trapped, especially during heavy rain or snow. We found that elevating the grill and using a breathable cover, even on a covered patio, offers the best protection.
What kind of oil should I use to protect metal parts?
For metal surfaces, using a food-grade mineral oil is recommended. This oil creates a protective barrier without introducing harmful chemicals. You can find it at most grocery or hardware stores. Just apply a thin layer with a soft cloth.
Is it okay to leave a small amount of pellets in the hopper?
No, it’s best to empty the hopper completely. Even a small amount of pellets can absorb moisture and clump together. This can lead to mold and render the pellets unusable. Removing them all and storing them properly is key.
What if I notice rust when I take my grill out in the spring?
Don’t worry too much if you find minor surface rust. You can usually remove it with steel wool or a wire brush. After cleaning the rusted area, reapply a light coat of food-grade mineral oil to prevent it from returning. Address it promptly to keep your grill in good shape.
