To set up your Blackstone Grill, begin by assembling the stand, securely attaching the griddle top, and carefully connecting the propane tank. Then, perform an initial seasoning to create a non-stick cooking surface.
You’ll need basic tools like a screwdriver and a wrench for assembly, and cooking oil for the crucial seasoning process before your first cook.
Here’s a quick overview of setting up your Blackstone Grill:
- Unpack all components and check for any damage.
- Assemble the main stand structure using the provided hardware.
- Carefully place the heavy griddle top onto the stand, securing it.
- Connect your propane tank, ensuring all connections are tight.
- Season the griddle surface multiple times to build a protective, non-stick layer.
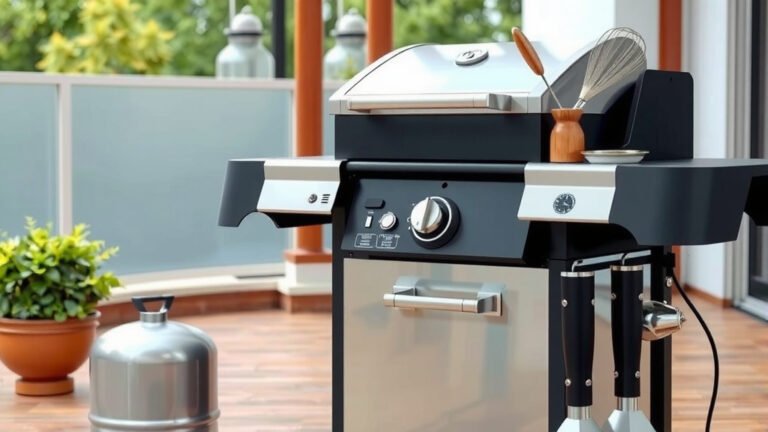
How To Set Up Blackstone Grill?
Setting up your Blackstone Grill is straightforward when you follow a few key steps. It ensures safety and primes your griddle for years of enjoyable cooking experiences.
Unboxing Your New Griddle
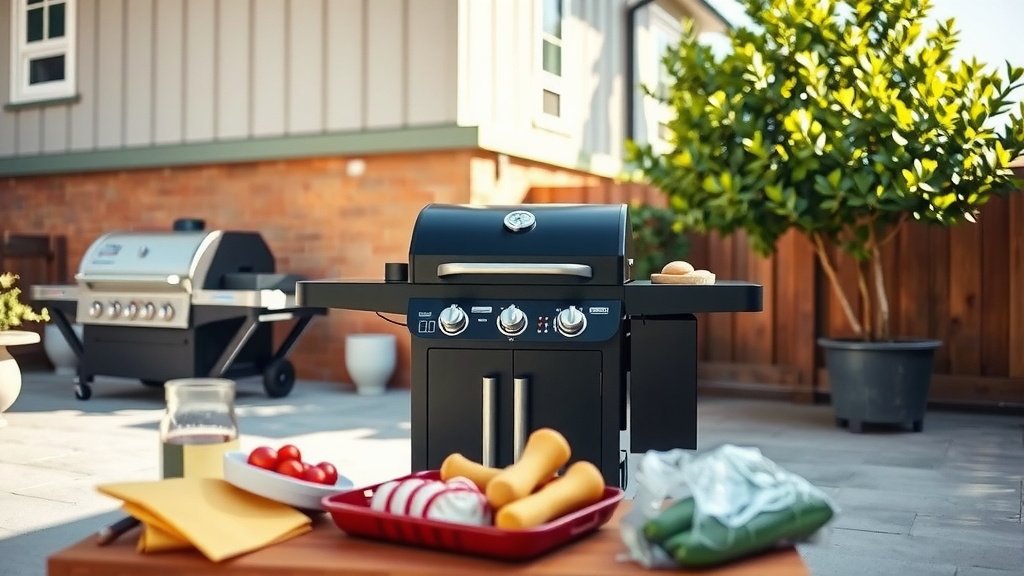
Before you begin, find a spacious, flat area to unpack everything. Take a moment to inspect all parts. We found that checking for any shipping damage right away saves you trouble later on.
Make sure to keep the packaging materials handy until you confirm everything is in order. You want to have a clear workspace for this assembly.
Gathering Your Tools
You won’t need a huge toolbox for this task. Most Blackstone Grills come with some basic tools, but having your own makes it easier. Many experts say a good Philips head screwdriver and an adjustable wrench are your best friends here.
Having the right tools helps you tighten bolts securely. This prevents wobbles and ensures a stable cooking surface. Safety always comes first, right?
Essential Tool Checklist
- Philips Head Screwdriver
- Adjustable Wrench
- Box Cutter (for packaging)
- Gloves (optional, for clean handling)
- Level (to check your setup)
Assembling the Stand
Start by laying out all the frame pieces. Many people find it helpful to organize nuts, bolts, and washers first. Follow the instructions that came with your specific Blackstone model closely.
Connect the legs and shelving units step-by-step. Don’t fully tighten every bolt until the entire frame is together. This gives you some wiggle room for alignment.
Once everything is in place, go back and tighten all connections firmly. A stable stand is important for safe cooking.
Attaching the Griddle Top
The griddle top is often the heaviest part, so grab a helper if you can. Carefully lift the griddle surface and align it with the mounting points on the assembled stand.
Gently lower the griddle onto the stand. Secure it with any provided pins or clips. We found that ensuring a snug fit helps prevent movement during cooking.
Connecting the Propane Tank
This step requires extra care. Make sure your propane tank valve is completely closed. Connect the regulator hose from your Blackstone Griddle to the propane tank valve.
Hand-tighten the connection first, then use your wrench to give it a final snug turn. Don’t overtighten; you just want it firm. Some people like to perform a quick leak test.
To do a leak test, spray a soapy water solution on the connection points. Turn on the propane tank slowly. If you see bubbles, you have a leak. Turn off the gas immediately and re-tighten the connection.
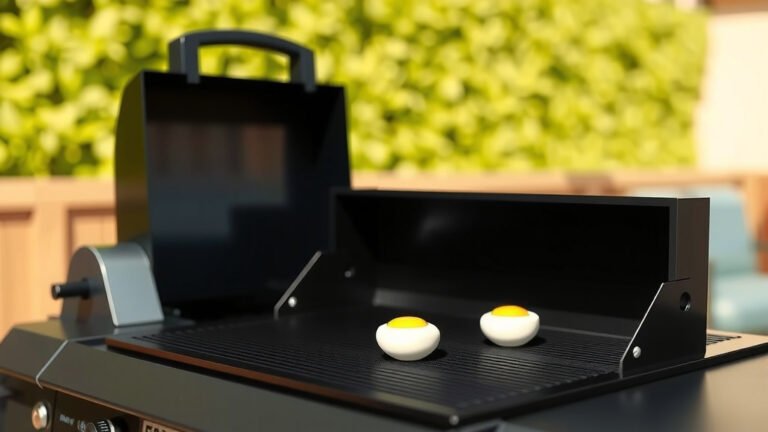
Seasoning Your Blackstone Griddle
Seasoning is the most vital step before your first cook. It creates a natural, non-stick surface and protects your griddle from rust. Think of it like preparing a cast-iron skillet (Blackstone Griddles).
First, turn your griddle on high for about 10-15 minutes. This burns off any factory oils or residue. The surface will likely change color, turning darker.
Next, apply a thin, even layer of high-smoke-point cooking oil across the entire griddle surface. Wipe off any excess with a paper towel. Let it smoke until it stops, then repeat this oiling and heating process at least 3-4 times. Many experts recommend up to 7-8 cycles for the best results (Blackstone official guidelines).
Best Oils for Seasoning
| Oil Type | Smoke Point | Notes for Seasoning |
|---|---|---|
| Flaxseed Oil | Very High (~450°F) | Creates a hard, durable layer, but can be pricey. |
| Avocado Oil | High (~520°F) | Great choice, neutral flavor, readily available. |
| Grapeseed Oil | High (~420°F) | Thin consistency, good for multiple layers. |
| Canola Oil | Medium-High (~400°F) | Common, affordable, works well. |
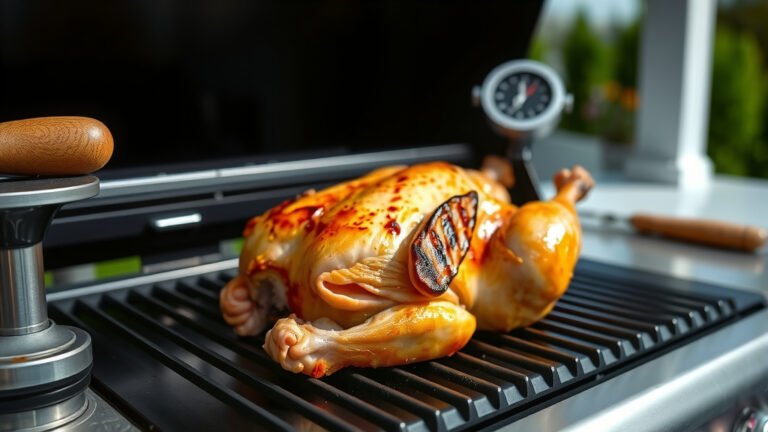
First Cook Prep
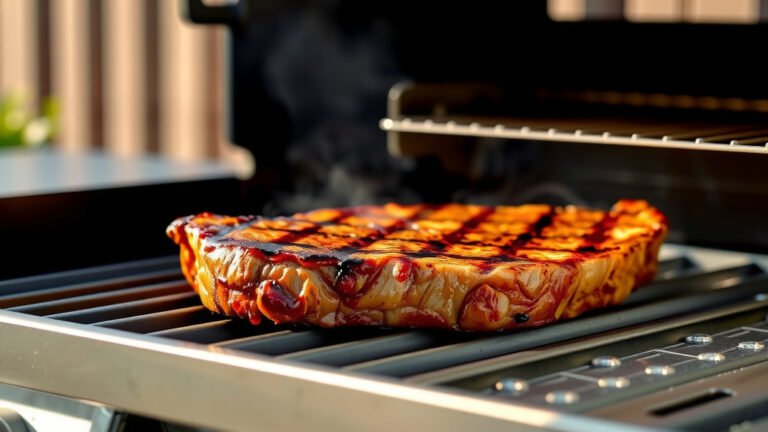
With your griddle seasoned, you’re almost ready to cook! Preheat your griddle to the desired temperature. Start with medium heat for your first cook.
Add a small amount of cooking oil to the surface before adding food. This helps reinforce your seasoning. We found that cooking something with a bit of fat, like bacon or onions, is a great first meal. It further helps build up the non-stick coating.
Maintenance Tips for Longevity
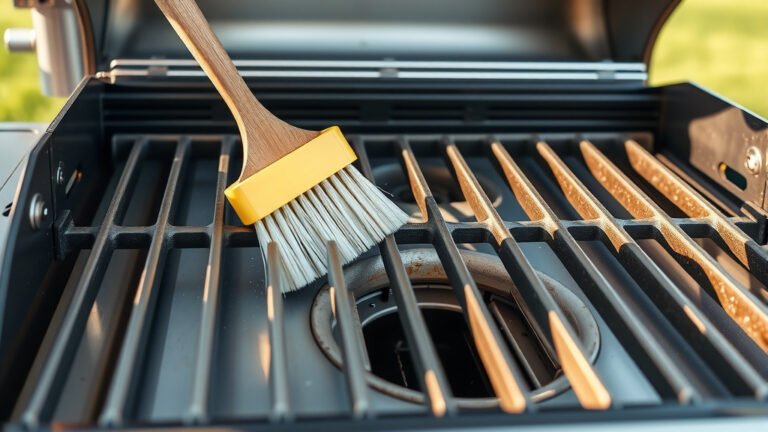
Keeping your Blackstone in top shape is simpler than you might think. After each use, scrape off any food debris while the griddle is still warm. A squirt of water can help lift stubborn bits.
Always apply a very thin layer of cooking oil after cleaning. This prevents rust. Covering your griddle when not in use is also a smart move, especially if it lives outdoors (Blackstone user manuals).
Quick Setup Checklist
- Read the manual
- Unpack and inspect
- Assemble the stand
- Attach the griddle top
- Connect propane tank safely
- Season the griddle properly
- Perform a first cook
Conclusion
Setting up your Blackstone Grill is a straightforward process that rewards you with fantastic outdoor cooking. By carefully following the assembly steps, ensuring safety with propane, and taking the time to properly season your griddle, you’re ready for countless delicious meals.
Remember, a little care during setup and regular maintenance helps your griddle perform beautifully for years. So, get ready to cook up some amazing food!
How long does it take to set up a Blackstone Grill?
Setting up a Blackstone Grill typically takes between 30 minutes to an hour for assembly, depending on the model and your experience. The crucial seasoning process, which involves multiple heating and oiling cycles, can add another 1 to 2 hours.
Do I need special tools to assemble my Blackstone Griddle?
No, you usually don’t need highly specialized tools. Most Blackstone Grills can be assembled with a Philips head screwdriver and an adjustable wrench. Some models even include a basic wrench in the box to get you started.
What is the best way to season a new Blackstone Griddle?
The best way to season a new Blackstone Griddle involves cleaning it, then applying multiple thin layers of high-smoke-point cooking oil. Heat the griddle on high until the oil smokes off and turns dark. Repeat this process 4-7 times, allowing the griddle to cool slightly between layers, to build a strong non-stick surface.
Can I use any cooking oil for seasoning my griddle?
While you can use many cooking oils, it’s best to use oils with a high smoke point for seasoning. Options like flaxseed oil, avocado oil, grapeseed oil, or canola oil are widely recommended because they create a durable, polymerized layer when heated correctly.
What should I cook for my first meal on a new Blackstone Griddle?
For your first cook, consider something with a bit of fat, like bacon, onions, or smash burgers. These foods help further “break in” and reinforce the newly seasoned surface, making your griddle even more non-stick for future meals. Keep it simple and enjoyable!