To season a cast iron BBQ grill, you need to apply a thin layer of cooking oil and then heat it until the oil polymerizes, creating a protective, non-stick surface.
This simple yet essential process bakes a hard, slick coating onto your cast iron, making it ready for delicious grilling and easy cleanup.
Here’s a quick overview of seasoning cast iron BBQ grills:
- Thoroughly clean your grill grates first.
- Apply a very thin, even coat of high smoke point oil.
- Heat the grates gradually in your BBQ to a high temperature.
- Let them cool completely, then repeat the oiling and heating steps.
- Maintain the seasoning after every use to ensure lasting durability and performance.
How To Season A Cast Iron BBQ Grill?
To season your cast iron BBQ grill, apply a very thin layer of high smoke point oil, then heat it beyond the oil’s smoke point for about an hour. This process bakes the oil onto the surface, forming a natural, non-stick seasoning.
Why Is Seasoning Your Cast Iron Grill So Important?
You might wonder, “Do I really need to season my cast iron grill?” Absolutely! Think of seasoning as giving your grill a superhero shield. It’s what transforms raw cast iron into a fantastic cooking surface.
Without proper care, your cast iron grates could become a real headache. Seasoning makes grilling a joy, not a chore. It is a critical step for long-term grill performance.
Protecting Against Rust
Cast iron is known for its incredible heat retention, but it’s also very susceptible to rust. Humidity and moisture are its natural enemies. A good seasoning acts as a barrier, keeping those elements away.
This protective layer safeguards your grates from oxidation. It means your investment lasts longer, staying ready for your next cookout. Rust is the archenemy; seasoning is your grill’s best defense.
Creating a Natural Non-Stick Surface
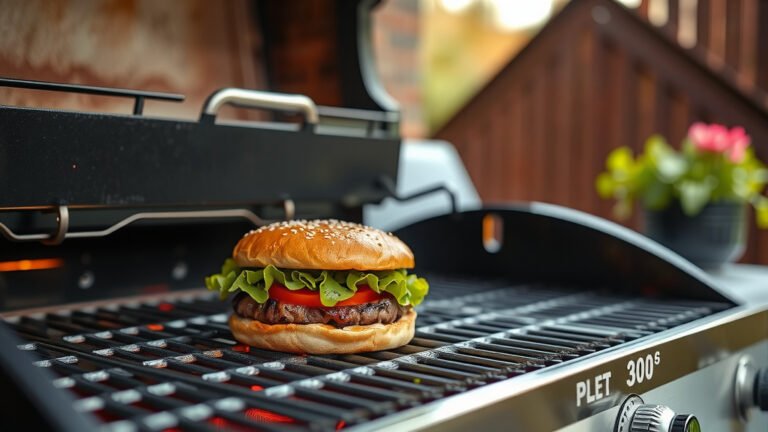
Who enjoys food sticking to their grill? No one! A well-seasoned cast iron grill develops a naturally slick surface over time. This makes flipping burgers or searing steaks much easier.
Food releases effortlessly, making both cooking and cleanup a breeze. Research shows that polymerized oil creates a naturally non-stick layer (Cook’s Illustrated). You get less mess and more flavor.
Enhancing Food Flavor
Did you know seasoning can make your food taste better? As the seasoning layer builds, it absorbs some of the cooking oils and flavors. This creates a subtle depth of flavor that can infuse your food.
Many grill masters swear by the unique taste a well-seasoned cast iron grill imparts. It’s like a secret ingredient. Your grilled items will have a richer, more authentic barbecue flavor. It truly elevates your cooking.
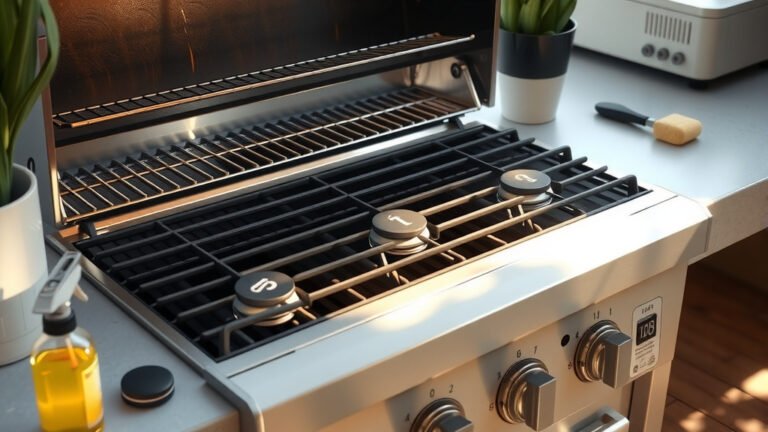
What You’ll Need for Successful Seasoning
Before you begin, gather your supplies. Having everything ready streamlines the process. This isn’t a complex procedure, but preparation helps ensure success.
You will need a grill brush, warm soapy water, a clean cloth or paper towels, and suitable cooking oil. Having these items nearby makes the whole experience much smoother. It’s about being prepared for perfection.
Your Step-by-Step Guide to Seasoning Cast Iron Grates
Let’s get down to the actual work. Seasoning cast iron is not difficult, but it needs patience. Follow these steps carefully, and your grill grates will thank you with years of delicious food.
Remember, a little effort now saves a lot of hassle later. Think of it as a small investment in future grilling happiness. This guide will walk you through each critical stage.
Step 1: The Initial Clean-Up
Start with a clean slate. If your grates are new, rinse them with warm water and a mild soap. For used grates, scrub away any food residue or rust with a stiff brush or scraper. Rinse thoroughly.
Many experts suggest this initial cleaning even for pre-seasoned grates (Fine Cooking). Make sure to get into all the grooves. This step ensures you’re building seasoning on a pristine surface.
Step 2: Drying Thoroughly
Water is the enemy of cast iron, remember? After cleaning, dry your grates immediately and completely. You can use paper towels or a clean cloth. Rust can start forming within minutes if left wet.
For extra assurance, many people place the grates back on the grill over low heat for a few minutes. This evaporates any remaining moisture. A bone-dry surface is essential for seasoning.
Step 3: Applying the Right Oil
Now, for the magic ingredient: oil. Apply a very thin, even layer of high smoke point cooking oil to all surfaces of the grates. Don’t forget the sides and edges. Use a paper towel to spread it out.
The key here is “thin.” Too much oil will result in a sticky, gummy mess, not a smooth seasoning. Wipe off any excess vigorously. Think of it as a barely-there film. This creates a perfect base layer.
Choosing the Best Oil for Seasoning
Not all oils are created equal for seasoning cast iron. You need an oil with a high smoke point that can polymerize well. Here’s a quick comparison to help you choose wisely.
The right oil choice makes a big difference in how well your seasoning develops. Many grillers have their favorites, but these options are generally recommended. Selecting wisely is part of the process.
| Oil Type | Smoke Point | Notes for Seasoning |
|---|---|---|
| Flaxseed Oil | 350°F (177°C) | Creates a very hard, durable seasoning. Some find it finicky. |
| Grapeseed Oil | 420°F (215°C) | Great all-around choice, neutral flavor, good polymerization. |
| Avocado Oil | 520°F (271°C) | Very high smoke point, excellent for durable seasoning. |
| Vegetable Oil | 400°F (204°C) | Accessible and effective, good for general seasoning. |
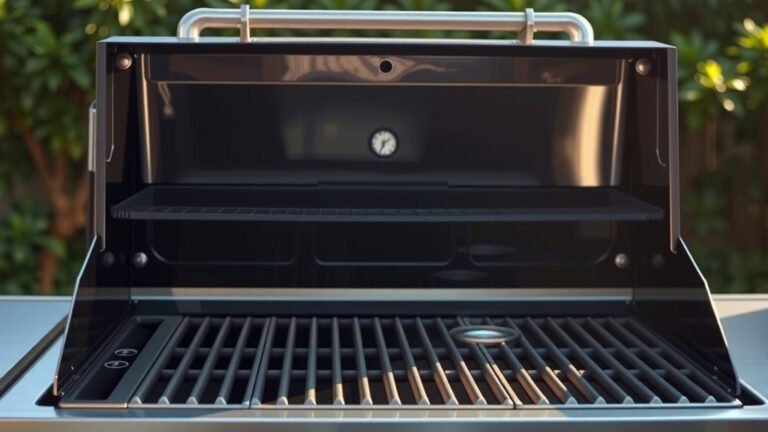
Step 4: Heating Your Grill Properly
Place your oiled grates back into your BBQ grill. Close the lid and turn the grill to a high temperature, around 450-500°F (232-260°C). Let it heat for about an hour.
You might see some smoke – that’s normal. It means the oil is polymerizing, baking onto the iron. This chemical reaction creates the seasoning. Ensure good ventilation. This is where the magic truly happens.
Step 5: Cooling Down and Repeating
After an hour, turn off the grill and allow the grates to cool completely inside the grill. This slow cooling helps the seasoning bond effectively. Don’t rush this part; patience is key.
For the best results, repeat the oiling and heating steps three to four more times. Each layer builds on the last, creating a stronger, more non-stick surface. Multiple layers give you a better, lasting finish.
Common Seasoning Mistakes to Avoid
Even with a clear guide, it’s easy to stumble. Avoiding these common pitfalls will save you time and frustration. We’ve all made them at some point; learning from them makes you a better griller.
Keep these points in mind as you season your cast iron. A small oversight can lead to a sticky situation. Be mindful, and your seasoning will be strong and resilient.
- Using too much oil, leading to a gummy surface.
- Not drying the grates completely before oiling.
- Skipping the initial thorough cleaning step.
- Not heating the grates hot enough or long enough.
- Rushing the cooling process after heating.
- Forgetting to repeat the seasoning process for multiple layers.
Maintaining Your Cast Iron Grill’s Seasoning
Seasoning isn’t a one-and-done deal; it’s an ongoing relationship. After each use, a little care goes a long way. This keeps your grates in top condition and enhances your cooking experience.
Regular maintenance ensures your hard work pays off for years. Think of it as a small post-grill ritual. It keeps your cast iron ready for the next delicious adventure.
- After grilling, clean off food residue while the grates are still warm (but not scorching hot).
- Use a grill brush or scraper; avoid harsh soaps if possible.
- Rinse with warm water if needed, but dry immediately and completely.
- Apply a very thin coat of cooking oil before storing your grates.
- Store your cast iron grates in a dry place to prevent moisture exposure.
- Cook regularly on your cast iron grates, as frequent use builds seasoning.
When Should You Re-Season Your Grill?
Even with good maintenance, your seasoning might need a refresh. How do you know when it’s time? Your grill grates will give you some clear signals if they need attention.
Don’t wait until rust appears or food starts sticking terribly. Catching it early can prevent bigger problems. Knowing when to re-season is part of being a savvy cast iron owner.
If you notice food sticking more often, or if you see dry, dull patches appearing on the surface, it’s likely time. Any signs of rust definitely mean it’s time for a full re-seasoning. A light re-seasoning after a particularly tough clean also helps. Listen to your grill; it will tell you. Regular checks are a smart grilling habit.
Conclusion
Seasoning your cast iron BBQ grill is more than just a task; it’s an investment in countless delicious meals and enduring grill performance. It protects your grates, makes cooking easier, and even enhances flavor. While it takes a little time and patience, the payoff is immense.
By following these steps—cleaning, oiling, heating, and repeating—you build a resilient, non-stick surface that will serve you well. Remember to maintain that seasoning with care after every use. A well-seasoned cast iron grill is a true grilling treasure. Happy grilling!
What kind of oil is best for seasoning cast iron BBQ grills?
For seasoning cast iron BBQ grills, oils with a high smoke point are best. Good choices include grapeseed oil, avocado oil, and vegetable oil. Some also use flaxseed oil for a very hard seasoning, but it can be more challenging to apply correctly.
How many times should I season new cast iron grill grates?
For new cast iron grill grates, it’s recommended to perform the seasoning process at least three to four times. Each layer builds up the protective coating, creating a stronger, more non-stick, and durable surface for grilling.
Can I use soap to clean my seasoned cast iron grill grates?
Yes, you can use a small amount of mild dish soap to clean seasoned cast iron grates if necessary, especially for tough messes. Modern dish soaps are not as harsh as old lye-based ones. Just be sure to dry the grates immediately and thoroughly, then apply a thin layer of oil.
What if my cast iron grill grates become sticky after seasoning?
If your cast iron grill grates become sticky after seasoning, it usually means you applied too much oil. The solution is to heat the grates again to a high temperature, then try to wipe off any excess sticky oil with paper towels. You might need to repeat this, applying very thin layers until the stickiness disappears.
How often should I re-season my cast iron grill grates?
The frequency of re-seasoning depends on how often you use your grill and how you maintain it. If you clean and oil your grates after every use, a full re-seasoning might only be needed once a year or when you notice food sticking more, dull spots, or rust appearing. Regular use actually helps build and maintain the seasoning.