To season a charcoal grill, first ensure all cooking grates are clean of any debris. Then, apply a very thin, even layer of high smoke point cooking oil, like flaxseed or grapeseed oil, to all metal surfaces you want to protect.
Heat the grill to a medium-high temperature for about an hour, allowing the oil to polymerize and create a protective, non-stick coating. After cooling, repeat this oil and heat process several times for the best results.
- Get started by cleaning your grill grates thoroughly.
- Select a suitable high smoke point oil for the seasoning process.
- Apply a thin, even coat of oil to all metal surfaces.
- Heat your grill to a moderate temperature for about an hour.
- Let the grill cool down completely after each heating cycle.
- Repeat the oiling and heating steps several times to build a strong seasoning.
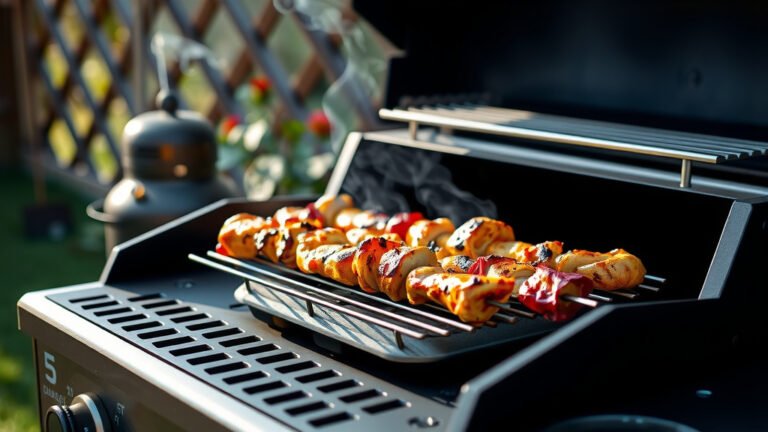
You just brought home a shiny new charcoal grill. Or perhaps you found your trusted old workhorse looking a bit sad after winter. What’s the first thing you should do before those burgers hit the grates? Many grill masters will tell you to season it! Think of it like a chef seasoning a cast iron pan. It’s a simple step that makes a huge difference in your grilling experience.
Why bother with seasoning? Well, it’s all about protection and performance. When you season your charcoal grill, you are building a barrier. This barrier helps protect the metal from rust and makes your cooking surface more non-stick. You want your food to glide off, right?
We’re going to walk you through the whole process. Don’t worry, it’s easier than you might think. Soon, you’ll be grilling like a pro, enjoying those perfectly seared steaks and veggies.
How To Season A Charcoal Grill?
Seasoning a charcoal grill involves cleaning the grates, applying a high smoke point oil, and then heating it to bake on a protective layer. You repeat these steps to build up a durable, non-stick surface.
Why Season Your Grill? The Real Benefits
You might be asking, “Is this step truly necessary?” Many grilling experts confirm it is. Seasoning offers several key advantages for your charcoal grill.
Rust Prevention is Key
Charcoal grills, especially their grates, are often made of cast iron or steel. These metals are prone to rust when exposed to moisture and air. A good seasoning creates a protective shield against rust, making your grill last longer (USDA).
Imagine your grill grates looking rusty. Not a pretty picture, right? That rust can also flake off onto your food, which nobody wants. Seasoning helps keep that from happening.
Creates a Natural Non-Stick Surface
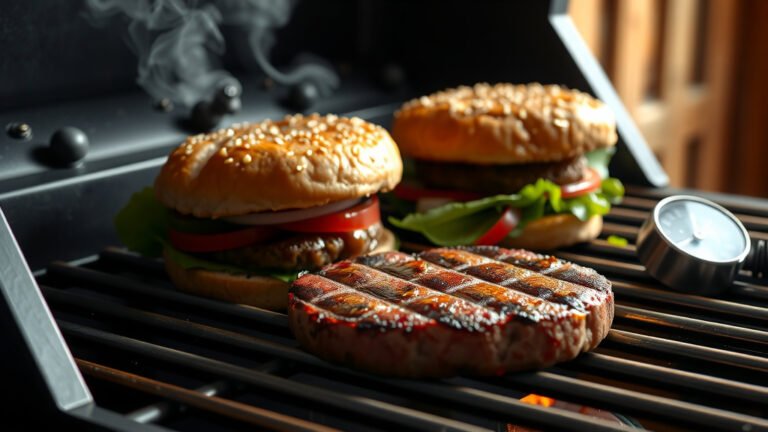
Ever had food stick to your grates? It’s frustrating. When you season your grill, you’re creating a natural, non-stick layer. This means your food releases more easily, leading to better sear marks and less tearing. It helps keep your food intact.
This non-stick quality also makes cleanup much simpler. Who wants to spend ages scrubbing after a fun cookout? Not you, we bet!
Helps with Flavor Transfer
While often overlooked, a well-seasoned grill can actually improve the flavor of your food. Over time, the seasoned surface can absorb subtle smoky flavors. This can add a nice depth to whatever you’re cooking.
Think of it as adding a little extra character to your grill. Each cookout adds to that flavorful coating, enhancing your future meals.
Choosing the Right Oil for the Job
Not all oils are equal when it comes to seasoning. You need an oil that can withstand high temperatures without burning and turning rancid. This is where “smoke point” becomes important.
High Smoke Point Oils are Your Friends
When selecting oil, look for options with a high smoke point. These oils can handle the heat of your grill without breaking down too quickly. Some popular choices include:
- Flaxseed oil (often considered best for forming a hard, durable season)
- Grapeseed oil
- Vegetable oil
- Canola oil
- Avocado oil (very high smoke point)
Many experts we found recommend flaxseed oil for its ability to create a very robust seasoning layer. However, any of the oils listed above will certainly do the job well.
Oils to Avoid for Seasoning
Avoid oils with low smoke points, like olive oil or butter. These will smoke excessively and can leave a sticky, gummy residue rather than a hard, protective layer. You want a clean, smooth finish, not a messy one.
Also, don’t use non-stick sprays that contain propellants. Stick to pure cooking oils.
| Oil Type | Smoke Point (approx.) | Notes for Seasoning |
|---|---|---|
| Flaxseed Oil | 225°F (107°C) | Excellent, hard seasoning. |
| Grapeseed Oil | 420°F (216°C) | Good all-around choice. |
| Vegetable Oil | 400°F (204°C) | Common, affordable option. |
| Canola Oil | 400°F (204°C) | Similar to vegetable oil. |
| Avocado Oil | 520°F (271°C) | Very high, but more costly. |
Your Step-by-Step Seasoning Guide
Ready to get your hands a little oily? Here’s how you season your charcoal grill, step by step. Remember, patience makes perfect here.
Step 1: Clean Your Grill Thoroughly
Before you even think about oil, your grill needs to be spotless. Any old food bits or rust will be baked into your seasoning. Use a grill brush to scrape off residue from the grates. For a new grill, just wipe it down to remove manufacturing oils or dust.
A good wash with warm, soapy water can also help, especially for used grates. Just make sure to rinse them thoroughly and dry them completely afterward. We found that starting clean is non-negotiable for a successful season.
Step 2: Apply a Thin Oil Layer
Once your grates are dry, it’s time for the oil. Dip a paper towel into your chosen high smoke point oil. Then, wipe a very thin, even layer over all the cooking surfaces. Don’t drench it! A little goes a long way here.
You want to create a barely visible film. Too much oil will lead to a sticky, gummy mess rather than a smooth, hard season. Consider wearing gloves to keep your hands clean.
Step 3: Heat It Up!
Now, fire up your charcoal grill. Arrange your coals for indirect heat if possible, or just spread them evenly. You want the grill to reach a medium-high temperature, usually around 350-400°F (175-200°C). Close the lid.
Let the grill heat with the oiled grates inside for about an hour. During this time, the oil will polymerize, meaning it bakes onto the metal and forms that protective layer. You might see some smoke; that’s normal.
Step 4: Let it Cool Completely
After an hour, let the coals die down and allow the grill to cool completely. This is a very important step. The cooling process helps to set that hardened layer you just created.
Resist the urge to touch it or use it right away. A completely cool grill helps the seasoning bond better to the metal.
Step 5: Repeat for Best Results
For the absolute best results, repeat steps 2 through 4 several times. Many experts say that three to five coats are ideal (Weber Grill Care). Each layer adds to the durability and non-stick quality.
Think of it like building muscle; consistency matters. Each cycle builds on the last, giving you a truly robust, long-lasting season.
Maintenance After Seasoning
Once your grill is seasoned, a little ongoing care will keep it in top shape. After each cook, scrape off any food residue with a grill brush. While the grates are still warm, you can wipe them down with a paper towel lightly coated in cooking oil.
This simple habit helps maintain the non-stick layer and protects against rust. Avoid harsh soaps or abrasive cleaners on your seasoned grates. They can strip away the hard-earned seasoning.
When to Re-Season Your Grill
How often do you need to do this? Well, it depends on how much you use your grill and how you clean it. You might need to re-season:
- If you notice food starting to stick more often.
- When you see signs of rust developing.
- After a particularly heavy cleaning that might have stripped some seasoning.
- At the beginning of each grilling season, if you store it during winter.
It’s not an exact science. Just keep an eye on your grates. If they look dull or food isn’t sliding off, it’s a good sign it’s time for a touch-up.
Seasoning Checklist
- Grill is clean and dry.
- Chosen high smoke point oil.
- Paper towels or clean cloth.
- Gloves (optional, but recommended).
- Enough charcoal for an hour of heat.
Conclusion
Seasoning your charcoal grill is a small effort with big rewards. It’s an investment in the longevity of your equipment and the enjoyment of your grilling. By taking the time to properly clean, oil, and heat your grill, you’re creating a durable, non-stick surface that will make every cookout a joy.
From rust prevention to easier cleanup and better-tasting food, the benefits are clear. So, grab your oil, fire up your grill, and get ready for many delicious meals ahead. Happy grilling!
What is the main benefit of seasoning a new charcoal grill?
The main benefit of seasoning a new charcoal grill is to create a protective, non-stick barrier on the metal surfaces. This layer helps prevent rust and makes food release much easier during cooking.
Can I use olive oil to season my charcoal grill?
It is not recommended to use olive oil for seasoning your charcoal grill. Olive oil has a low smoke point and can break down quickly, leaving a sticky, gummy residue rather than a hard, protective seasoning layer.
How many times should I season my grill grates?
Many experts recommend seasoning your grill grates three to five times for the best results. Each layer builds on the last, creating a more durable and effective non-stick surface.
What should I do if my grill grates start to rust after seasoning?
If your grill grates start to rust after seasoning, clean off the rust thoroughly with a stiff brush. Then, dry the grates completely and repeat the seasoning process with several thin coats of a high smoke point oil.
Is seasoning only for cast iron grill grates?
While often associated with cast iron, seasoning is beneficial for any metal grill grates that are prone to rust, including steel. It protects the metal and creates a better cooking surface regardless of the specific material.