
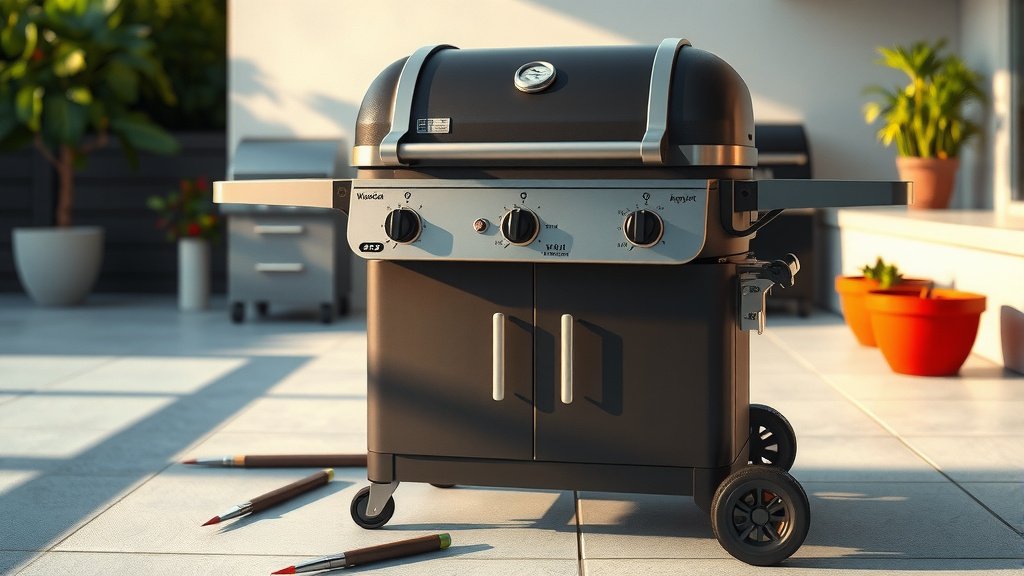
You can paint a BBQ grill using high-heat grill paint designed for extreme temperatures, after thoroughly cleaning and priming the surface.
To successfully paint a BBQ grill, you need specialized paint, proper surface preparation, and a dry, dust-free environment for application.
Here’s a quick overview of what you’ll learn in this guide:
- Discover the right type of paint for your BBQ grill.
- Understand the essential steps for preparation and safety.
- Learn how to apply the paint for a lasting finish.
- Find out how to cure your painted grill properly.
How To Paint A BBQ Grill?
Painting your BBQ grill involves specific steps and materials to ensure the new finish withstands high heat and lasts a long time. It’s a project you can tackle yourself with the right guidance.
Why Bother Painting Your Grill?
You might be wondering, “Why paint it at all?” A fresh coat of paint doesn’t just make your grill look new again. It also adds a layer of protection, helping to prevent rust and extend its life. Think of it like a superhero cape for your grill!
Understanding Heat Requirements
Your grill gets incredibly hot, right? That means you can’t just use any old paint. You need a paint that can handle temperatures up to 1200°F (650°C) or even higher. Using the wrong paint will lead to peeling, blistering, and even dangerous fumes when heated.
Gather Your Essential Supplies
Before you start, gather everything you’ll need. This saves time and keeps your project moving smoothly. Imagine trying to bake a cake without all your ingredients ready!
The Right Paint for the Job
Look for paints specifically labeled as “high-heat,” “BBQ,” or “engine enamel.” These are formulated with special resins that can endure extreme temperatures. Many experts recommend spray paints for easier application and a smoother finish.
Safety First: What You Need
Safety is not something to skip. You’ll be dealing with chemicals and dust. Always wear gloves, eye protection, and a respirator. Many safety guidelines advise working in a well-ventilated area to avoid inhaling fumes (Safety Council).
Tools for Preparation
You’ll need wire brushes, sandpaper (various grits), a degreaser, and painter’s tape. Drop cloths are also handy to protect your work area. Think of these as your grill’s spa day tools.
Step-by-Step Preparation is Key
Prepping your grill properly is the most important part of the entire process. A good foundation means a good finish. Don’t rush this stage!
Cleaning Your Grill Thoroughly
First, give your grill a deep clean. Remove all grates, burners, and internal components. Use a wire brush to scrape off loose rust, grease, and old paint. A clean surface helps new paint adhere properly.
Degreasing the Surface
After scraping, use a heavy-duty degreaser to remove any remaining oil or grease. Rinse thoroughly with water and let it dry completely. We found that mineral spirits or acetone work well for this task.
Sanding for Adhesion
Now, grab your sandpaper. Start with a coarser grit (like 80-100) to remove stubborn rust or paint, then move to a finer grit (180-220) for a smoother finish. This creates a slightly rough surface for the paint to grip. Think of it like exfoliating before moisturizing.
Masking and Protecting
Use painter’s tape to mask off any areas you don’t want painted, such as handles, temperature gauges, or control knobs. Cover your surrounding area with drop cloths to catch overspray. You don’t want a polka-dotted patio, do you?
Applying the High-Heat Paint
With your grill prepped, it’s time for the exciting part – painting!
Priming the Surface (Optional but Recommended)
Some high-heat paints are self-priming. If yours isn’t, apply a high-heat primer first. This step provides an extra layer of protection and helps the topcoat adhere better. Follow the manufacturer’s instructions for drying times.
Applying the Paint Evenly
Shake your spray can vigorously for at least a minute. Hold the can about 8-12 inches from the surface and apply light, even coats. Avoid thick coats, as they can drip and create an uneven finish. Thin coats are better than one thick one, allowing each to dry fully. Many experts suggest doing multiple thin coats rather than one heavy layer for the best results (Paint Industry Standards).
Drying Between Coats
Read the paint can for specific drying times between coats. This is usually 15-30 minutes. Be patient! Rushing this step can lead to a sticky mess. You want each layer to be dry to the touch before adding another.
How Many Coats Are Enough?
Typically, 2-3 thin coats are sufficient for good coverage and durability. You might need more if you’re changing a very dark color to a light one, or vice versa. Keep an eye on the coverage as you go.
Curing Your Painted Grill
This is a critical step for high-heat paint. Curing bakes the paint onto the metal, making it incredibly durable and ready for high temperatures.
The Curing Process
After the final coat has dried for at least 24 hours (or as directed by the paint manufacturer), it’s time to cure. Place your grates back in the grill.
Light your grill and gradually increase the temperature. We found that starting low and slowly increasing heat over a few hours works best. Allow it to run at maximum heat for 30-60 minutes. You’ll notice some smoke and a strong smell – this is normal as the paint cures. Make sure to do this in a well-ventilated outdoor space.
Here’s a simple checklist to ensure you’re ready:
- Safety gear on? (Gloves, eye protection, respirator)
- Grill disassembled and cleaned?
- Surface degreased and sanded?
- Non-painted parts masked off?
- High-heat paint and primer ready?
Comparing paint types for grills:
| Paint Type | Pros | Cons | Ideal Use |
|---|---|---|---|
| High-Heat Spray Paint | Easy to apply, smooth finish, good coverage. | Requires good ventilation, potential for overspray. | Large, exterior surfaces, quick application. |
| High-Heat Brush-On Paint | Precise application, less overspray, thicker coat. | Can leave brush marks, slower application. | Small areas, touch-ups, intricate parts. |
Conclusion
Painting your BBQ grill might seem like a big job, but with the right preparation, tools, and a little patience, you can give your beloved grill a whole new lease on life. Remember, the key is in the details – from thorough cleaning and sanding to even paint application and proper curing. You’re not just painting a grill; you’re preserving memories and future delicious meals. So, grab your gear, follow these steps, and enjoy your revitalized cooking companion!
Can I use regular spray paint on a BBQ grill?
No, you absolutely should not use regular spray paint on a BBQ grill. Regular paints are not designed to withstand the extreme temperatures a grill reaches and will quickly peel, blister, and release toxic fumes when heated. Always use a specialized high-heat paint.
How long does high-heat grill paint last?
When applied correctly with proper surface preparation and curing, high-heat grill paint can last for several years. Its lifespan depends on the quality of the paint, how often you use your grill, and how well you maintain it.
Do I need to prime my BBQ grill before painting?
While some high-heat paints are self-priming, it’s generally a good idea to use a high-heat primer, especially if you’re painting over bare metal or significant rust spots. A primer improves adhesion and offers an extra layer of protection, making your paint job more durable.
What should I do if my grill starts smoking a lot after painting?
It’s normal for your grill to smoke and emit a strong odor during the initial curing process. This is the paint baking onto the metal. Ensure you cure your grill outdoors in a very well-ventilated area. If excessive smoking continues after a few curing cycles, double-check that you used the correct high-heat paint and applied it thinly.
Can I paint the inside of my BBQ grill?
It is generally not recommended to paint the interior cooking surfaces or firebox of your BBQ grill. Even high-heat paints can potentially degrade over time or affect food flavor. Most manufacturers advise against it. The exterior of the grill is where you should focus your painting efforts.
