
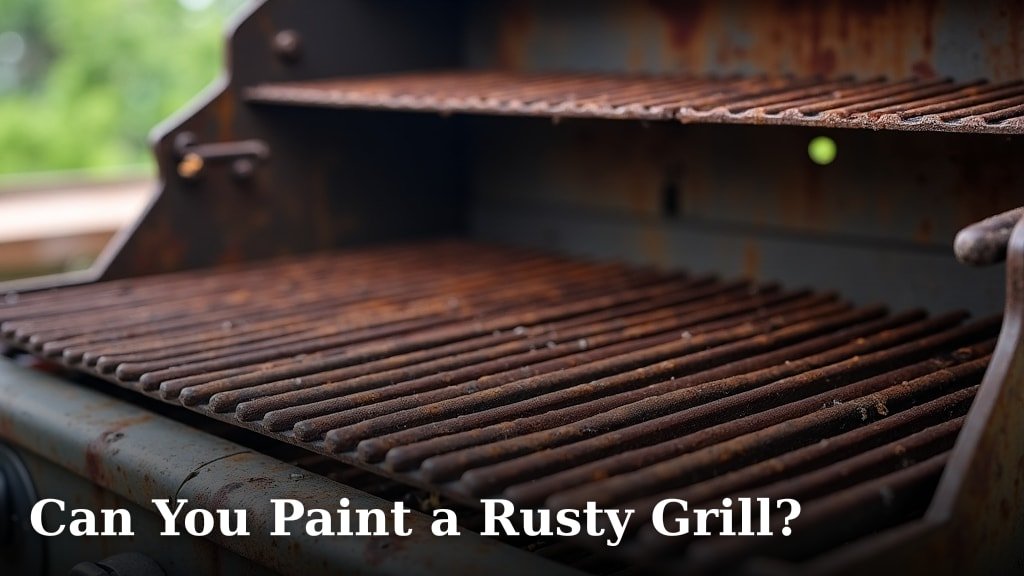
Yes, you can absolutely paint a rusty grill! It’s a great way to revive an old grill and give it a fresh, new look. You just need to make sure you prep the surface properly to ensure the paint lasts. A little elbow grease goes a long way here.
Painting a grill isn’t just about aesthetics; it can also offer some protection. Properly prepared and painted surfaces can help prevent further rust. Many people wonder if grill paint is safe for food, and we found that using high-heat grill paint is perfectly safe once it’s fully cured.
- Yes, you can paint a rusty grill.
- Proper prep is key for good results.
- Use high-heat, grill-specific paint.
- Ensure the paint is fully cured before cooking.
- It can extend your grill’s lifespan.
Ready to get your grill looking good as new? Below, we’ll walk you through the simple steps to paint your rusty grill safely and effectively.
Giving Your Rusty Grill a Fresh Coat: Painting It Right
So, you’ve got a grill that’s seen better days. Rust has started creeping in, and you’re wondering if it’s time to say goodbye. But wait! Before you send it to the scrap heap, consider this: you can absolutely give that rusty grill a new lease on life by painting it. It’s a fantastic way to revive its look and even add a bit of protection. The key to a successful paint job? Proper preparation. It might sound like a lot of work, but trust us, a little effort now means a grill you’ll be proud to show off.
Why Bother Painting a Rusty Grill?
Painting a grill isn’t just about making it pretty. While a fresh coat of paint can dramatically improve its appearance, it also serves a functional purpose. When done correctly, it can act as a barrier against further rust. Think of it like giving your grill a protective shield. We found that many grill owners turn to painting as a cost-effective way to extend their grill’s lifespan.
It’s a smart choice for your wallet and the environment. Instead of buying a new grill, you can refurbish the one you have. We’ve seen grills that looked destined for the curb transformed into backyard showpieces with just a bit of paint and elbow grease. It really is amazing what a difference it can make!
The Essential Steps to Painting Your Grill
Painting a rusty grill involves a few key stages. You can’t just grab a can of spray paint and go. You need to tackle that rust first. Then, you’ll clean and prime the surface. Finally, you’ll apply the paint itself. Let’s break down each step so you can achieve a smooth, durable finish.
Step 1: Tackling the Rust – Your First Line of Defense
This is the most important part. You need to remove as much of the rust as possible. If you paint over rust, it will just keep spreading underneath the new paint. We found that thorough rust removal is critical for paint adhesion and longevity. For light rust spots, you might get away with a stiff wire brush. For heavier rust, you’ll need to step up your game.
Consider using sandpaper. Start with a coarser grit, like 80-grit, to really grind away the rust. Then, move to a finer grit, maybe 120 or 220, to smooth out the surface. Power tools can speed this up. A wire wheel attachment on a drill or an angle grinder can be very effective. Just be sure to wear protective gear, like gloves and safety glasses. We don’t want any accidents!
Another option for rust removal is a rust converter. These products chemically convert rust into a paintable surface. They are great for getting into nooks and crannies. You’ll typically apply them, let them dry, and then you can paint right over them. Many experts say this is a good approach for hard-to-reach areas (National Association of Home Builders).
Step 2: Cleaning and Degreasing for a Pristine Surface
Once you’ve zapped the rust, your grill’s surface is likely dusty and grimy. You need a clean canvas for your paint to stick to. Any grease, dirt, or debris will prevent the paint from adhering properly. This means your hard work could peel off in no time. We found that a good degreaser is your best friend here.
You can use a household degreaser or a specialized automotive degreaser. Apply it generously and scrub with a sponge or cloth. Rinse thoroughly with water. After rinsing, make sure you dry the grill completely. You don’t want any lingering moisture. Leaving it out in the sun for a bit can help speed up the drying process. A clean, dry surface is absolutely essential for a lasting paint job.
Step 3: Priming for Maximum Adhesion
Think of primer as the foundation of your paint job. It helps the paint stick better and provides a more uniform base color. For grills, you need a primer that can withstand high temperatures. Not all primers are created equal. We found that using a high-heat primer designed for metal surfaces is highly recommended. This will ensure your primer doesn’t bubble or peel when the grill heats up.
Apply the primer in thin, even coats. Follow the manufacturer’s instructions regarding drying times between coats. Most primers recommend two thin coats for best results. Make sure you cover all the areas you plan to paint. Don’t forget the underside and any parts that might not be immediately visible. A good primer seals the metal and prepares it for the topcoat.
Step 4: Choosing the Right Paint – High Heat is Key
This is where you select your color! But more importantly, you need to select the right type of paint. Standard spray paint won’t cut it. Grills get hot, very hot. You need a paint that can handle extreme temperatures without flaking, peeling, or releasing harmful fumes. We found that high-heat grill paint is specifically formulated for this purpose. These paints can often withstand temperatures of 1000°F (538°C) or more.
These paints come in various colors, though black and dark gray are the most common. Look for cans that clearly state “high heat” or “grill paint.” Read the label carefully to understand its temperature rating and application instructions. You’ll usually find these at hardware stores or automotive supply shops.
Step 5: Applying the Topcoat – Patience is a Virtue
Now for the fun part! Applying the actual grill paint. Just like with the primer, thin, even coats are best. Shake the can well before you start. Hold the can about 10-12 inches away from the surface. Use a steady back-and-forth motion, overlapping each stroke slightly. Avoid applying too much paint in one spot, which can lead to drips and runs.
Most high-heat grill paints recommend 2-3 thin coats. Allow sufficient drying time between each coat. This is where patience really pays off. Rushing the process can ruin your finish. Check the paint can for specific drying times. It might say “recoat within X minutes” or “wait X hours.” Always follow those guidelines.
Don’t forget to paint all sides of the components you’re working on. This includes the lid, side tables, and any other metal parts. Even the inside of the lid can benefit from a fresh coat, though some prefer to leave it as is. We found that many users achieve the best results by painting in a well-ventilated area, like outdoors on a calm day. This helps with even application and prevents fumes from building up.
Step 6: Curing the Paint – The Final, Crucial Wait
This is perhaps the most overlooked but vital step. High-heat paints need to “cure” before they can withstand high temperatures. This process hardens the paint and makes it durable. If you try to use your grill before the paint is fully cured, it will likely smell, smoke excessively, and could even peel. We found that the curing process typically involves heating the grill gradually.
After you’ve applied the final coat and allowed it to dry according to the can’s instructions, it’s time for the first “burn-off.” Start by lighting your grill on a low heat setting for about 15-30 minutes. Then, gradually increase the heat to medium-high for another 15-30 minutes. You might notice some smoke or odor, which is normal. Let the grill cool completely. You might need to repeat this heating process a couple of times over a few days.
The exact curing instructions can vary by brand. Always, always refer to the specific instructions on your paint can. Some manufacturers suggest heating the grill to a specific temperature for a set amount of time. For example, one common recommendation is to heat the grill to 300°F (149°C) for 30 minutes, then to 400°F (204°C) for 30 minutes, and finally to 500°F (260°C) for 30 minutes. This thorough curing process ensures your paint job will last and is safe for cooking.
What Kind of Paint Should You Use? A Quick Guide
When selecting paint for your grill, there are a few types to consider, but only one is truly ideal for direct heat application.
| Paint Type | Best For | Pros | Cons |
|---|---|---|---|
| Standard Spray Paint | Touch-ups on non-heated parts (like legs if they don’t get hot) | Widely available, many colors | Will peel, bubble, and off-gas at high temperatures; NOT recommended for main grill body. |
| High-Heat Enamel Paint | Grill bodies, fireboxes, grates (if specified by manufacturer) | Designed for temperatures up to 1000°F+, durable finish | Requires thorough prep, specific curing process needed |
| High-Heat Grill Paint (Aerosol or Brush-on) | The ideal choice for most grill parts | Specifically formulated for grill temperatures, excellent adhesion and heat resistance | Can be more expensive than standard paints, requires careful application and curing |
We found that investing in a high-quality, high-heat grill paint is the best way to ensure a durable and safe finish. Don’t cut corners here; it’s worth the extra few dollars per can.
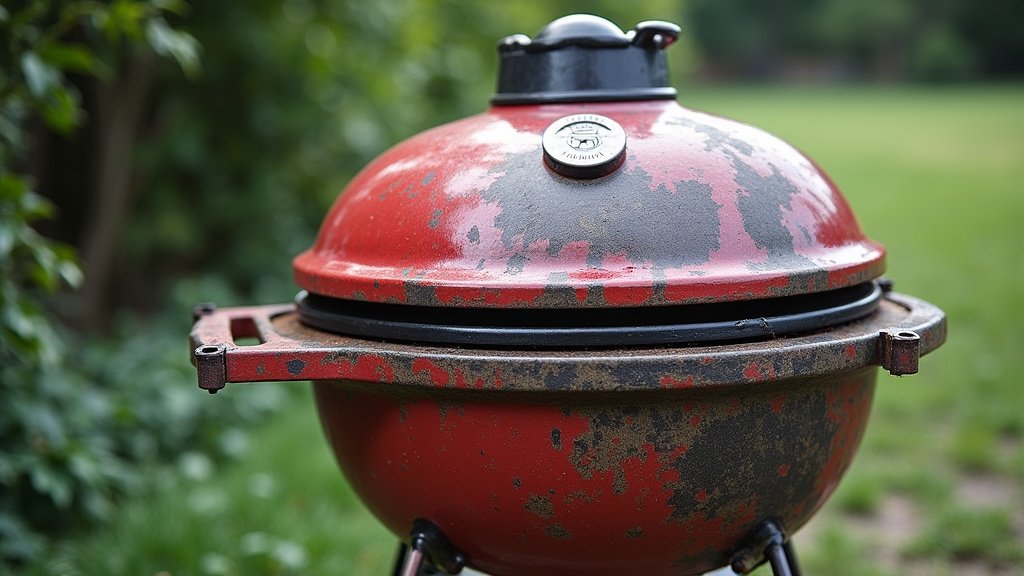
Safety First: What to Watch Out For
Your safety and the safety of anyone who will eat food cooked on your grill are paramount. We’ve already touched on wearing protective gear during the sanding and painting process. But there are other safety considerations.
First, ensure you are working in a well-ventilated area. Paint fumes can be strong and harmful if inhaled in large quantities. Outdoors is best. Second, make sure the paint you choose is food-safe *after it has fully cured*. Most high-heat grill paints are designed to be safe for cooking surfaces once they’ve gone through the proper curing process. They essentially burn off any volatile compounds during the initial heating stages. However, always double-check the product label to confirm it’s safe for direct or indirect food contact after curing. Some paints might only be suitable for the exterior.
We found that following the manufacturer’s instructions precisely, especially regarding curing, is the most critical safety measure. A fully cured grill paint should not flake, chip, or impart any taste or odor to your food. If you are painting interior parts that come into direct contact with food, such as the grates, it’s even more critical to use a paint specifically rated for that purpose and to follow all curing and cleaning instructions to the letter.
Quick Checklist for Your Grill Painting Project
Ready to get started? Here’s a quick rundown of what you’ll need and the key steps:
- Gather your supplies: Wire brush/sandpaper/sander, degreaser, rags, high-heat primer, high-heat grill paint, masking tape (optional), personal protective equipment (gloves, mask, safety glasses).
- Prep the surface: Remove all rust and debris. Clean thoroughly.
- Prime it right: Apply thin, even coats of high-heat primer.
- Paint with care: Use multiple thin coats of high-heat grill paint.
- Cure properly: Follow the paint manufacturer’s instructions for heating and cooling cycles.
- Wait patiently: Allow paint to fully cure before cooking.
By following these steps, you can transform your rusty grill into a functional and attractive centerpiece for your outdoor cooking adventures. You’ve got this!
Conclusion
You’ve learned that painting a rusty grill is definitely achievable and a fantastic way to refresh your outdoor cooking gear. Remember, thorough rust removal and meticulous cleaning are the secret ingredients to a lasting paint job. Always opt for high-heat grill paint and never skip the crucial curing process. By following these steps carefully, you’ll not only restore your grill’s appearance but also protect it from further damage. Ready to get started? Grab your supplies and give your grill the makeover it deserves!
Frequently Asked Questions
How long does painted grill paint typically last?
With proper preparation and the correct high-heat paint, your grill’s finish can last for several years. Factors like how often you use the grill and exposure to the elements will play a role in its longevity. Regular cleaning and maintenance will also help extend the painted surface’s life.
Can I paint the inside of my grill lid?
Yes, you can paint the inside of your grill lid, especially if it’s showing signs of rust or wear. Just ensure you use a high-heat grill paint rated for such use and follow the curing instructions precisely. This will ensure the paint is safe once your grill heats up.
What’s the difference between high-heat paint and regular spray paint for grills?
High-heat grill paint is specifically formulated to withstand extreme temperatures, often up to 1000°F (538°C), without bubbling, peeling, or off-gassing. Regular spray paint cannot handle this heat and will quickly degrade, making it unsafe and unsightly for grill surfaces.
Do I need to prime if I use a rust converter?
In most cases, no. Rust converters are designed to chemically transform rust into a stable, paintable surface, so they often act as their own primer. Always check the specific product instructions for the rust converter you are using to confirm if a separate primer is needed.
Can I paint my grill grates?
Painting grill grates is generally not recommended unless the paint is specifically designed for direct food contact and high heat. The constant scrubbing and direct food exposure can quickly wear down most paints. It’s usually best to clean your grates thoroughly or replace them if they are beyond repair.
