
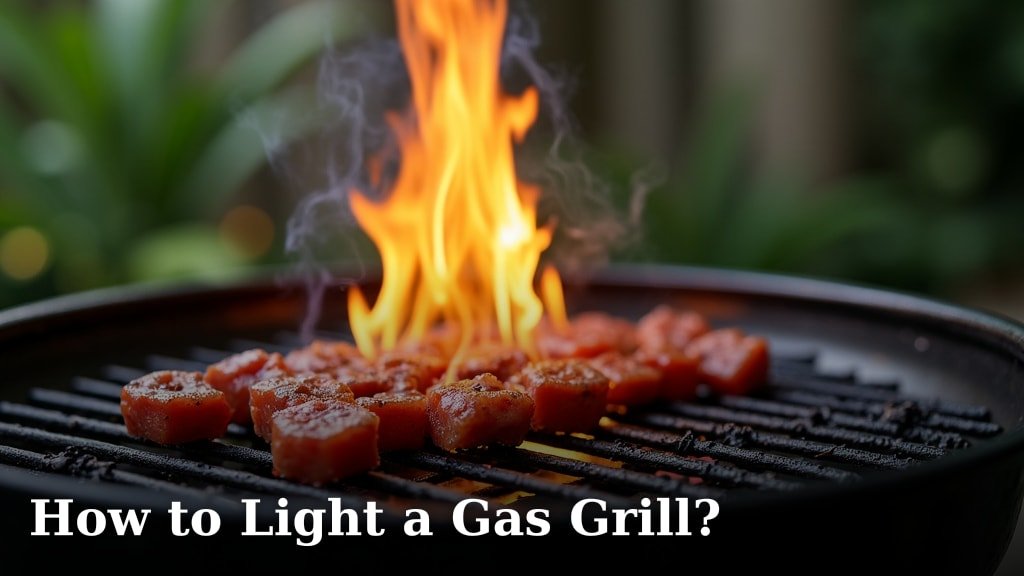
To light a gas grill, first open the lid to prevent gas buildup. Then, turn on the gas supply to the grill itself. Finally, turn one of the burner knobs to high and immediately press the igniter button to light the gas grill safely.
You want to master the art of firing up your grill without a hitch every time. Learning the correct steps helps you enjoy delicious food and prioritize safety. We’ve found that following a few simple guidelines makes a big difference.
TL;DR:
- Always open the lid first.
- Check your gas tank connection.
- Turn on your gas supply.
- Turn a burner to high and ignite.
- Use a manual method if the igniter fails.
Ready to become a grill master? Let’s walk through exactly how to light your gas grill, step by simple step, to ensure your next cookout goes off without a hitch.
Getting Started: Your Pre-Lighting Checklist
Before you even think about turning a knob, you’ll want to run through a quick checklist. We find that a few moments of preparation save a lot of frustration later. You’re building good grilling habits from the start.
Safety First: Always Open the Lid
This is non-negotiable. Always open the grill lid before attempting to light your gas grill. Why? Gas can accumulate under a closed lid. When you finally ignite it, this buildup can cause a dangerous flare-up or even a small explosion. It’s a simple step that protects you and your grill.
Check Your Gas Tank Connection and Levels
Ever tried to light a grill only to find no gas? It’s a common oversight! We recommend checking your propane tank. Is it connected securely? Is there enough gas in the tank? A quick shake can often tell you if it’s nearly empty. Many experts suggest keeping a spare tank on hand (Consumer Reports).
Visual Inspection of Hoses and Connections
Take a moment to look at the gas hose. Are there any visible cracks or kinks? Is it securely attached at both ends? You’re looking for wear and tear that could indicate a leak. We found that a yearly check helps prevent issues.
The “Soapy Water” Leak Test
If you suspect a leak, perform a simple soapy water test. Mix equal parts of water and dish soap in a spray bottle. With the gas tank valve open (but grill burners off), spray the connections and hose. If you see bubbles forming, you have a leak. Immediately turn off the gas and address the leak before lighting your grill.
The Step-by-Step Guide to Lighting Your Gas Grill
Once your pre-checks are complete, you’re ready to light that grill. It’s a straightforward process, but following the correct order ensures safety and success every time.
Step 1: Turn on the Gas Supply
Head over to your propane tank. Turn the valve slowly, counter-clockwise, until it’s fully open. You’ll hear a slight hiss sometimes, which is normal. This allows gas to flow from the tank to your grill. Don’t skip this step, or you’ll be pressing that igniter all day for nothing!
Step 2: Engage a Burner and Ignite
Now for the exciting part! Stand a safe distance away and reach for one of your grill’s burner knobs. Which one should you choose? We find it’s best to start with a burner closest to the igniter button if possible. Turn that chosen burner knob to the “High” setting. Do this quickly. Then, immediately press and hold the igniter button. You should hear a clicking sound and see a flame appear.
What If It Doesn’t Light Immediately?
If your grill doesn’t ignite within 3-5 seconds, stop. Turn off the burner knob completely. Wait about 5 minutes with the lid open. This allows any unburnt gas to dissipate safely. Then, try again. Repeating the process too quickly can lead to gas buildup.
Step 3: Confirm Ignition and Light Remaining Burners
Once one burner is lit, you’re on your way! Close the lid and let the grill preheat for 5-10 minutes. Then, you can turn on any additional burners you need for your cooking zone. We found that preheating ensures an even cooking surface.
Visual Confirmation of Flames
Are you unsure if it lit? Peek under the lid after pressing the igniter. You should see a blue flame. If not, refer to the “What If It Doesn’t Light” section above. Verifying the flame is important to prevent gas from escaping unburnt.
Troubleshooting: What to Do When Your Igniter Fails
Sometimes, technology lets us down. If your grill’s automatic igniter isn’t working, don’t despair! There’s a simple, safe manual method you can use.
Using a Manual Lighter or Long Match
You’ll need a long-nose lighter or an extra-long match. Never use a short match or standard cigarette lighter directly. Safety is paramount here (National Fire Protection Association). You want to keep your hands as far away from the burner as possible.
Here’s the process:
- Ensure the grill lid is open.
- Open the gas supply valve on your propane tank.
- Hold the flame from your long lighter or match close to the burner port (where the gas comes out).
- While holding the flame, turn the associated burner knob to “High.”
- The burner should ignite almost instantly.
- Once lit, remove your hand and the lighter.
- Close the lid and allow the grill to preheat.
We’ve found this method to be a reliable backup when the igniter acts up.
Common Reasons for Igniter Failure
Why might your igniter not be working? It could be a simple fix! We’ve researched and found a few common culprits:
- Dead Battery: Many igniters use a AAA battery. Have you changed it recently?
- Wet Components: Rain or moisture can get into the igniter button or electrodes.
- Clogged Electrode: Food debris or grease can block the spark. A gentle cleaning might help.
- Loose Wires: Check connections from the igniter button to the electrodes if you’re comfortable.
Addressing these issues can often get your igniter working again, saving you from manual lighting every time.
Maintaining Your Grill for Easy Lighting
A well-maintained grill is a happy grill, and it lights more reliably. Regular care makes your grilling experience much smoother and safer. You’re investing in the longevity of your equipment.
Regular Cleaning of Burners and Grates
Grease and food particles can build up over time, affecting performance. Cleaning your cooking grates after every use helps. Routinely brush your burners to remove debris that could block gas flow or igniter electrodes. We often recommend a thorough cleaning at least once a season.
Checking and Replacing Igniter Batteries
If your grill uses an electronic igniter, mark your calendar to change the battery annually. Many igniter batteries are located behind the control panel or within the igniter button itself. A fresh battery means a strong, consistent spark. It’s a small step that prevents bigger headaches.
A Quick Comparison: Pilot System vs. Electronic Igniter
Most modern gas grills feature electronic igniters. Older models, or some built-in units, might use a pilot light system. Understanding the difference helps you light your specific grill effectively.
| Feature | Electronic Igniter | Pilot System |
|---|---|---|
| Lighting Method | Push button for spark | Requires lighting a small, constant pilot flame first |
| Complexity | Simpler, one-step process | Two-step: light pilot, then main burners |
| Maintenance | Battery replacement, electrode cleaning | Pilot jet cleaning, monitoring pilot flame |
| Safety Note | Disengage quickly if no ignition | Ensure pilot is lit before turning main burners |
We find that most home grills today use electronic igniters, making the process very streamlined for you.
Your Quick Lighting Checklist
Before you get that perfect sear, run through this mental checklist. It will help ensure a smooth and safe grilling experience every time you fire up the BBQ.
- Lid open? (Essential!)
- Gas tank open and connected?
- Burner knob on HIGH?
- Igniter button pressed immediately?
- Flames confirmed?
- Manual lighter ready as a backup?
Following these simple steps means you’re always ready for your next culinary adventure outdoors.
Conclusion
You now have all the knowledge to safely and effectively light your gas grill. We’ve walked you through crucial safety checks, the step-by-step lighting process, and even troubleshooting for when your igniter decides to take a day off. Remembering to open the lid first and confirming your gas supply are tiny actions that make a huge difference.
A well-maintained grill is a reliable grill, so we recommend keeping up with regular cleaning and battery checks. By following these straightforward tips, you’re not just lighting a grill; you’re ensuring a safe, enjoyable, and delicious outdoor cooking experience every time. Go ahead, fire it up, and make some great food!
Frequently Asked Questions
What if my gas grill smells like gas but won’t light?
If you smell gas but don’t see a flame, turn off all burner knobs and the gas tank immediately. Leave the lid open and wait at least 15 minutes for the gas to dissipate before attempting to light it again. This indicates gas is flowing but not igniting, which can be a safety hazard.
How long should I preheat my gas grill before cooking?
We recommend preheating your gas grill for 10-15 minutes on medium-high heat after lighting. This allows the internal temperature to stabilize and the grates to get hot enough for a good sear. Proper preheating ensures even cooking and prevents food from sticking.
Can I use a charcoal starter fluid to light my gas grill?
No, you should never use charcoal starter fluid or any other flammable liquids on a gas grill. Gas grills are designed to ignite with their own fuel source (propane or natural gas). These fluids are highly dangerous and can cause serious flare-ups or explosions on a gas grill.
Why won’t my gas grill get hot enough after lighting?
If your grill lights but doesn’t reach high temperatures, you might be experiencing the “bypass mode” of your propane tank’s overfill protection device (OPD). We’ve found that fully closing the tank valve, disconnecting it, waiting 30 seconds, and then slowly reopening it can reset the system and restore full gas flow.
Is it normal for flames to be uneven across the burners?
Slightly uneven flames can be normal, especially if some burner ports are partially clogged with debris. However, if you notice significant differences or very weak flames, it could indicate blocked burner tubes or gas flow issues. Regular cleaning of your burner ports can often resolve this.
