
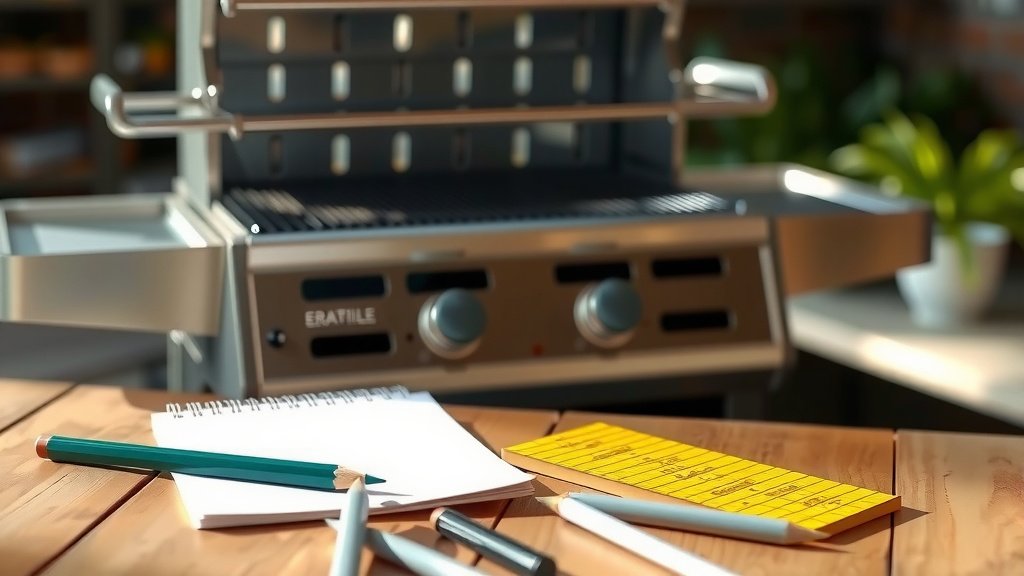
Drawing a BBQ grill is simpler than you might think, starting with basic shapes like circles and rectangles. You can create a realistic depiction by focusing on foundational geometry before adding specific details.
To draw a BBQ grill, begin by sketching the main body, then integrate elements such as legs, a lid, grates, and wheels to bring your drawing to life.
Here’s a quick summary of what you’ll discover in this guide:
- Learn to simplify the grill into basic shapes.
- Understand how to add essential components like legs and handles.
- Discover techniques for adding depth and realism with shading.
- Find out how to personalize your grill drawing.
- Get tips on the right tools and consistent practice.
How To Draw A BBQ Grill?
You can draw a BBQ grill by breaking it down into basic geometric forms, then adding specific features like grates and wheels. It’s a rewarding process for any drawing enthusiast.
Gathering Your Drawing Tools
Before you begin sketching your masterpiece, gather a few essential items. Having the right tools makes the drawing process much smoother. It also helps you correct mistakes easily, which is part of learning.
Many experts recommend starting with simple supplies. This prevents feeling overwhelmed by too many choices. You don’t need fancy equipment to create a great drawing.
- A few pencils (HB, 2B, 4B)
- An eraser (kneaded or vinyl)
- Drawing paper or a sketchbook
- A ruler (for straight lines, if you like)
- Optional: a blending stump or cotton swab
Starting With The Basic Shapes
Every complex object, even a BBQ grill, is just a collection of simpler shapes. Think of it as building blocks. Starting with these foundational forms sets up your drawing for success.
We often find that getting the main proportions right early on saves a lot of rework. Don’t worry about perfection just yet. This stage is all about layout.
The Grill Body
For most grills, the body is either a circle or a rectangle. If you’re drawing a classic kettle grill, begin with a large circle or oval for the main cooking chamber. For a gas grill, a wide rectangle will be your starting point.
Lightly sketch these primary shapes on your paper. These lines are just guides. You can easily erase them later as you add more detail.
Adding The Legs
Once you have the body, add the legs. Most kettle grills have three legs, while gas grills typically have four. Draw simple, straight lines extending downwards from the grill body.
Consider the angle of the legs. They often splay out slightly for stability. This creates a sturdy base for your grill drawing.
Bringing In The Details
Now comes the fun part: adding the elements that make your drawing instantly recognizable as a BBQ grill. These details truly transform your basic shapes into a functional outdoor cooker.
We find that focusing on one detail at a time keeps the process manageable. Take your time with each component.
The Grill Grate and Lid
Inside the main body, sketch the grill grate. These are usually parallel lines or a crosshatch pattern. For a round grill, curve the lines slightly to match the shape.
If your grill has a lid, draw an arc or a slightly smaller rectangle above the main body. Connect it with a hinge line. Remember, the lid often has a handle on top.
Handles and Wheels
Every grill needs a handle, usually on the lid or side table. Draw a simple elongated oval or rectangle for these. They make the grill easy to open and move.
For portability, many grills have wheels. Add two small circles at the bottom of two legs. These simple additions suggest mobility and a complete design.
Refining Your BBQ Grill Drawing
After outlining the major components, it’s time to refine your sketch. This stage involves making your lines cleaner and adding visual depth. It transforms a flat drawing into something more engaging.
Many artists suggest stepping back from your drawing occasionally. This helps you spot areas that need improvement. Fresh eyes can make a big difference.
Shading and Depth
Shading gives your grill drawing a three-dimensional look. Think about where your light source is coming from. Areas facing away from the light will be darker.
Use your softer pencils (like 2B or 4B) to add shadows under the lid, around the legs, and inside the grill body. Blending tools can soften these shadows for a realistic effect. Adding subtle shadows makes objects pop (Art Journal Quarterly).
Making It Your Own (A Little Flair)
Don’t be afraid to add personal touches. Maybe your grill has a side table, a temperature gauge, or even a small bag of charcoal next to it. These elements tell a story.
What kind of BBQ do you imagine cooking? Adding a smoke plume or even a piece of sizzling meat can add character. Your drawing is a reflection of your imagination!
Common Grill Types to Consider
While the basic drawing principles apply, different grill types have distinct features. Understanding these can help you choose what kind of grill to draw or add specific details.
We’ve found that knowing the common characteristics makes drawing much more authentic. Each type offers unique drawing challenges and rewards.
| Grill Type | Key Shape | Distinctive Features |
|---|---|---|
| Kettle Grill | Round/Oval | Dome lid, three legs, often a bottom ash catcher. |
| Gas Grill | Rectangular | Control knobs, multiple burners, side shelves, cabinet base. |
| Smoker (Offset) | Cylindrical (long) | Separate firebox, tall chimney, often on a cart. |
Practice Makes Perfect
Remember, drawing is a skill that improves with consistent practice. Don’t get discouraged if your first attempt isn’t exactly what you envisioned. Every artist started somewhere.
I recall trying to draw my first car, and it looked more like a brick on wheels! But with each attempt, it got closer to a recognizable vehicle. The same goes for your grill. Keep sketching different angles and details (Drawing Basics Guide).
Try drawing your grill from different viewpoints. What does it look like from the side? From above? Each new perspective offers a chance to refine your skills.
Conclusion
Drawing a BBQ grill is a fantastic way to practice breaking down complex objects into simple forms. By starting with basic shapes, adding key details, and then refining with shading, you can create a satisfying and realistic drawing.
We hope this guide has given you the confidence and the steps needed to sketch your very own backyard cooking station. Grab your pencil, find some paper, and let your creativity sizzle!
What basic shapes should I start with for a BBQ grill?
You should begin with a large circle or oval for a kettle-style grill, or a wide rectangle for a gas grill. These foundational shapes establish the main body before you add smaller details.
How do I make my grill drawing look three-dimensional?
To add depth, focus on shading. Identify a light source and apply darker tones to areas that would be in shadow, such as under the lid, beneath the legs, and inside the cooking chamber. Blending can help create smooth transitions.
Should I use a ruler when drawing a BBQ grill?
Using a ruler is entirely up to your preference. If you want very straight lines for elements like legs or the sides of a gas grill, a ruler can be helpful. However, freehand drawing often gives a more organic, human-like feel.
What are some good details to add to my grill drawing?
Consider adding handles, wheels, a temperature gauge on the lid, control knobs (for gas grills), side shelves, or even a tiny bag of charcoal nearby. These small elements enhance realism and personality.
How can I practice drawing different types of grills?
Look at photos of various grills online or in magazines. Try sketching a different type each time you draw. Focus on their unique shapes and features, like the offset firebox of a smoker or the multiple burners of a large gas grill.
