
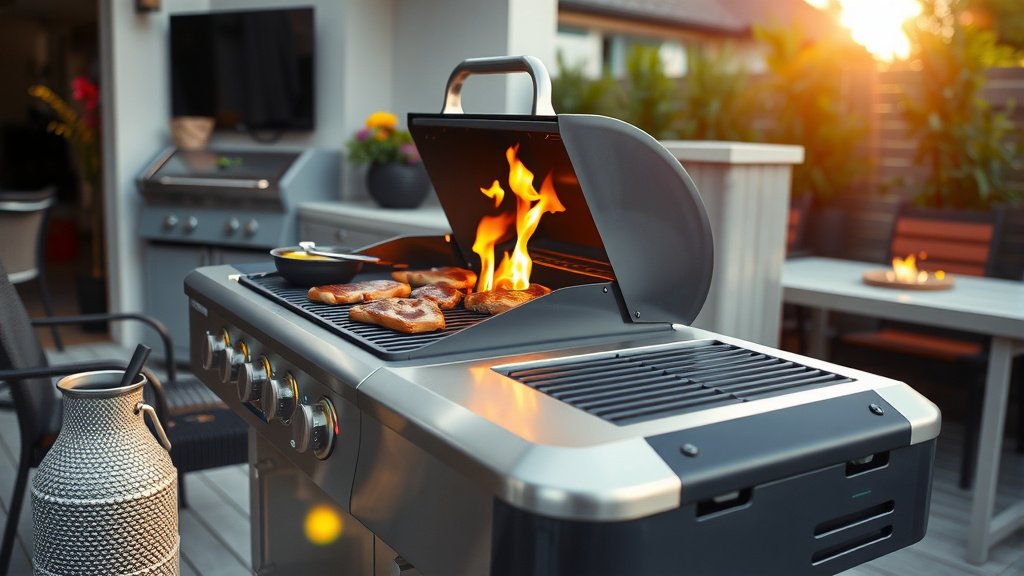
To cook on a gas grill, you first ignite the burners, preheat the grill to your desired temperature, then place your food on the grates, utilizing direct or indirect heat as needed.
You can achieve perfect grilling results by understanding temperature control, proper food placement, and knowing when your food is safely cooked, making gas grilling a versatile and enjoyable experience.
-
Before you cook, always prioritize safety by checking for gas leaks.
-
Preheating your grill to the right temperature is a critical step for best results.
-
Learn to use both direct and indirect heat zones for different types of food.
-
Use a meat thermometer to ensure your food reaches a safe internal temperature.
-
Clean your grill after each use to keep it ready and extend its lifespan.
How To Cook On A Gas Grill?
Cooking on a gas grill involves simple steps that lead to delicious meals. You start by ensuring safety, then move on to proper preheating and temperature management.
This guide will walk you through everything you need to know for successful gas grilling, from lighting up to serving your perfectly cooked dish.
Safety First: Your Grilling Commandment
Before you even think about lighting a burner, safety is your top priority. Grilling can be fun, but a few precautions keep it safe for everyone.
Always grill in a well-ventilated area, away from structures or anything flammable. Think of it like a mini outdoor kitchen where good habits save the day.
Checking for Leaks
A gas leak is a serious concern. We found that a simple soap and water test can prevent big problems (NFPA).
Mix liquid dish soap with water in a spray bottle. Spray it on the gas line connections and hoses. If you see bubbles, you have a leak. Turn off the gas immediately and fix it before grilling.
Preheating Your Gas Grill: The Golden Rule
You wouldn’t bake in a cold oven, would you? The same rule applies to your gas grill. Preheating is a non-negotiable step for the best results.
It helps achieve those beautiful sear marks and cooks your food evenly. It’s like giving your grill a warm-up before the main event.
Why Preheating Matters
Many experts say preheating for 10-15 minutes helps burn off any leftover food bits and brings your grates to a non-stick temperature (Weber Grills).
It also stabilizes the internal temperature of the grill, so when you put your food on, it starts cooking immediately at the right heat.
Understanding Direct vs. Indirect Heat Zones
Your gas grill is more versatile than you might think. You can create different heat zones for various cooking needs. This is where the magic happens.
Learning this technique opens up a world of grilling possibilities, from quick searing to slow roasting.
Direct Heat for Searing
Direct heat means cooking food directly over a lit burner. This method is perfect for foods that cook quickly, like thin steaks, burgers, or hot dogs.
You use it to get that beautiful crust and sear on your food. It’s like using a hot skillet, but with an open flame.
Indirect Heat for Gentle Cooking
Indirect heat means placing food over an unlit burner while adjacent burners are on. This creates an oven-like environment within your grill.
It’s ideal for larger cuts of meat, whole chickens, or anything that needs longer, slower cooking without burning. We found this method prevents charring while still cooking through.
Temperature Control: Mastering the Flames
Adjusting your burners allows you to control the heat with precision. Think of your grill knobs as your temperature dial, giving you power over your cook.
Low heat is usually around 250-300°F, medium is 350-400°F, and high can reach 450-550°F or more. Keep an eye on your grill’s built-in thermometer.
Grilling Different Foods: A Quick Guide
Different foods require different approaches. Knowing what heat and time work best helps you become a true grill master.
Below is a quick reference to get you started. Remember, these are guidelines, and your grill may behave a bit differently.
| Food Type | Recommended Heat | Typical Cooking Time | Internal Temp (If Applicable) |
|---|---|---|---|
| Burgers (1/2 inch thick) | Direct, High | 3-5 minutes per side | 160°F (USDA) |
| Chicken Breast | Direct then Indirect, Medium-High | 6-8 minutes per side | 165°F (USDA) |
| Steak (1 inch thick) | Direct, High | 4-6 minutes per side (medium-rare) | 135-140°F (medium-rare) |
| Fish Fillets | Direct, Medium | 3-5 minutes per side | 145°F (USDA) |
| Vegetables (sliced) | Direct, Medium | 5-10 minutes (turn often) | N/A (tender-crisp) |
Searing Meats Perfectly
For a beautiful sear on steaks or chops, get your grill grates screaming hot. Place your meat over direct, high heat for a few minutes per side.
This creates a flavorful crust. Then, if needed, move it to indirect heat to finish cooking without burning the exterior.
Grilling Vegetables with Zest
Vegetables grill quickly. Brush them lightly with oil and season them before placing them over medium-direct heat. Flip them often to prevent charring.
Asparagus, bell peppers, and zucchini are fantastic on the grill. They get a lovely smoky flavor and tender texture.
When Is Your Food Done? Internal Temperature Checks
Guessing if your food is done is a risky game. The only sure way to know is by using a reliable meat thermometer. This tool is your best friend for food safety and delicious results.
Insert the thermometer into the thickest part of the meat, avoiding bones. Many guidelines point to reaching specific internal temperatures for safety (USDA).
The Art of Resting Meat
Once your meat reaches the target internal temperature, resist the urge to slice into it immediately. Resting is a vital step often overlooked.
We found that letting meat rest for 5-10 minutes allows the juices to redistribute throughout, making it more tender and flavorful. Just cover it loosely with foil.
Post-Grill Cleanup: Essential for Longevity
Don’t let the fun end with a dirty grill. Cleaning your grill after each use is quick and prevents grime buildup.
A clean grill cooks better and lasts longer. It also makes your next grilling session much more pleasant.
Your Gas Grilling Checklist
To keep your grilling sessions smooth and enjoyable, here’s a quick checklist to run through:
-
Check your propane tank level.
-
Ensure gas connections are secure (perform leak test regularly).
-
Clean grill grates before and after cooking.
-
Preheat grill thoroughly to desired temperature.
-
Have a meat thermometer handy.
-
Keep a spray bottle with water for flare-ups.
Conclusion
Mastering your gas grill is a journey, not a destination. With a focus on safety, proper preheating, and understanding heat zones, you’re well on your way to becoming a confident grill master.
Remember that practice makes perfect, and every meal cooked outdoors is a chance to enjoy the process. So, fire up your grill and savor the delicious moments!
How do I know what temperature my grill is?
Most gas grills have a thermometer built into the lid. While these are good indicators, an instant-read digital thermometer placed near your food on the grates offers more accurate readings of the cooking surface temperature.
Can I use wood chips on a gas grill?
Yes, you can use wood chips on a gas grill to add smoky flavor. Place dry or pre-soaked wood chips in a foil pouch with holes or a smoker box. Put this over direct heat to start smoking, then move it to indirect heat.
Why is my food sticking to the grill grates?
Food often sticks to grates if the grill isn’t hot enough or if the grates aren’t clean and oiled. Ensure your grill is fully preheated, scrape off any old residue, and lightly oil the grates just before placing food on them.
How often should I clean my gas grill?
You should lightly brush your grill grates after every use while they are still warm. A deeper cleaning of the grates, drip tray, and flavorizer bars is recommended every 3-4 uses, or at least once a month during grilling season.
What is reverse searing on a gas grill?
Reverse searing involves cooking thicker cuts of meat slowly over indirect, low heat until almost done, then finishing with a quick sear over direct, high heat. This method creates a very tender interior with a perfect crust.
