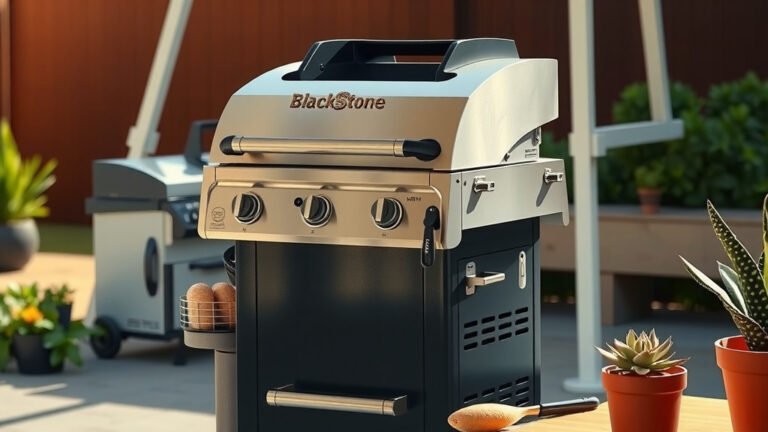
Assembling a Blackstone Grill typically involves attaching the griddle top, side shelves, and wheels to the main frame, using a few basic tools provided or commonly found in your garage.
You’ll connect the propane tank and perform a leak test before cooking, ensuring a safe and stable setup for your first delicious meal.
Here’s a quick overview of what you’ll find in this guide:
- Get your basic tools and unbox everything safely.
- Step-by-step instructions to build your grill’s frame.
- How to attach the side shelves and griddle top easily.
- Guidance on connecting your propane tank and checking for leaks.
- Important tips for the first use and seasoning your new griddle.
How To Assemble A Blackstone Grill?
Assembling your Blackstone Grill is simpler than you might think, primarily involving attaching the main components to create a stable cooking station.
Many owners find this a straightforward process that takes less than an hour, making your grilling dreams a quick reality.
Why Assemble Your Blackstone Grill Carefully?
Taking your time during assembly ensures your grill is stable, safe, and ready for years of delicious meals.
A properly assembled grill prevents wobbles and makes cooking a much more enjoyable experience for everyone.
What You’ll Need For Assembly
Before you start, gathering your items makes the whole process smooth and prevents interruptions.
You’re ready to build your new favorite cooking tool with just a little preparation.
Essential Tools
Blackstone often includes a small wrench for some steps, but you might want to grab a few extras for convenience.
Having a screwdriver and a crescent wrench on hand can make tightening bolts much easier, according to many users.
Unpacking Your Grill
Carefully open the box and remove all components, placing them on a soft surface to avoid scratches.
Check the parts list against your manual to confirm everything is there; you don’t want to be missing a crucial screw later.
Here’s a quick checklist of common parts you’ll usually find:
- Main frame or cart pieces
- Griddle top
- Side shelves (often two)
- Wheels and casters
- Hardware bag (bolts, washers, nuts)
- Propane regulator and hose
- Owner’s manual
Step-by-Step Assembly Guide
Let’s walk through the steps together, making sure you feel confident at each stage of setting up your grill.
Remember, patience is your best friend here, leading to a much better outcome.
Building the Base Frame
Start by laying out the main frame components on the ground, often the legs and crossbars.
Many models require you to attach the legs to the bottom shelf first, creating a sturdy foundation for your griddle (Consumer Reports).
Attaching the Wheels
Once the frame takes shape, secure the wheels to the designated spots, usually two fixed wheels and two locking casters.
This allows you to move your grill around easily, so make sure the locking mechanisms work correctly.
Securing the Side Shelves
The side shelves typically bolt onto the main frame, providing essential workspace and storage.
Some models have hinges, allowing them to fold down, a great feature for saving space when not in use.
Mounting the Griddle Top
Carefully lift the heavy griddle top and place it onto the assembled frame, ensuring it sits securely over the burners.
This part often just drops into place, but always double-check it’s level and stable.
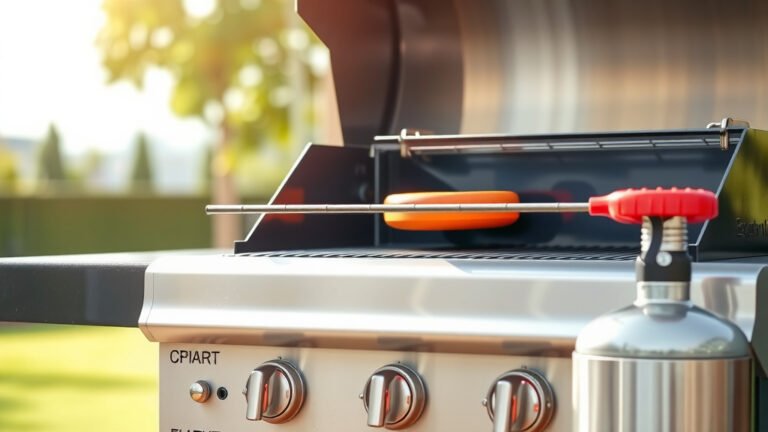
Connecting the Propane Tank
Attach the propane regulator and hose to your griddle’s gas inlet, twisting it on firmly but without overtightening.
Then, connect the other end to your propane tank, ensuring a snug, secure fit.
The All-Important Leak Test
Before you even think about lighting those burners, you must perform a leak test.
This simple safety step only takes a minute and can prevent serious issues (Gas Appliance Manufacturers Association).
Here’s how to do it:
| Step | Action | Expected Result |
|---|---|---|
| 1. Prepare Mixture | Mix dish soap and water in a spray bottle. | A foamy, soapy solution. |
| 2. Apply Solution | Spray solution generously on all gas connections. | Connections are fully covered. |
| 3. Turn On Gas | Slowly open your propane tank valve. | Gas flows to connections. |
| 4. Observe Bubbles | Look for any growing bubbles at the connections. | No bubbles mean no leaks. Growing bubbles indicate a leak. |
| 5. Troubleshoot | If bubbles appear, tighten connections and retest. | No bubbles after tightening. |
If you see bubbles, shut off the gas immediately and tighten the connection, then repeat the test until no bubbles appear.
This quick check is a critical safety measure that we found many experts strongly recommend before any use.
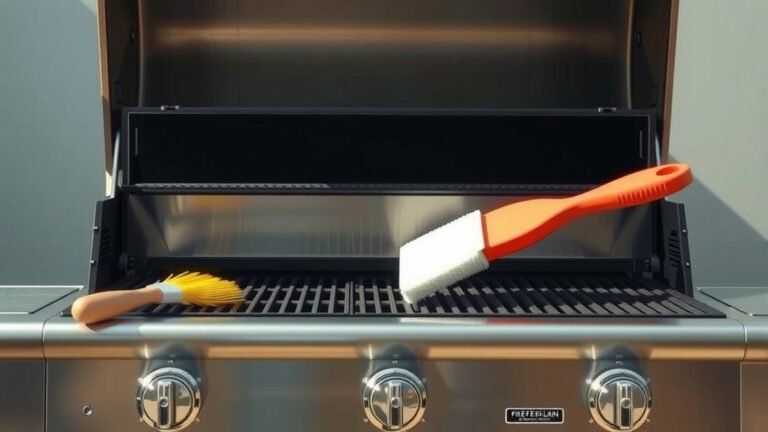
First Use and Seasoning Your Griddle
After assembly and a successful leak test, it’s time for the first burn and seasoning process.
Seasoning creates a natural non-stick surface and protects your griddle from rust, making your cooking much better.
Tips for a Smooth Setup
Here are a few extra pointers to make your Blackstone assembly as easy as possible:
- Read the entire manual first to get a clear overview of the steps.
- Ask a friend for help, especially when lifting the heavy griddle top.
- Organize all your hardware before you begin, keeping bolts and nuts separate.
- Don’t overtighten bolts too early; sometimes, a little wiggle room helps align parts.
- Have your phone handy for pictures if you need to reference the manual later.
Many first-time assemblers research and found that a second pair of hands can make a world of difference for a smoother process.
Conclusion
You’ve done it! Assembling your Blackstone Grill is a straightforward task that gets you ready for countless memorable meals.
By following these steps, performing the vital leak test, and properly seasoning your griddle, you’re all set for grilling success.
Now, go fire it up and enjoy the incredible flavors only a Blackstone can deliver!
How long does it typically take to assemble a Blackstone griddle?
Most Blackstone griddles can be assembled in 45 minutes to an hour and a half, depending on the model and whether you have help. We found that the larger units might take a bit longer due to more components.
Can I assemble a Blackstone griddle by myself?
Yes, many models are designed for single-person assembly. However, lifting the heavy griddle top onto the frame is much easier and safer with a second person, as research often points out for heavy lifting tasks.
What should I do if parts are missing from my Blackstone grill box?
If you find missing parts, check your packaging thoroughly first. If still missing, contact Blackstone customer service directly. They are generally helpful in sending out replacement parts promptly, as many users have shared.
Is it really necessary to do a leak test after assembly?
Absolutely, performing a leak test is a non-negotiable safety step. It ensures all gas connections are sealed correctly, preventing potential fire hazards. Many safety guidelines strongly advise this before any propane appliance is used.
What is the most important step in the assembly process?
While all steps are important, securing the griddle top properly and performing the leak test are arguably the most critical. These steps ensure both the safety and long-term usability of your Blackstone grill, providing a stable and secure cooking surface.