
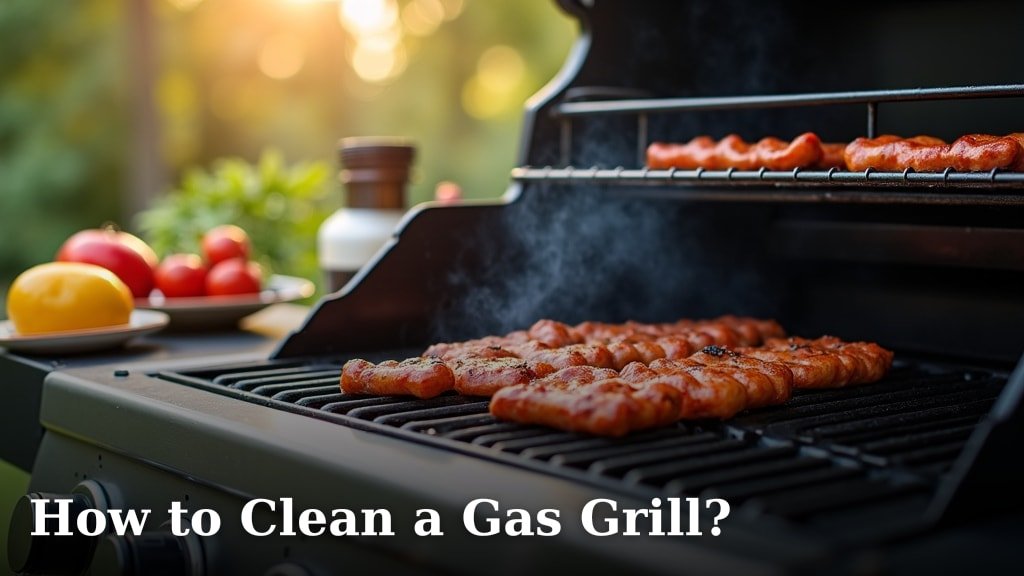
The easiest way to clean a gas grill is to burn off food residue, brush the grates, and then wipe down surfaces with specialized grill cleaners. This approach helps maintain your grill’s longevity and performance.
No one likes grilling on a dirty surface, right? We found that regularly cleaning your gas grill prevents rust and ensures your food always tastes great. Keeping your grill tidy also helps prevent flare-ups and keeps the burners working efficiently. You want your grill ready for action whenever you are!
- Burn off stuck-on food.
- Brush grates thoroughly.
- Clean drip pans and flavorizer bars.
- Wipe down exterior surfaces.
- Perform deep cleaning periodically.
So, are you ready to get your grill sparkling clean? Let’s walk through exactly how to clean a gas grill, step by step, so you can enjoy perfect BBQ every time.
Getting Your Gas Grill Spick-and-Span
Cleaning your gas grill doesn’t have to be a chore. With a few simple steps, you can keep it in top shape, ensuring delicious meals and a longer lifespan for your equipment.
Pre-Grill Cleaning Rituals
Before you even think about putting food on the grates, a quick pre-heat and brush can make a big difference. This step is often overlooked, but it’s crucial for hygiene and performance.
Burning Off Food Residue
The first thing you want to do is fire up your grill. Turn all burners to high. Close the lid and let it heat up for about 10-15 minutes. This intense heat will turn most of the stuck-on food and grease into ash. We found this method makes cleanup much easier. Think of it as a small, controlled self-cleaning oven for your grill!
Brushing the Grates
Once the grill is super hot, open the lid and use a sturdy grill brush. Scrape those grates until they shine. You’ll be amazed at how easily the charred bits come off after a good heat-up. We recommend a brush with stainless steel bristles. Just make sure to wipe any loose bristles from the grates afterward.
Post-Cook Cleanup: The Basics
You’ve enjoyed your meal, and everyone is full. Now it’s time for a quick post-cook cleanup. A little effort now saves a lot of work later, right?
While the Grill is Still Warm
After you’re done cooking, turn the burners off. Let the grill cool down a bit, but not completely. Cleaning the grates while they’re still warm (but not scalding hot!) is often the easiest approach. The residual heat helps loosen any remaining food particles before they harden completely.
Second Pass with the Grill Brush
Give the grates another good scrub with your grill brush. This second pass will remove anything that might have hardened while you were eating. It’s like a final rinse cycle for your cooking surface. We found that doing this regularly prevents tough buildups over time.
Deep Cleaning Your Gas Grill
Even with regular light cleaning, your grill needs a deeper clean a few times a year. This takes a bit more time but is essential for performance and safety. How often depends on how much you grill. If you’re a weekend warrior, quarterly might be good. If you grill less, twice a year could work.
Gather Your Supplies
Before you start, make sure you have everything you need. This little bit of prep saves you from running back and forth. You’ll want a few key items:
- Grill brush (wire or bristle-free)
- Bucket of warm, soapy water (dish soap works great)
- Sponge or scrub pad
- Plastic scraper or putty knife
- Newspaper or old towels
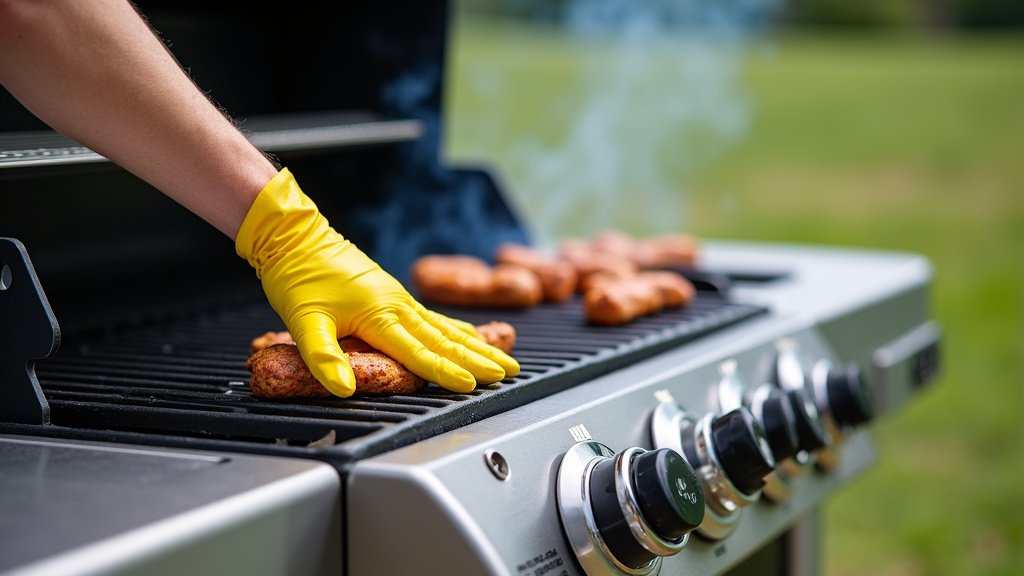
- Rubber gloves (to protect your hands)
- Grill cleaner (optional, but good for tough grease)
- Small brush or pipe cleaner (for burner ports)
Disconnecting the Gas
Safety first! Always make sure your grill is completely cool before starting a deep clean. Then, turn off the gas at the tank and disconnect the propane tank. This is a crucial step to avoid any accidents. We can’t stress this enough – never clean with the gas connected!
Cleaning Grill Grates
Remove the grates from your grill. If they’re particularly greasy, you can soak them in a large bucket or utility sink with warm, soapy water for about 30 minutes. This helps loosen baked-on grease. After soaking, scrub them thoroughly with your grill brush. Rinse them well and let them air dry completely before putting them back.
Cleaning Flavorizer Bars (Heat Diffusers)
These V-shaped pieces sit above the burners and protect them from dripping grease. They also help distribute heat. Carefully remove these. Scrape off any baked-on food or grease with a plastic scraper or putty knife. Many experts say a quick wipe down with soapy water and a rinse will work wonders here (Weber.com).
Tackling the Burner Tubes
The burner tubes are where the gas comes out to create your flame. It’s vital to keep these clear. If they’re clogged, your grill won’t heat evenly. Use a small brush or a paperclip to poke any clogged holes. You might also need to use a pipe cleaner to clear the ends of the tubes. Be gentle! You don’t want to damage them.
Cleaning the Firebox (Inside of the Grill)
Beneath the burners, you’ll find the firebox. This area collects a lot of grease and debris. Use a plastic scraper to push all the loose gunk into the drip pan. You can then wipe out the inside with a damp cloth. Avoid harsh chemicals here, as they can damage the interior finish of your grill over time.
Emptying and Cleaning the Drip Pan
The drip pan catches all the grease and food bits that fall through. If it gets too full, it can cause flare-ups. Remove the drip pan and dump out its contents. Wash it with warm, soapy water. Pay attention to any especially greasy spots. This is one of the most important parts for preventing grease fires (NFPA).
Wiping Down the Exterior
Now for the shiny part! The exterior of your grill can be cleaned with a damp cloth and mild dish soap. For stainless steel, a specialized stainless steel cleaner can make it really gleam. Always wipe with the grain of the stainless steel to avoid streaks. Make sure to wipe down the side tables and control knobs too. This makes your grill look brand new!
Here’s a quick checklist to help you stay organized during a deep clean:
- Disconnect gas tank.
- Remove and clean grates.
- Clean flavorizer bars.
- Clear burner ports.
- Clean firebox interior.
- Empty and wash drip pan.
- Wipe down exterior surfaces.
Tools and Products for Grill Cleaning
Having the right tools makes a huge difference. You wouldn’t use a butter knife to cut a steak, right? Similarly, good cleaning tools make the job easier and more effective.
The Right Grill Brush
There are different types of grill brushes. Wire brushes are popular, but some people worry about bristles breaking off. Bristle-free brushes or grill scrapers are also great options. We found that a sturdy, long-handled brush allows you to clean safely and effectively, especially when the grill is hot.
Specialized Grill Cleaners
While warm soapy water works for most general cleaning, a specialized grill cleaner can be helpful for really tough, baked-on grease. These cleaners are formulated to cut through grime without damaging your grill’s surfaces. Always read the instructions and ensure they are safe for your grill’s materials.
Here’s a simple comparison of basic cleaning methods:
| Method | Pros | Cons | Best For |
|---|---|---|---|
| Burn Off & Brush (Warm) | Quick, easy, everyday use. | Doesn’t clean deep grime. | Post-cook maintenance. |
| Soapy Water & Scrub | Effective for grease, low cost. | Requires disassembling parts. | Deep cleaning grates, drip pans. |
| Specialized Grill Cleaner | Cuts tough, baked-on grease Fast. | Can be more expensive, strong fumes. | Heavy duty cleaning, stubborn spots. |
Maintaining Your Grill for Longevity
Beyond cleaning, a few habits can really extend your grill’s life. A well-maintained grill is a happy grill, and it’s always ready for your next culinary adventure.
Using a Grill Cover
A good quality grill cover is like a superhero cape for your grill. It protects it from rain, snow, sun, and even dust. We found that covering your grill when not in use significantly reduces wear and tear. It keeps the exterior looking better and prevents rust.
Regular Inspections
Once in a while, take a moment to look over your grill. Check the gas hose for cracks. Ensure connections are tight. Look for any signs of rust developing on internal components. Catching small problems early can save you from bigger, more expensive repairs later on.
By following these steps, you’ll not only have a cleaner grill but also a safer and more efficient one. Happy grilling!
Conclusion
You’ve seen how a bit of regular cleaning and an occasional deep clean can make a huge difference for your gas grill. By burning off residue, brushing those grates, and tackling the interior components, you’re not just getting a clean cooking surface. You’re ensuring safer operation, preventing rust, and significantly extending your grill’s lifespan. We found that these simple steps keep your grilled food tasting its best and your outdoor cooking experience enjoyable for years to come.
So, grab your brush, disconnect that gas, and give your grill the care it deserves today!
Frequently Asked Questions
How often should I deep clean my gas grill?
We recommend a full deep cleaning at least twice a year. If you grill frequently, like every weekend, you might want to do it quarterly. Listen to your grill; if it’s getting really greasy or sluggish, it’s time for a deep dive.
Can I use oven cleaner to clean my grill grates?
Generally, you should avoid using oven cleaner on grill grates. Many oven cleaners contain harsh chemicals that can damage the finish on your grates or leave behind residues that aren’t safe for cooking. Stick to warm, soapy water or specialized grill cleaners.
Is it okay to clean my gas grill with water?
Yes, absolutely! Warm, soapy water is your best friend for cleaning most parts of your grill, especially the grates and drip pan. Just be sure to dry everything thoroughly afterward to prevent rust, especially on cast iron components.
What if bristles from my grill brush come off on the grates?
This is a real concern with wire brushes. After brushing, carefully inspect your grates for any loose bristles. You can use a damp paper towel or even a piece of bread to wipe them off. Many people opt for bristle-free brushes to avoid this risk.
How can I prevent flare-ups when grilling?
Regular cleaning, especially of the drip pan and flavorizer bars, is key to preventing flare-ups. Excess grease buildup is the main culprit. Also, trim excess fat from your meats before grilling to reduce drippings.
