To light a Blackstone grill, first connect your propane tank and ensure its valve is fully open.
Next, turn a burner control knob to the LIGHT or HIGH setting and press the igniter button firmly to spark the flame.
- Connect your propane tank, open its valve, then turn a burner knob to LIGHT or HIGH.
- Press the igniter button to start the flame and verify that the burner is lit.
- Troubleshoot issues by checking your propane levels, cleaning any clogged burners, or inspecting the igniter’s functionality.
- If the igniter fails, manually light the burner safely with a long lighter or match.
- Regular cleaning and routine maintenance keep your Blackstone griddle ready for every delicious meal.
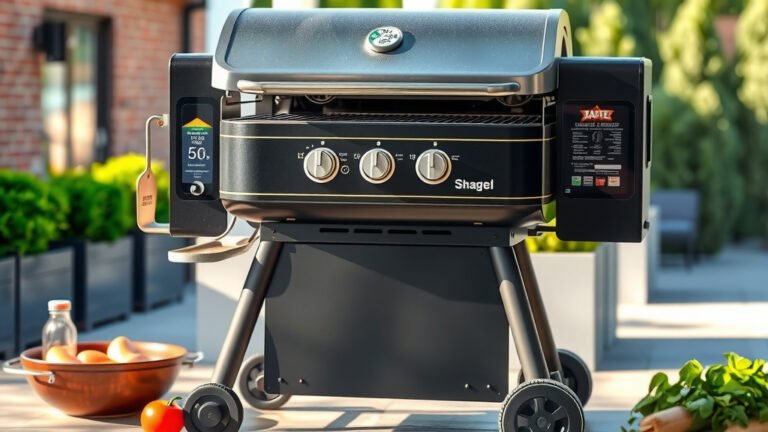
How To Light A Blackstone Grill?
Lighting your Blackstone grill involves a few simple, sequential steps to ensure both safety and efficient operation.
You will connect your gas, open the main valve, turn a specific knob, and then use the igniter to get your griddle ready for cooking.
Always Prioritize Safety First
Before you even think about lighting your griddle, always perform a quick safety check. We found that ensuring proper ventilation is extremely important when cooking (Gas Appliance Manufacturers Association).
Check all gas connections for a snug fit. You want to make sure there are no loose hoses or worn connections that could leak propane.
Gather Your Essential Tools
You don’t need much, but having your tools ready makes the process smooth. You will primarily need your propane tank, the built-in igniter, and perhaps a griddle scraper nearby.
A long lighter or grill matches are also helpful to have on hand as a backup, just in case your integrated igniter acts up.
Your Step-by-Step Lighting Guide
Ready to fire up that griddle? Let’s walk through it together. It’s often easier than you might think to get your Blackstone roaring.
First, ensure your propane tank is securely connected to your griddle. Then, slowly open the main valve on your propane tank all the way.
Now, choose the burner you want to light. Turn its control knob counter-clockwise to the LIGHT or HIGH setting. Many experts say this ensures maximum gas flow for ignition.
Firmly press and hold the igniter button. You should hear a clicking sound and see a spark near the burner. Keep holding until the burner ignites with a blue flame.
Once lit, release the igniter button. You can then adjust the flame to your desired cooking temperature using the control knob. Repeat for any additional burners you need.
What If It Doesn’t Light?
It’s frustrating when your grill doesn’t light right away, right? But don’t worry, there are a few common culprits. We often find that a simple check solves most issues.
Is your propane tank full? This might sound obvious, but it’s a frequent oversight. A low or empty tank is the most common reason for no flame (Consumer Reports).
Check the burner ports. Sometimes, food debris or grease can clog them, preventing gas flow. A quick clean with a thin wire often does the trick.
Inspect the igniter pin. Is it clean and positioned close enough to the burner? Sometimes they get greasy or bent slightly out of place, hindering the spark.
Finally, ensure your regulator is working correctly. If it’s frozen or faulty, it might restrict gas flow, preventing ignition. Research indicates that regulator issues are less common but can be a factor (Gas Appliance Manufacturers Association).
Manual Lighting: Your Backup Plan
If your igniter isn’t cooperating, don’t throw in the towel! Manual lighting is a simple and safe alternative. Just remember to be cautious and deliberate.
With the propane tank valve open, turn your desired burner control knob to the LIGHT or LOW position. Immediately use a long grill lighter or match to apply a flame directly to the burner ports.
The burner should ignite almost instantly. Once you see a steady flame, you can adjust the heat as needed. Always ensure your face and hands are a safe distance away.
Before You Cook: Seasoning Your Grill
If this is your first time lighting a new Blackstone, remember seasoning. This critical step creates a non-stick surface and protects your griddle from rust.
Many experts say to apply a very thin layer of high-smoke point oil, like flaxseed or avocado oil, and heat the griddle until it smokes. Let it cool, then repeat this process several times to build a robust, protective layer.
Keep Your Blackstone Ready
Regular maintenance ensures your griddle lights up easily every time. Keeping the burners clean and the regulator in good condition helps prevent future issues.
After each use, scrape off food residue and wipe down the griddle. This simple habit keeps your griddle performing its best for years to come.
Understanding Your Heat Zones
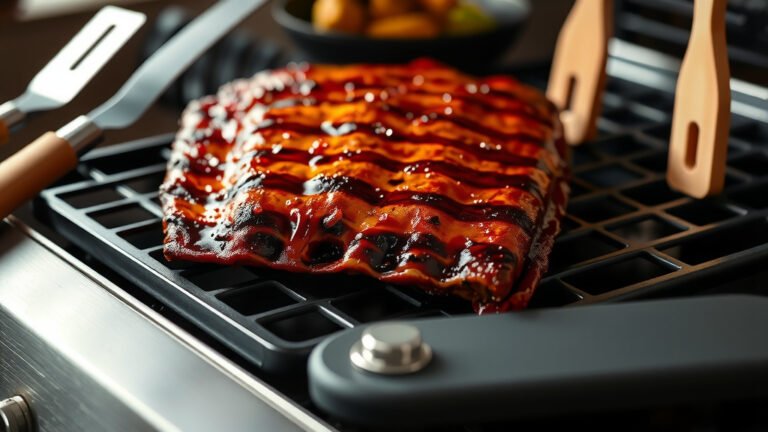
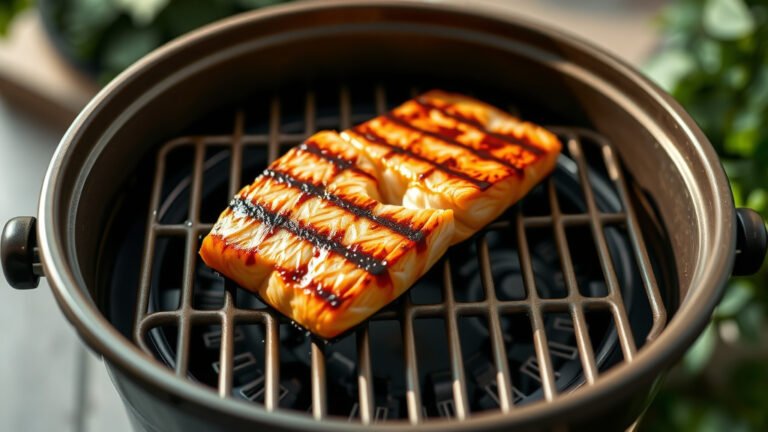
Blackstone griddles typically have multiple burners, allowing you to create different heat zones. This means you can cook pancakes on low heat on one side and sear steaks on high heat on the other.
Learning how your griddle distributes heat will help you cook more efficiently. You can achieve amazing results by mastering these zones.
| Common Lighting Issues | Possible Cause | Quick Fix |
|---|---|---|
| No Spark from Igniter | Dirty igniter pin; too far from burner | Clean igniter; gently adjust position |
| No Gas Flow | Empty propane tank; closed tank valve | Refill tank; open valve fully |
| Burner Clogs | Food debris or grease in ports | Clean burner ports with a brush or wire |
| Regulator Hissing/Faulty | Regulator in bypass mode or damaged | Disconnect/reconnect tank; replace regulator |
When Professional Help is Best
While most lighting issues are simple to fix yourself, some situations call for professional attention. If you consistently smell gas without ignition, or if you suspect a serious leak, turn off the tank immediately.
Persistent problems with your regulator or gas lines are best handled by a qualified technician. Your safety is always paramount, so don’t hesitate to seek expert advice if you’re unsure.
Quick Lighting Checklist
- Propane Tank: Is it full and its valve fully open?
- Gas Connections: Are all hoses securely tightened?
- Burner Knobs: Set to LIGHT or HIGH for ignition?
- Igniter Button: Pressed firmly and sparking?
- Flame Check: Did the burner light with a blue flame?
Conclusion
Lighting your Blackstone griddle is a straightforward process that becomes second nature with a little practice. By following these steps and keeping safety in mind, you’ll be cooking up delicious meals in no time.
Remember that a clean griddle and an understanding of its basic components will contribute to a smooth and enjoyable cooking experience. So go ahead, fire it up and enjoy your griddle!
How do I know if my Blackstone griddle is properly seasoned?
You’ll know your Blackstone griddle is properly seasoned when it has a deep, dark brown or black, smooth, and slightly glossy appearance. Food also shouldn’t stick readily to the surface during cooking.
Can I use any type of oil for seasoning my Blackstone?
While many oils can be used, we found that high-smoke point oils like flaxseed, avocado, grapeseed, or canola oil are best for seasoning. They create a more durable and effective non-stick layer.
My igniter clicks but no flame appears. What should I do?
If your igniter clicks but you see no flame, first confirm your propane tank is open and has fuel. Then, check for any clogs in the burner ports or ensure the igniter pin is clean and properly positioned near the burner.
Is it safe to leave the propane tank connected to the Blackstone all the time?
Many experts advise turning off the propane tank valve after each use, even if it’s still connected. This helps prevent accidental gas leaks and protects the regulator from unnecessary pressure, extending its lifespan.
How often should I clean the burners on my Blackstone griddle?
While you should clean the griddle surface after every use, cleaning the actual burners isn’t usually required after every cook. A thorough cleaning of the burners to remove debris or spiderwebs should be done a few times a season, or if you notice uneven flames or ignition issues.