
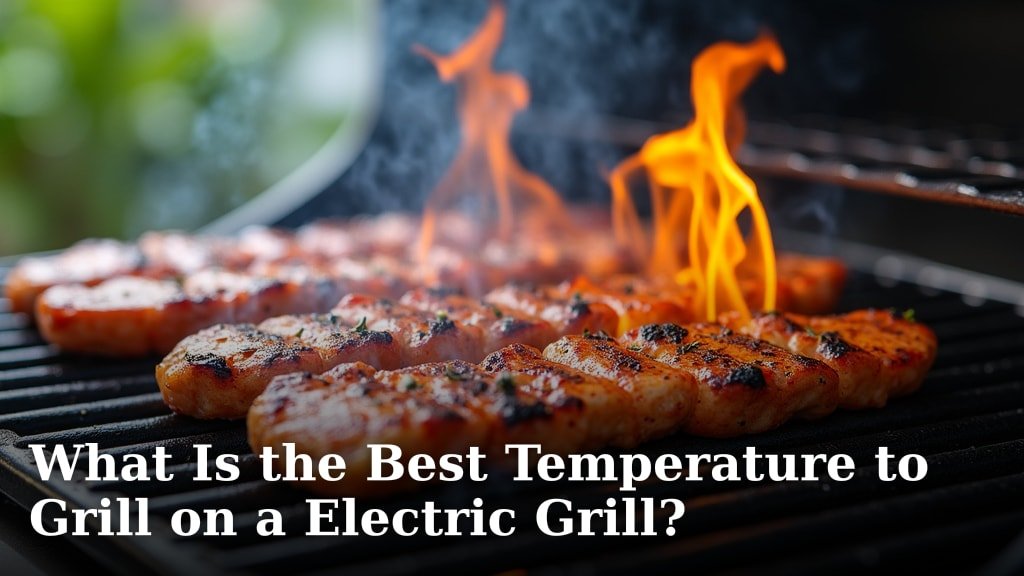
The best temperature for grilling on an electric grill generally falls between 350°F and 450°F. This range provides enough heat to sear foods nicely while allowing them to cook through without burning. For most common items like burgers, chicken, and vegetables, aiming for the For more details on achieving perfectly cooked burgers, check out this guide on how long to grill burgers.medium-high heat setting will give you great results.
Understanding your electric grill’s temperature zones is also key. While a single dial might seem simple, different areas can get hotter. Knowing where to place your food helps ensure even cooking and a delicious char. We found that mastering this temperature range is the secret to electric grill success.
- Ideal Range: 350°F – 450°F for most foods.
- Medium-High Heat: Great for burgers, chicken, and veggies.
- Temperature Zones: Be aware of hot spots on your grill.
- Experimentation: Small adjustments make a big difference.
Ready to get your grill party started? Let’s break down the temperatures you’ll need for all your favorite foods.
Mastering Electric Grill Temperatures for Perfect Results
So, you’ve got your electric grill ready to go. That’s fantastic! Now, let’s talk about the magic number: temperature. Getting this right is the key to transforming your grilled food from “okay” to “wow!” We’ve found that most electric grills perform best when you aim for a heat between 350°F and 450°F. This range is your sweet spot for achieving that delicious sear and perfectly cooked interior.
Think of your electric grill like a stove burner. Too low, and your food just steams. Too high, and you get a burnt exterior with a raw middle. Finding that perfect middle ground ensures your burgers get that irresistible crust, your chicken cooks through safely, and your veggies develop those lovely char marks without turning to ash. It’s all about control and understanding what your grill can do.
Understanding Your Electric Grill’s Heat Settings
Electric grills are wonderfully straightforward, but understanding their heat settings is still important. Unlike gas or charcoal grills where you might adjust vents or fuel, electric grills typically have a simple dial or digital control. This makes them incredibly user-friendly. We often see settings labeled as low, medium, high, or sometimes specific temperature readings. Knowing what these mean is your first step.
Interpreting the Heat Dial
Most electric grills use a dial with markings like ‘Low,’ ‘Medium,’ and ‘High.’ Some might even have numbers or specific temperature ranges. When you see ‘Medium,’ it usually translates to around 300-350°F. ‘Medium-High’ is often in that sweet 350-400°F zone, and ‘High’ can push upwards of 450°F or even more.
The best advice? Start with the manual for your specific grill model. It will often give you a guide on what each setting is intended for. Many users find that the ‘Medium-High’ setting is a fantastic all-rounder for most of their grilling needs. It offers a good balance of cooking power and control.
The Importance of Preheating
Just like a conventional oven, your electric grill needs time to heat up. Trying to grill on a cold or under-heated grill is a recipe for sticking and uneven cooking. We recommend allowing your grill at least 10-15 minutes to preheat fully. This ensures the grates are hot enough to create that beautiful sear and prevent food from clinging stubbornly.
During preheating, cover the grill lid if it has one. This traps the heat and speeds up the process. You’ll know it’s ready when the indicator light goes off (if it has one) or when it feels genuinely hot to the touch (be careful!). A well-preheated grill is your partner in achieving that delicious, restaurant-quality char.
Temperature Guide for Different Foods
Different foods require different temperatures to cook perfectly. What works for a delicate fish won’t work for a thick steak. Let’s break down some common grilling favorites and their ideal temperature ranges. We’ve found that a little bit of temperature knowledge goes a long way.
Burgers and Steaks: The Sear Factor
For juicy burgers and tender steaks, you want high heat to get that perfect sear. We recommend aiming for a temperature between 400°F and 450°F. This high heat sears the outside quickly, locking in moisture and creating those desirable grill marks.
Cook time will vary based on thickness and your desired doneness. For medium burgers, you might only need 3-5 minutes per side. Steaks require a bit more attention; a 1-inch thick steak might take 4-6 minutes per side for medium-rare. Remember, you can always lower the heat if the outside is cooking too fast but the inside isn’t done.
Chicken and Pork: Cooking Through Safely
When grilling chicken or pork, the primary concern is cooking them thoroughly to avoid any foodborne illnesses. While a good sear is nice, ensuring an internal temperature of 165°F (for chicken) and 145°F (for pork, followed by a rest) is paramount. We found that a medium-high heat, around 375°F to 400°F, is ideal.
This temperature range allows the meat to cook through evenly without scorching the exterior. For chicken breasts or pork chops, expect about 6-8 minutes per side. Larger cuts like pork shoulders will take much longer, often requiring lower temperatures for slow, even cooking over hours. Always use a meat thermometer to be sure!
Fish and Seafood: Delicate Handling
Fish and seafood are more delicate and cook much faster than red meat or poultry. Overcooking can quickly turn them dry and rubbery. For most fish fillets and shrimp, a medium heat, around 350°F to 375°F, is your best bet. This heat is enough to cook them through and create a light sear without drying them out.
Think about 3-5 minutes per side for most fish fillets, depending on thickness. Shrimp cook even faster, often just 2-3 minutes per side. Delicate items like scallops might only need a minute or two per side. Keep a close eye on them; they’ll tell you when they’re done by becoming opaque and flaky.
Vegetables: Roasting and Charring
Grilling vegetables is a fantastic way to bring out their natural sweetness. For firmer vegetables like bell peppers, zucchini, onions, and asparagus, a medium-high heat of 375°F to 400°F works wonderfully. This heat is perfect for getting those appealing grill marks and a tender-crisp texture.
Toss your veggies with a little oil and seasoning before grilling. Cook times will vary. Asparagus might only take 5-7 minutes total, while thicker slices of zucchini or bell pepper could take 10-15 minutes, flipping halfway through. Softer vegetables like mushrooms or corn on the cob can often be cooked on medium heat (around 350°F) for a slightly gentler approach.
Using a Temperature Chart for Reference
Having a quick reference can make your grilling experience smoother. We often find ourselves consulting charts to remember the best temperatures for different items. Here’s a simple guide to help you:
| Food Type | Ideal Temperature Range | Notes |
|---|---|---|
| Burgers | 400°F – 450°F | High heat for sear. Cook to desired doneness. |
| Steaks | 400°F – 450°F | Sear well, then reduce heat if needed for thicker cuts. |
| Chicken | 375°F – 400°F | Medium-high heat to cook through safely. Use thermometer. |
| Pork Chops/Tenderloin | 375°F – 400°F | Medium-high heat for even cooking. Internal temp 145°F. |
| Fish Fillets | 350°F – 375°F | Medium heat to prevent drying. Cooks quickly. |
| Shrimp/Scallops | 350°F – 375°F | Medium heat. Very fast cooking time. |
| Hardy Vegetables (Peppers, Onions, Zucchini) | 375°F – 400°F | Medium-high heat for char and tender-crisp texture. |
| Softer Vegetables (Mushrooms, Corn) | 350°F – 375°F | Medium heat for gentle cooking. |
Dealing with Hot Spots and Uneven Grilling
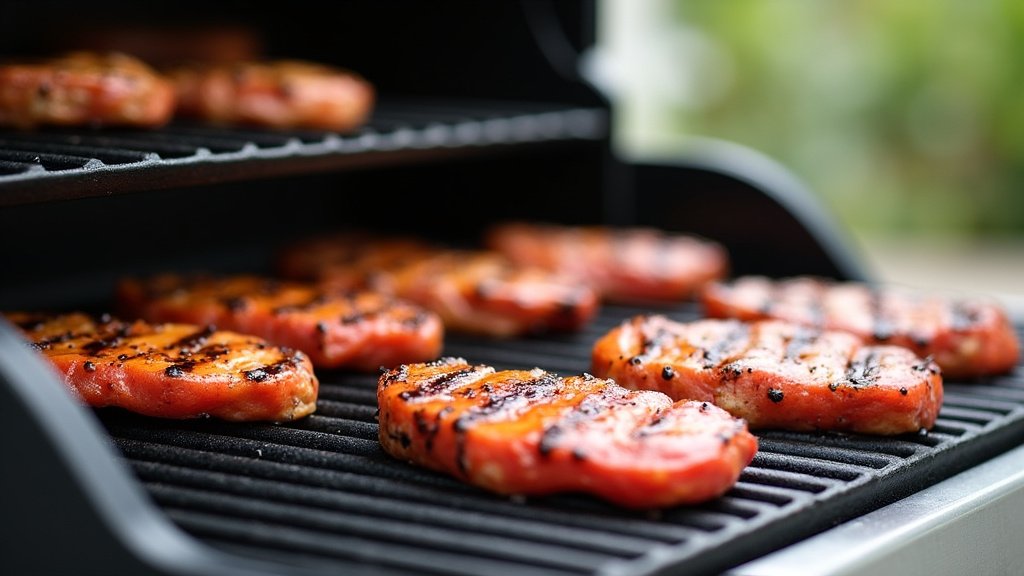
Even on electric grills, hot spots can exist. These are areas on the grill grates that get significantly hotter than others. This can happen due to the design of the heating element or electrical components. We’ve all been there – one side of your burger is perfectly charred, while the other is pale.
Identifying Your Grill’s Hot Zones
The best way to find hot spots is through observation and a bit of experimentation. After preheating your grill, you can use a cooking spray to lightly coat the grates. Watch where the oil sizzles and browns the fastest. That’s likely a hot spot! You can also do a “bread test”: place slices of bread on the grill and see which ones brown quickest.
Strategies for Even Cooking
Once you know your hot spots, you can work around them. We found that simply moving food around the grill is the most effective strategy. If you notice one side is cooking faster, move it to a cooler zone. For foods that require longer cooking times, such as thicker chicken pieces or steaks, you might even want to start them over a hotter part of the grill for a quick sear, then move them to a cooler area to finish cooking through. This technique helps achieve both a great crust and an evenly cooked interior.
Fine-Tuning Your Temperature for Success
Don’t be afraid to make small adjustments. Your grill’s dial might not have precise numbers, so learning to feel the heat and watch your food is key. If your food is cooking too quickly, turn the dial down slightly. If it’s taking too long or not searing well, turn it up a notch.
Many grilling enthusiasts agree that the learning curve for electric grills is quite gentle. What matters most is understanding the general temperature ranges and how they affect different foods. With a little practice, you’ll be able to eyeball the heat and know exactly when your grill is ready for whatever delicious meal you’re planning.
Quick Checklist for Grilling Temperatures
Here’s a quick rundown to keep in mind before you fire up your electric grill:
- Preheat thoroughly: Always give your grill 10-15 minutes.
- Know your food: Different items need different heat levels.
- Medium-high is often best: 350°F – 400°F is a great starting point for many things.
- Watch for hot spots: Be ready to move your food around.
- Use a thermometer: Especially for poultry and pork, accuracy is key.
- Adjust as needed: Don’t be afraid to tweak the temperature during cooking.
Conclusion
You’ve learned that mastering your electric grill’s temperature is the key to unlocking delicious results. We found that a range of 350°F to 450°F covers most cooking needs, with medium-high heat often being your go-to setting. Remember to always preheat properly and be aware of potential hot spots. By understanding these temperature guidelines for different foods, you’re well on your way to grilling perfection.
Your next step? Grab your favorite ingredients and fire up that grill. Experiment with the settings and enjoy the amazing food you’re about to create!
Frequently Asked Questions
What if my electric grill doesn’t have specific temperature numbers?
Don’t worry if your grill only has settings like “Low,” “Medium,” and “High.” We’ve found that “Medium” usually corresponds to around 300-350°F, and “Medium-High” is often in the 350-400°F range. Start with these general ranges and use your food as your guide to make small adjustments.
How long should I preheat my electric grill?
We recommend preheating your electric grill for at least 10-15 minutes. This ensures the grates are hot enough to create a good sear and prevent food from sticking. Covering the lid during preheating helps it heat up faster and more evenly.
Can I use the same temperature for all types of meat?
Not quite! While burgers and steaks benefit from high heat (400-450°F) for searing, chicken and pork need a slightly lower medium-high heat (375-400°F) to cook through safely without burning. Always use a meat thermometer to check internal temperatures for safety.
How do I know if my electric grill has hot spots?
The best way to find hot spots is through simple observation. After preheating, you can lightly spray the grates with cooking oil and watch where it sizzles and browns the fastest. Alternatively, a “bread test” where you grill slices of bread and see which browns quickest can also reveal these hotter areas.
What’s the best way to manage hot spots when grilling?
Once you identify hot spots, the easiest solution is to simply move your food around the grill. If one side is cooking faster than the other, transfer it to a cooler zone. For longer cooks, you can even start food over a hot spot for a quick sear and then move it to finish cooking.
