How to Store a Portable Grill in Winter?
On this page (3 sections)
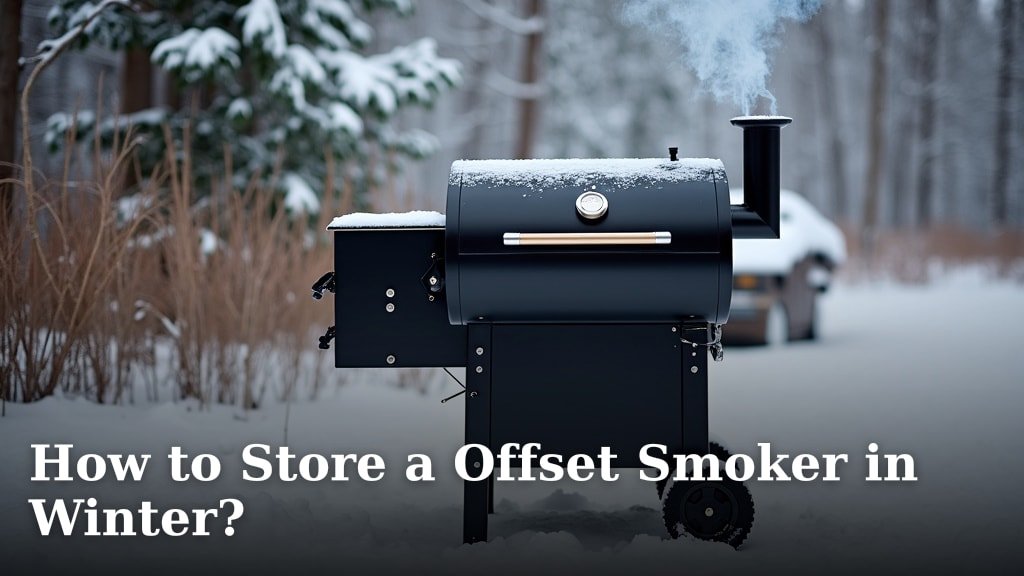
Storing your portable grill for the winter is straightforward if you take a few key steps. Properly preparing your grill ensures it’s ready for grilling season next spring, preventing rust and damage. You’ll want to focus on cleaning it thoroughly and protecting it from the elements. Storing your portable grill for the winter is straightforward; our guide on how to store a grill in winter explains the steps.
Winter storage can seem daunting, but it doesn’t have to be a chore. Many people wonder if they can just cover it up and forget about it. We found that a little bit of preparation goes a long way in keeping your grill in great working condition. Protecting it from snow, ice, and moisture is your main goal.
- Clean your grill thoroughly before storing.
- Remove all food debris and grease.
- Protect metal parts from rust.
- Store it in a dry, protected location.
- Consider covering it with a breathable grill cover.
We’ll walk you through the simple steps to ensure your portable grill survives the winter in top shape and is ready for your first cookout next year.
Preparing Your Portable Grill for Winter Storage
You’ve enjoyed countless delicious meals from your portable grill all summer. Now, as the weather cools and grilling season winds down, it’s time to think about winter storage. Properly storing your grill ensures it lasts for years to come. It protects it from harsh weather and prevents rust and damage. This preparation is key to having it ready for your first spring barbecue.
Step 1: Deep Cleaning Your Grill
The most important step is a thorough cleaning. Think of it as giving your grill a spa treatment before a long nap. Leftover grease and food bits can attract pests and cause corrosion. A clean grill is a happy grill, ready to perform next season.
Removing Grates and Flavorizer Bars
Start by removing the grates and any flavorizer bars. These are often the dirtiest parts. You can soak them in hot, soapy water. For tough, baked-on food, a stiff brush or scraper works wonders. Research shows that regular cleaning prevents build-up that can become permanent (Weber Grills). Make sure they are completely dry before putting them back or storing them separately.
Cleaning the Burners
Next, inspect the burners. Use a wire brush to clean any debris from the burner ports. These tiny holes are crucial for even heat distribution. Clogged ports can lead to uneven cooking. You can also use a thin wire or a paperclip to gently clear any blockages. This simple task ensures optimal performance next grilling season.
Scraping the Firebox and Lid
Don’t forget the inside of the firebox and lid. Scrape off any carbonized bits and grease. A putty knife or scraper is ideal for this. A shop vacuum can help remove loose debris effectively. Many grilling enthusiasts recommend cleaning the lid, too. This prevents unpleasant drips when you first fire it up next spring.
Washing the Exterior
Finally, wash the grill’s exterior. Use mild soap and water. This removes any grime or salt spray if you live near the coast. A clean exterior not only looks good but also protects the finish. This helps maintain its aesthetic appeal and prevents minor damage.
Step 2: Protecting Metal Components
Metal parts are susceptible to rust, especially in damp conditions. Protecting these components is vital for longevity. A little effort now saves you a lot of trouble later.
Applying a Protective Oil
After cleaning and drying all metal parts, consider applying a light coat of cooking oil. Use a paper towel to spread a thin layer over grates, burners, and other metal surfaces. This creates a barrier against moisture. Experts suggest this simple method can significantly reduce rust formation (Grill Master Tips). Don’t use too much; a light sheen is all you need.
Addressing Specific Parts
Pay special attention to screws and joints. A bit of lubricant can prevent them from seizing up over winter. Ensure propane tanks are disconnected and stored upright in a well-ventilated area, away from any ignition sources. This is a safety precaution recommended by propane suppliers.
Step 3: Storing Your Grill Safely
Where you store your grill matters just as much as how you clean it. The goal is to keep it dry and protected from the elements.
Choosing the Right Location
An ideal storage spot is a dry, enclosed space. A garage, shed, or covered patio is perfect. Avoid storing it directly on the ground, as this can trap moisture. Elevating it slightly helps with air circulation. Many people found that storing it off the ground prevents rust from forming underneath.
Using a Grill Cover
Even in a protected space, a good grill cover is recommended. Choose a breathable cover that won’t trap moisture. Heavy-duty, weather-resistant covers are best. They offer an extra layer of protection against dust and accidental bumps. Ensure the cover fits snugly but allows for some air circulation. This prevents condensation from forming inside.
Indoor vs. Outdoor Storage Considerations
If you must store it outdoors, ensure it’s in a completely sheltered location. Under a sturdy deck or a dedicated outdoor storage unit works. Always use a high-quality, waterproof cover. Many sources recommend storing propane tanks separately indoors, in a cool, dry, well-ventilated space, away from living areas. This is a critical safety measure for preventing potential hazards.
Step 4: Dealing with Propane Tanks and Accessories
Proper handling of propane tanks and accessories prevents accidents and ensures everything is ready for spring.
Propane Tank Removal and Storage
Always disconnect the propane tank before storing the grill. Store the tank upright in a secure, well-ventilated area. Keep it away from heat sources and direct sunlight. Many fire departments advise storing propane tanks outdoors, never in basements or garages where gas can accumulate. You can cap the valve to prevent leaks. Research indicates that storing tanks outdoors is a crucial safety step.
Storing Racks, Utensils, and Other Accessories
Clean all your grilling accessories like tongs, spatulas, and brushes. Store them in a waterproof container or bag. Keeping them together makes it easy to find everything next season. A plastic bin with a lid works well. This also prevents them from getting lost or damaged in storage.
Winter Grill Storage Checklist
Here’s a quick rundown to make sure you haven’t missed anything:
- Thoroughly clean all grill components.
- Dry all parts completely after cleaning.
- Apply a light coat of oil to metal parts.
- Disconnect and safely store the propane tank.
- Cover the grill with a breathable, protective cover.
- Store in a dry, elevated location.
By following these steps, you ensure your portable grill remains in excellent condition throughout the winter. This preparation means less work and more delicious grilling when spring arrives. You’ll be ready for that first smoky burger in no time!
Conclusion
You’ve done a great job preparing your portable grill for its winter rest. By thoroughly cleaning and protecting its metal parts, you’ve prevented rust and damage. Storing it in a dry, covered location ensures it’s safe from the elements. Don’t forget to safely store your propane tank separately and keep your accessories organized. Take these final steps to ensure your grill is in prime condition for next spring’s first cookout. Your future self will thank you when you’re firing it up for that first delicious meal!
Frequently Asked Questions
How long should I store my portable grill for winter?
You should store your portable grill for the entire winter season, typically from late fall until early spring. This protects it from cold temperatures, moisture, and potential damage that can occur during harsh weather.
Can I store my portable grill outdoors without a cover?
It is strongly advised against storing your portable grill outdoors without a cover. Even in a sheltered spot, exposure to dew, frost, and wind can cause rust and degradation. A good quality, breathable cover is essential for protection.
What kind of oil should I use to protect metal parts?
A light coat of food-grade cooking oil, such as vegetable or canola oil, is recommended. Apply it thinly with a paper towel. This creates a protective barrier against moisture without attracting pests.
Is it safe to store a propane tank in my garage during winter?
No, it is not safe to store a propane tank in your garage or any enclosed living space. Propane is heavier than air and can accumulate, creating a fire hazard. Tanks should always be stored upright outdoors in a well-ventilated area, away from ignition sources.
What if I have a gas grill with electronic ignition?
For gas grills with electronic ignitions, ensure the battery is removed before storage. This prevents corrosion or damage to the ignition system. Clean the igniter carefully and store it in a dry place.