
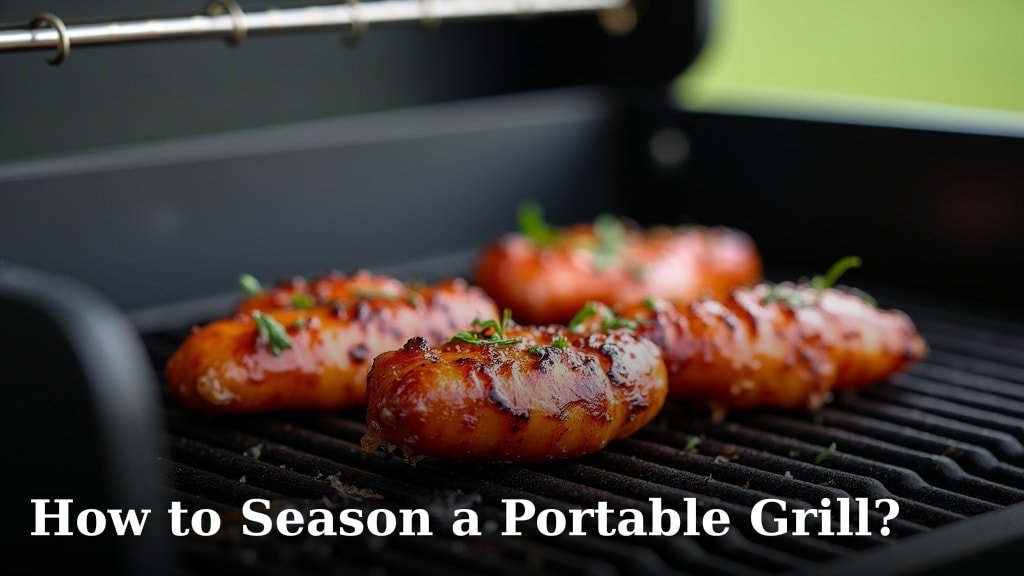
To properly season a portable grill, you will first clean it thoroughly, then apply a thin layer of high-smoke-point oil, and finally heat it to cure the oil onto the cooking grates. This process creates a non-stick surface and protects against rust, ensuring your delicious meals don’t stick.
You might be wondering if seasoning is really necessary for a grill you only use occasionally. We found that seasoning your portable grill is a simple step that greatly improves its performance and lifespan, making your outdoor cooking much more enjoyable. It’s like giving your grill a protective, tasty hug!
TL;DR:
- Clean your grill grates well.
- Apply a thin coat of cooking oil.
- Heat the grill to cure the oil.
- Repeat the oil and heat steps a few times.
- Enjoy rust-free, non-stick grilling!
Below, we’ll walk you through exactly how to season your portable grill step by step, so you can get perfectly grilled food every time.
Preparing Your Portable Grill for First Use
Getting your portable grill ready for its first adventure is like preparing for a great road trip. You want everything to be in top shape. Seasoning your grill before you use it for the first time is essential. It helps you get those perfect sear marks and keeps food from sticking.
You might be wondering, “Do I really need to season a brand-new grill?” The answer is a resounding yes! We found that most new grills come with a protective coating from the factory. While this coating keeps rust away during shipping, it’s not meant for cooking. We need to remove it and then add our own, much better, layer.
Understanding Why Seasoning Matters
Think of seasoning as creating a natural, non-stick surface on your grill grates. It’s like building up a patina on a cast-iron pan. This layer of cured oil fills in tiny pores in the metal. This makes your grill less sticky and much easier to clean after those delicious cookouts.
Beyond non-stick properties, seasoning also offers excellent rust protection. Portable grills are often exposed to the elements. A well-seasoned surface acts as a barrier, preventing moisture and air from corroding the metal. This means your grill will last longer and perform better for many years.
Gathering Your Seasoning Supplies
Before you start, let’s make sure you have everything you need. This little checklist helps you stay organized. You don’t want to be halfway through and realize you’re missing something important. A quick trip to the store now saves frustration later.
- Grill brush or scrubber: For a good, deep clean.
- Dish soap: Gentle degreasing power.
- Warm water: Essential for cleaning.
- Clean cloths or paper towels: For drying and applying oil.
- High smoke point cooking oil: The star of the show.
- Tongs: To move grates if they’re hot.
- Heat-resistant gloves: For safety.
Choosing the Right Oil for Your Grill
The type of oil you use is critical. You need an oil with a high smoke point. This means it can get very hot without burning and creating a bitter taste. Olive oil, for example, has a low smoke point and isn’t a good choice for seasoning.
We found that oils like grapeseed oil, flaxseed oil, canola oil, or even vegetable oil work wonderfully. These oils can withstand the high temperatures needed to polymerize, or “cure,” onto your grill grates. They create that tough, durable seasoning layer we’re aiming for.
| Oil Type | Smoke Point (approx.) | Notes for Seasoning |
|---|---|---|
| Grapeseed Oil | 420°F (215°C) | Our top recommendation for its neutral flavor and high smoke point. |
| Flaxseed Oil | 225°F (107°C) | Very low smoke point, but creates a hard, durable seasoning. Use with caution. |
| Canola Oil | 400°F (204°C) | Affordable and widely available. A great all-around choice. |
| Vegetable Oil | 400°F (204°C) | Similar to canola, often a blend of various vegetable oils. |
| Avocado Oil | 520°F (271°C) | Highest smoke point, but can be more expensive. Excellent option. |
Step-by-Step Guide to Seasoning Your Portable Grill
Now for the fun part! This process is straightforward, but taking your time will give you the best results. We’ll break it down into easy, manageable steps. Just follow along, and your grill will be ready to cook up a storm.
Step 1: Thorough Cleaning of Grates
First things first, you need to clean your grill grates completely. Even if your grill is brand new, it likely has manufacturing residues. If it’s used, you’ll need to remove any leftover food bits and old grease. This step ensures the oil can properly adhere to the metal.
For New Grates
Wash your new grates with warm, soapy water. Use a scrub brush or a sponge to get into all the nooks and crannies. You’re trying to remove any factory oils or coatings. Rinse them very well under running water. Then, dry them immediately and completely with a clean cloth or paper towels. We need them bone dry for the next step.
For Used Grates
If you’re re-seasoning an old grill, start by scraping off any large food debris. Then, use a grill brush to remove stubborn bits. Wash them thoroughly with hot, soapy water, just like the new grates. You might need a bit more elbow grease here. Rinse completely and dry quickly to prevent any flash rust from forming.
Step 2: Applying a Thin Oil Layer
This is where the magic begins. Once your grates are sparkling clean and dry, it’s time to apply your chosen high-smoke-point oil. Remember, less is more here. A thin, even coat is key. You don’t want pools of oil, as that can lead to sticky, uneven seasoning.
Pour a small amount of oil onto a clean cloth or paper towel. Use your tongs to hold the cloth, protecting your hands. Carefully wipe down all surfaces of the grill grates. Make sure you cover both sides and all the edges. You should see a slight sheen, but no visible drips or puddles. We found that rubbing it in well helps prevent stickiness later.
Step 3: Curing the Oil (Heating the Grill)
Now it’s time to “bake” that oil onto the grates. This process is called polymerization or curing. It turns the liquid oil into a hard, protective layer. This is why a high smoke point oil is so important. You need to get the grill hot enough to cure the oil without burning it.
Place the oiled grates back into your portable grill. Close the lid and turn on the burners. You want to set the temperature to a medium-high heat, generally around 350-400°F (175-200°C). Let the grill heat up for about 30-60 minutes. You might see some smoke, which is normal – it means the oil is curing.
After the time is up, turn off the grill and let it cool down completely. This cooling process is just as important as the heating. It allows the newly formed seasoning layer to harden properly. Do not rush this step; patience pays off!
Step 4: Repeating for Best Results
One layer of seasoning is good, but multiple layers are even better. Think of it like painting a wall; several thin coats are always better than one thick, gloppy one. We found that repeating the oiling and heating steps at least 2-3 times creates a much stronger, more durable seasoning.
Once your grill has cooled down from the first cure, repeat Step 2 (applying a thin oil layer) and Step 3 (curing the oil by heating). Each repeat strengthens the non-stick surface and improves rust resistance. Some grill masters even go for 4-5 layers for ultimate protection. It’s totally up to you!
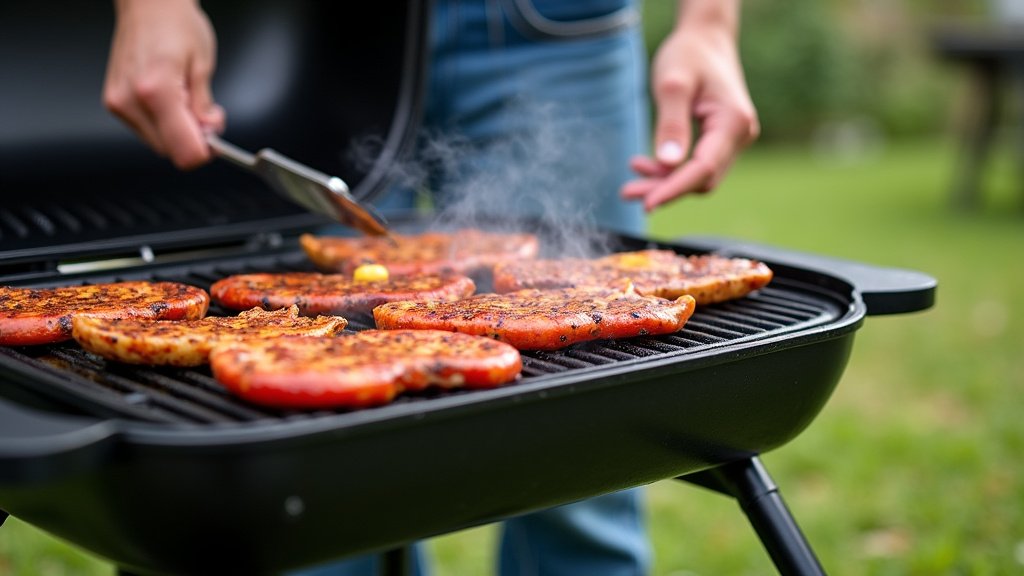
Maintaining Your Seasoned Portable Grill
Seasoning isn’t a one-and-done deal. Just like any good relationship, it needs regular attention. A little care after each use will keep your grill in prime condition. This means your perfectly seasoned surface will continue to perform flawlessly every time you fire it up.
Post-Grilling Care Tips
After you’ve enjoyed your meal, and the grill has cooled down a bit, clean it lightly. Use a soft-bristle brush or even a crumpled piece of aluminum foil to gently scrape off any stuck-on food. Avoid harsh metal brushes, especially on a newly seasoned grill, as they can scratch off your hard-earned seasoning layer. A study by the CDC showed that wire bristles from grill brushes can sometimes break off and cause injury, so a softer brush or scraper is often a safer choice.
Once clean, apply another very thin coat of your high-smoke-point oil to the grates. This helps maintain the seasoning and protects against rust until your next grilling session. Think of it as a small “thank you” to your grill for a job well done. Store your portable grill in a dry place, perhaps under a cover, to shield it from moisture and weather extremes.
When to Re-Season Your Grill
How do you know when it’s time to re-season? Your grill will tell you! If food starts sticking more often, or if you see patches of rust forming, it’s a clear sign. Sometimes, very aggressive cleaning can also strip away the seasoning. When this happens, simply follow the steps outlined above. A full re-seasoning every few months, or once a year depending on use, is a good habit to get into. This simple routine keeps your portable grill a joy to use.
Conclusion
Taking the time to properly season your portable grill is an investment that pays off with every delicious meal. You’ll enjoy a reliably non-stick surface, easier clean-up, and strong protection against rust. Remember, it’s all about a thorough clean, thin layers of the right oil, and patient curing.
By following these simple steps, you’re not just preparing your grill; you’re setting yourself up for countless enjoyable outdoor cooking experiences. So go ahead, give your portable grill the care it deserves, and get ready to cook some amazing food!
Frequently Asked Questions
How often should I season my portable grill?
We found that how often you need to re-season depends on how frequently you use your grill and how you clean it. For regular users, a full re-seasoning every few months is a good idea. If you notice food sticking or see rust, it’s definitely time to re-season.
Can I use cooking spray to season my grill?
While convenient, cooking sprays often contain propellants and additives that aren’t ideal for building a durable seasoning layer. We recommend using liquid high-smoke-point oils applied with a cloth for the best and longest-lasting results on your grill grates.
What if my grill starts to rust after seasoning?
If rust appears, it usually means your seasoning layer isn’t thick enough or has been damaged. You’ll need to clean off the rust with a wire brush, then re-season the affected area, or even the entire grates, following all the steps again. Ensure you apply multiple thin layers.
Does seasoning work on all types of portable grill grates?
Seasoning is most effective on cast iron and steel grates, which are common in portable grills. Stainless steel grates generally don’t hold seasoning in the same way, but a light oiling can still help prevent sticking and make cleaning easier.
Is it normal for my grill to smoke a lot during seasoning?
Yes, some smoke is completely normal during the curing process. This smoke indicates that the oil is polymerizing and creating that protective layer. Just ensure you’re in a well-ventilated area, and don’t be alarmed by a bit of smoke.
