
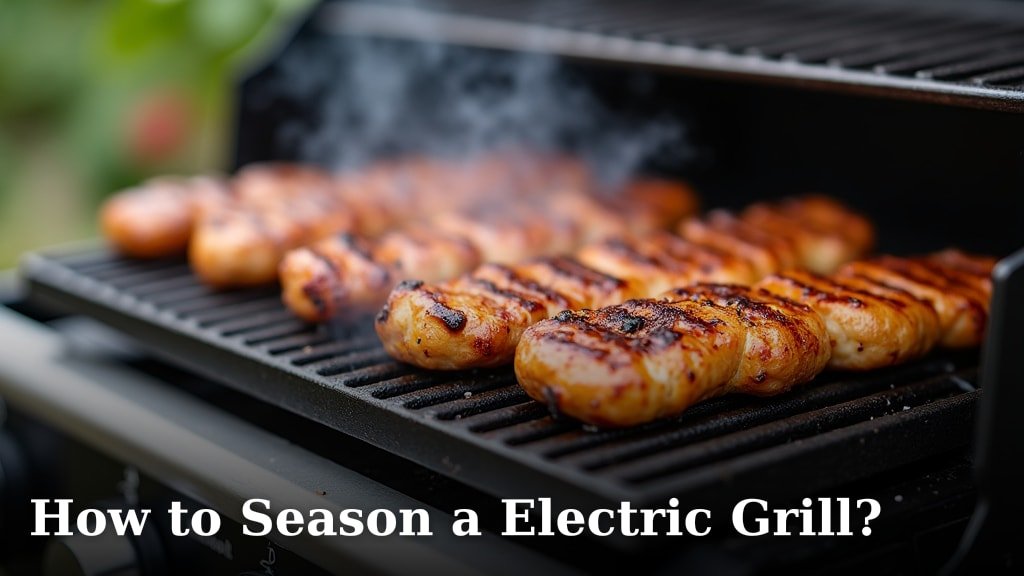
To season an electric grill, you simply need to clean it thoroughly, apply a thin layer of high-heat cooking oil like canola or grapeseed, and then heat the grill to a medium-high temperature for about 15-20 minutes. This process helps create a non-stick surface and protects the grill plates.
Seasoning isn’t just for cast iron; it’s a smart step for many electric grills too. A well-seasoned grill cooks food better and makes cleanup much easier. We found that taking a few minutes to properly season your grill can greatly improve your grilling experience.
- Clean your grill before seasoning.
- Use a high-smoke point oil.
- Heat the grill sufficiently.
- Repeat for best results.
Ready to get started? Let’s walk through the simple steps to perfectly season your electric grill.
Preparing Your Electric Grill for Optimal Performance
Seasoning your electric grill is a straightforward process. It helps create a stick-resistant surface for better cooking and easier cleaning. Think of it like giving your grill a non-stick shield.
Understanding Why Seasoning Matters
You might wonder, “Do I really need to season an electric grill?” Many people associate seasoning with cast iron cookware. However, many electric grills, especially those with exposed metal plates, benefit greatly from this step.
Benefits of a Well-Seasoned Surface
A properly seasoned grill offers several advantages. First, it helps to prevent food from sticking. Imagine grilling a delicate fish fillet and having it slide right off! Second, it creates a protective barrier against rust and wear on metal surfaces. We found this step can extend the life of your grill plates. Third, it can subtly enhance the flavor of your food over time, much like a well-used frying pan develops character.
We found that skipping this step can lead to frustrating moments. Food can stick, making cleanup a chore, and your grill might not perform as consistently.
Gathering Your Seasoning Supplies
Before you begin, make sure you have everything ready. This makes the process smooth and quick. You probably have most of these items in your kitchen already.
- Mild dish soap and warm water
- Soft sponge or cloth
- Clean, dry towels
- High-smoke point cooking oil (e.g., canola, grapeseed, avocado, flaxseed)
- Paper towels or a clean cloth for oil application
Choosing the Right Oil for Seasoning
The type of oil you use is important. You need an oil that can withstand high heat without breaking down and creating a sticky mess. We found that oils with a high smoke point are ideal for this task.
| Oil Type | Smoke Point (approx.) | Why it’s good for seasoning |
|---|---|---|
| Canola Oil | 400°F (204°C) | Common, affordable, neutral flavor. |
| Grapeseed Oil | 420°F (216°C) | Light, clean, high smoke point. |
| Avocado Oil | 520°F (271°C) | Very high smoke point, good for intense heat. |
| Flaxseed Oil | 225°F (107°C) | Low smoke point, but creates a hard, durable polymer. Use thinly! |
While flaxseed oil has a lower smoke point, many experts recommend it for its ability to create a very durable, hard seasoning layer (America’s Test Kitchen). However, it must be applied in extremely thin layers to prevent gumminess.
The Step-by-Step Guide to Seasoning Your Electric Grill
Ready to give your grill the care it deserves? Follow these simple steps. It’s truly a process of clean, coat, and heat.
Step 1: Thorough Cleaning of the Grill Plates
Even if your grill is brand new, it’s essential to clean it first. New grills can have manufacturing residues or dust. For used grills, you want to remove any leftover food bits or grease.
- Unplug your grill to ensure safety. This is a non-negotiable first step.
- If your grill plates are removable, take them out. This makes cleaning much easier.
- Wash the plates with warm, soapy water and a soft sponge. Avoid abrasive cleaners or metal scrubbers, as these can damage the non-stick coating or surface.
- Rinse the plates thoroughly to remove all soap residue. You want them sparkling clean.
- Dry the plates completely with a clean towel. Any moisture left behind can hinder the seasoning process or lead to rust on metal parts.
Step 2: Applying a Thin Layer of Oil
This is where the magic begins. The goal is a very thin, even layer of oil. More is not better here; too much oil will lead to a sticky, gummy surface rather than a smooth, non-stick one.
- Pour a small amount of your chosen high-smoke point oil onto a paper towel or clean cloth. We mean a truly small amount—a teaspoon or two is usually enough for most grill plates.
- Rub the oil evenly over the entire cooking surface of the grill plates. Make sure to cover all the raised areas and grooves.
- Wipe off any excess oil. This is critical! The plates should look like they don’t have any visible oil, just a slight sheen. If you can see droplets or puddles of oil, wipe them away until the surface appears dry to the touch. The goal is to leave behind only the microscopic layer of oil that will polymerize onto the surface.
Step 3: Heating and Curing the Oil Layer
Now it’s time to bond that oil to the grill. This process, called polymerization, creates the non-stick surface. Don’t worry, it’s not as scientific as it sounds.
The Heating Process
Plug in your electric grill and turn it on to a medium-high setting. You don’t need the absolute highest heat, but you do need enough heat to get the oil smoking slightly. This usually means setting it to around 350-400°F (175-200°C) if your grill has temperature controls.
Allow the grill to heat for about 15-20 minutes. During this time, the oil will begin to “cure” or polymerize. You might notice a light smoke and a distinct smell. This is normal and indicates the oil is bonding to the metal. Ensure you have good ventilation in your kitchen or grill outside.
After the heating time, turn off the grill and unplug it. Let the grill plates cool down completely. This allows the seasoning layer to set properly.
Step 4: Repeating for Best Results
One layer of seasoning is good, but multiple layers are even better. Think of it like building up layers of protection.
- Once the grill plates are cool, if you desire a stronger, more durable seasoning, repeat Steps 2 and 3. Apply another very thin layer of oil, wipe off the excess, and heat the grill again for 15-20 minutes.
- We found that 2-3 cycles generally provide a strong, effective seasoning layer. More than that usually isn’t necessary for most electric grills.
Maintaining Your Seasoned Electric Grill
Seasoning isn’t a one-and-done process. With a bit of care, your seasoning will last, and your grill will perform beautifully for years. What makes a good grill great? Consistent care, we say!
Post-Grilling Care routine
After each use, clean your grill gently. This prevents food buildup that can damage your seasoning.
- Allow the grill to cool down but still be warm. This makes cleaning easier.
- Use a plastic or nylon spatula to scrape off any large food residues. Avoid metal scrapers.
- Wipe the plates with a damp cloth. For stubborn spots, use a tiny bit of warm water and a soft brush.
- Avoid harsh soaps after initial seasoning, as they can strip away your hard-earned layers.
- Dry the grill plates thoroughly before storing. Moisture is the enemy of seasoning and metal.
If you notice food starting to stick or the surface looking dull, it might be time for a touch-up. Simply re-apply a thin layer of oil and heat the grill for a shorter period, say 5-10 minutes. This little bit of attention keeps your grill in peak condition.
Conclusion
Seasoning your electric grill is a simple step that pays off with every meal. By consistently cleaning, applying a thin layer of high-heat oil, and properly heating your grill, you create a cooking surface that resists sticking and is easy to clean. We found this small investment of time makes a big difference in your overall grilling experience.
You’ll enjoy healthier cooking and better-tasting food, knowing your grill is protected. Keep these tips in mind, and you’ll have a well-maintained, ready-to-use electric grill for years to come. Now, go enjoy some perfectly grilled meals!
Frequently Asked Questions
How often should I season my electric grill?
You should season your electric grill thoroughly when it’s new, performing 2-3 cycles. After that, we recommend re-seasoning if food starts sticking, or the cooking surface appears dull, which might be every few months depending on how often you grill.
Can I use olive oil to season my electric grill?
We do not recommend using olive oil for seasoning. Olive oil has a low smoke point and will likely break down and become sticky at the temperatures needed for proper seasoning, rather than forming a durable, non-stick layer.
What if my electric grill has a non-stick coating already?
Even grills with non-stick coatings can benefit from light seasoning, especially if the coating is starting to wear. It adds an extra layer of protection and can help extend the life of the existing non-stick surface. Always use care not to scratch the original coating.
Is the smoke during seasoning harmful?The light smoke you see during seasoning is normal and indicates the oil is polymerizing. However, ensure you have good ventilation by opening windows or using an exhaust fan. Excessive smoke might mean too much oil was applied.
Can I cook immediately after seasoning my electric grill?
Yes, once the grill has cooled down completely after its final seasoning cycle, it’s ready to use. You might even find your first meal cooks with less sticking than before. Just remember to conduct gentle cleaning after each use to maintain the seasoning.
