
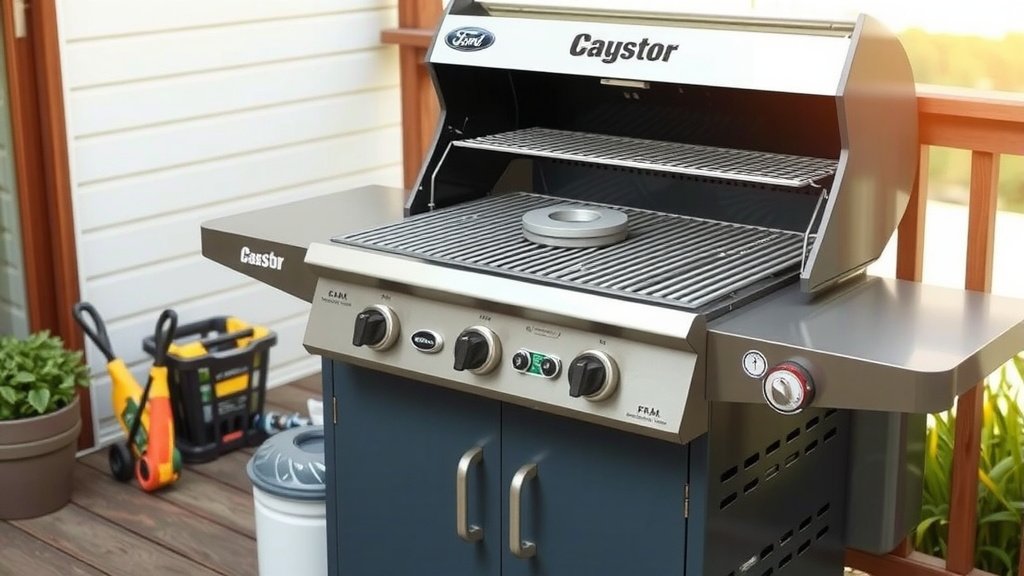
You can replace a burner on a gas grill by first disconnecting the gas supply and removing the cooking grates and heat tents.
Then, carefully detach the old burner from its mounting points and gas valve, sliding the new one into place before reconnecting everything securely.
-
Quickly replace your gas grill burner by disconnecting gas and clearing the grill interior.
-
Unscrew or unclip the old burner, carefully detaching it from the gas valve manifold.
-
Slide the new burner tube onto the gas valve orifice and secure its mounting screws.
-
Perform a leak test with soapy water before grilling to ensure safe operation.
There is nothing quite like firing up your gas grill for a delicious outdoor meal. But what happens when your trusty grill burner starts to falter? Maybe you notice uneven flames or patches that simply refuse to light. Don’t worry, it’s a common issue. Replacing a burner on a gas grill is a straightforward task you can handle yourself, saving you money and getting you back to grilling in no time.
We understand the frustration of a grill that isn’t performing its best. A worn-out burner can ruin your BBQ plans. Let’s walk through the steps to get your grill working like new again.
How To Replace A Burner On A Gas Grill?
To replace a gas grill burner, begin by ensuring safety, then remove internal grill components, disconnect the old burner, install the new one, and always finish with a critical leak test.
Safety First, Always!
Before you touch anything, prioritize safety. This is non-negotiable. Turn off the gas supply at the propane tank valve or your natural gas line. Disconnect the propane tank hose from the grill. For natural gas grills, ensure the main supply valve is closed. Why is this so important? Because gas leaks are serious business, and we want you to be completely safe. Many experts say that a responsible approach to grill maintenance always starts with cutting the fuel source (NFPA).
Gather Your Tools
A little preparation makes this job much easier. You won’t need a whole workshop, but having the right items on hand helps. Think of it like cooking – the right ingredients make for a better meal. What will you need? A screwdriver (Phillips or flathead, depending on your grill), a wrench for some connections, a wire brush, and maybe a pair of pliers. Oh, and your new replacement burner, of course! We found that having everything ready prevents frustrating pauses in your work.
Prepping the Grill Interior
Now that the gas is off, let’s get inside your grill. Open the lid and prepare to remove a few items. You’ll need access to the burner tubes below.
Remove Cooking Grates and Heat Tents
First, carefully lift out your cooking grates. These are usually heavy, so watch your back. Set them aside on a clean, stable surface. Next, you’ll see the heat tents, also known as flame tamers or burner covers. These shield the burners and help distribute heat. They simply lift out, or sometimes they have small clips. Take them out and set them with the grates. This clears the way to the main attraction: the burners themselves.
Disconnecting the Old Burner
With the grill interior clear, you can clearly see the old, perhaps rusty, burners. This is where the real work begins.
Detaching Mounting Hardware
Look closely at how your burners are attached. Most burners are secured by a single screw at one end, often near the back of the firebox. Use your screwdriver to remove this screw. Some models might have clips or pins instead. Be gentle, as old parts can be brittle. We often find that a little patience here prevents stripped screws. Some grills might require a wrench for nuts holding the burner in place.
Separating from the Gas Valve
The other end of the burner tube usually slips over a small brass fitting called an orifice, which comes from the gas manifold. Carefully lift and pull the burner tube away from this orifice. Sometimes the burner might be a bit stuck due to rust or grease. A gentle wiggle can help free it. Avoid forcing it too hard, as you don’t want to damage the gas valve manifold itself. This is a delicate part of your grill’s heart.
Installing the New Burner
You’ve successfully removed the old, tired burner. Now comes the exciting part: installing the shiny new one!
Positioning the New Burner
Take your new burner and align it carefully. The open end of the burner tube needs to slide smoothly over the gas valve orifice. This is crucial for proper gas flow and flame. Think of it like connecting a garden hose to a spigot – it needs a snug fit. Make sure it seats fully and securely. If it doesn’t fit right, double-check your burner model against your grill model. Many parts look similar but are not interchangeable.
Securing Mounting Points
Once the burner is correctly seated over the orifice, secure the other end. Reinsert the mounting screw you removed earlier. If your grill uses clips or pins, reattach those. Make sure the burner feels stable and doesn’t wobble. A well-secured burner ensures consistent heat and prevents issues during grilling sessions. We found that giving it a gentle tug to check stability is always a good idea.
Reassembling Your Grill
The new burner is in place! Now, let’s put everything back together in reverse order.
- Replace the heat tents: Position them carefully over the new burners. Ensure they cover the burners completely, as they are designed to protect and distribute heat evenly.
- Place cooking grates: Gently put your cooking grates back onto their supports.
- Reconnect gas supply: Reattach your propane tank hose or open your natural gas line valve.
The Critical Leak Test
This step is non-negotiable. Skipping it could be dangerous. You need to confirm there are no gas leaks after replacing the burner.
Here’s how to do a simple, effective leak test:
| Step | Action | Important Note |
|---|---|---|
| 1 | Mix soapy water | Use dish soap and water (50/50 mix) in a spray bottle. |
| 2 | Open gas supply | Turn on the gas at the tank or main line. DO NOT light the grill. |
| 3 | Spray connections | Spray the soapy mixture liberally over all gas connections. |
| 4 | Watch for bubbles | Look for growing bubbles. Bubbles mean a leak! |
| 5 | Fix any leaks | Tighten connections or re-tape if bubbles appear. Retest until no bubbles are seen. |
Many guidelines point to this simple soapy water test as a reliable way to check for leaks (Propane Education & Research Council). Never use an open flame to check for leaks. If you find a leak and cannot fix it, do not use the grill. Call a professional.
First Ignition Test
Once you’ve confirmed no leaks, it’s time for the moment of truth! Open your grill lid, turn on the gas, and then attempt to light the burners. Observe the flames. They should be mostly blue with yellow tips, even across the burner. If you see very yellow flames, or the burner struggles to light, you might need to adjust the air shutter on the burner tube, if your model allows it. Most replacement burners are designed to work without much adjustment, but it’s good to know.
Maintaining Your New Burner
You’ve done the hard work, now let’s keep that new burner in top shape. Regularly clean your burners to prevent grease buildup and rust. A wire brush can help clear any clogged ports. We found that taking a few minutes after every few cooks really prolongs the life of your components. Covering your grill also shields it from the elements, protecting it from premature wear.
Quick Checklist for Success
- Gas supply OFF?
- Right tools gathered?
- Old burner disconnected gently?
- New burner seated correctly?
- All connections tightened?
- Leak test performed (no bubbles)?
- Flames look good?
Conclusion
Replacing a burner on your gas grill might seem like a daunting task at first, but as you’ve seen, it’s quite manageable. By following these steps carefully, focusing on safety, and performing that all-important leak test, you can restore your grill to its former glory. Think of the delicious meals you’ll create! Taking a hands-on approach to maintaining your grill not only saves money but also gives you a deeper understanding of your outdoor cooking companion. Enjoy those perfectly grilled steaks and burgers!
What are the signs of a bad gas grill burner?
Common signs of a failing gas grill burner include uneven heat distribution, yellow or orange flames instead of blue, parts of the burner not lighting, or noticeable rust and corrosion on the burner tube itself. If you’re struggling to get consistent temperatures, your burners are likely worn.
Can I clean my grill burners instead of replacing them?
Yes, sometimes cleaning can help! If your burners are only partially clogged or slightly dirty, a thorough cleaning with a wire brush and a pick can often restore them. However, if they are severely rusted, corroded, or have large holes, replacement is usually the better option for optimal performance and safety.
How often should gas grill burners be replaced?
The lifespan of gas grill burners varies greatly depending on usage, care, and quality. Generally, they can last anywhere from 3 to 10 years. Frequent use, harsh weather exposure, and infrequent cleaning can shorten their life. Inspect them annually for wear and tear.
Are all gas grill burners universal?
No, gas grill burners are not universal. They come in various lengths, shapes (straight, U-shaped, H-shaped, or even circular), and mounting styles. It’s crucial to purchase a replacement burner that is specifically designed for your grill’s make and model to ensure a proper fit and safe operation. Always check your grill’s manual or manufacturer’s website.
What happens if I don’t replace a leaky gas grill burner?
Not replacing a leaky gas grill burner creates a significant safety hazard. A gas leak can lead to dangerous flare-ups, fire, or even an explosion, especially if gas accumulates in an enclosed space. Additionally, a leaky burner will prevent your grill from heating properly and can be very inefficient, wasting fuel. Always address gas leaks immediately.
