
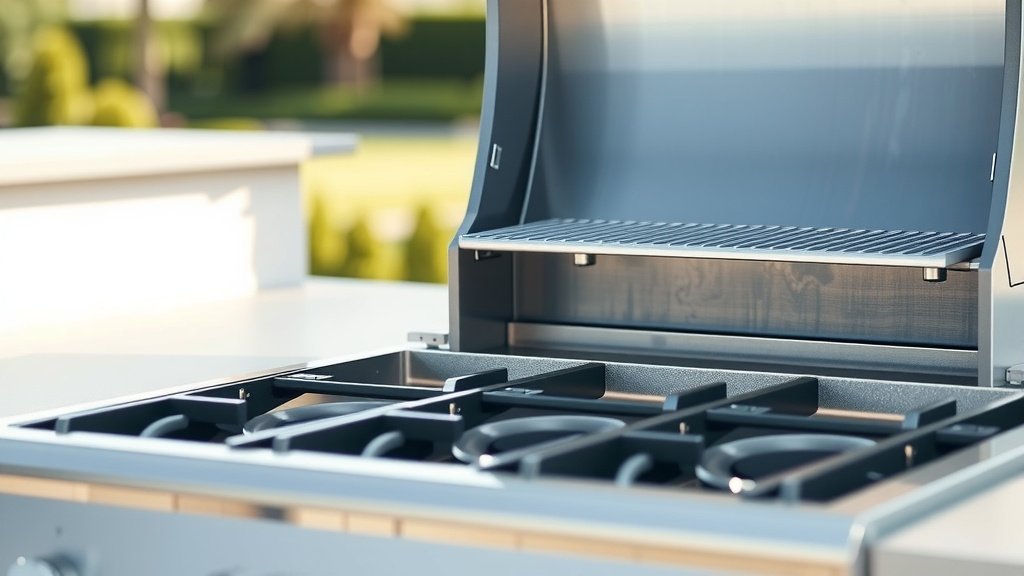
To install a burner on a gas grill, first ensure the gas supply is off and the tank is disconnected. Then, carefully remove the old burner by unfastening any screws or clips holding it in place, often at the back or sides.
Once the old burner is out, align the new burner’s gas intake port with the gas valve orifice, making sure it slides smoothly into position, and secure it with the appropriate fasteners before reconnecting the gas and testing for leaks.
Here’s a quick overview of what you’ll learn about how to install burner on gas grill:
- Always prioritize safety: disconnect gas and wear gloves.
- Gather all necessary tools before starting your project.
- Carefully remove old burners and inspect internal parts.
- Properly align and secure new burners for efficient heating.
- Perform a crucial leak test after reattaching the gas line.
Your gas grill is more than just a cooking appliance; it’s the heart of your outdoor entertaining. When a burner starts acting up, leaving you with cold spots or an anemic flame, you know it’s time for a fix. You might think replacing a burner is a big job, but with the right guidance, it’s surprisingly straightforward. We’ll walk you through each step, making sure you feel confident and ready to get that grill firing perfectly again.
How To Install Burner On Gas Grill?
Installing a gas grill burner involves safely disconnecting the gas, removing the old unit, aligning the new burner with the gas valve orifice, securing it, and performing a leak test before use.
What You’ll Need: Your Tool Kit
Before you dive in, gathering your tools makes the process smooth. You’ll want a screwdriver set, possibly a wrench or nut driver, and a wire brush. Having a pair of work gloves is also a smart idea for protection.
A flashlight can be helpful for peering into those dark corners of your grill. We found that having everything ready prevents frustrating interruptions later on.
Safety Checks Before You Begin
Your safety is the most important thing when working with gas appliances. Always ensure your grill is completely cool before you touch anything. Many experts say working on a hot grill is a serious hazard.
Keep a clear workspace around your grill. Avoid distractions and make sure pets or children are not nearby. Think of it as preparing a safe zone for your project.
Shutting Off the Gas Supply
This step is non-negotiable. Turn the gas control knob on your propane tank to the “off” position. Then, disconnect the regulator hose from the tank itself. If you have a natural gas grill, locate and turn off the main gas shut-off valve to the grill.
Always double-check that the gas flow is completely stopped. Research often connects skipping this step with potential gas leaks (Consumer Product Safety Commission).
Taking Out the Old Burners
Now, let’s open up your grill. Lift the grates and remove the heat tents or flame tamers. These components typically just lift out. Set them aside carefully.
You’ll now see the burners stretched across the bottom of the firebox. Take a moment to observe how they are positioned.
Watch Out for Screws and Clips
Burners are usually held in place by a single screw or a simple clip at the back or front. Some might have a pin or a small bracket. Use your screwdriver or nut driver to remove these fasteners.
Once loosened, gently lift and pull the burner towards you. It should slide off the gas valve orifice easily. If it resists, check for any hidden clips or corrosion.
Prepping for the New Burners
With the old burners out, take a moment to look at the grill’s interior. You might find grease, rust, or debris. This is a great time for a quick clean. Grab your wire brush and scrub away any loose material.
A clean environment helps your new burners perform their best. Many grill manufacturers recommend cleaning the firebox annually.
Cleaning the Manifold and Orifices
The manifold is the pipe running across the front of your grill where the gas valves attach. The orifices are tiny holes at the end of each valve stem where the burners connect. These need to be clear.
Use a small wire or a paperclip to gently clear any blockages from the orifices. Be very careful not to enlarge the holes. A clogged orifice can lead to uneven heating or no flame at all.
Setting the New Burners In Place
Unpack your new burners. Notice their shape and how they are designed to fit. Each burner should have an intake tube that slides over the gas valve orifice.
Start by sliding the back end of the burner into its support bracket. Then, guide the intake tube onto the orifice. It should fit snugly without forcing it.
Connecting Crossover Tubes and Igniters
Some grills have crossover tubes that link one burner to another, ensuring all burners light evenly. If your grill has these, connect them now. They usually just clip into place.
Next, connect the igniter wires. These small wires often have a push-on connector that attaches to a metal tab on the burner. Make sure they are secure; a loose connection means no spark.
Reattaching the Gas Line Safely
Once all burners are installed and secured, it’s time to reconnect the gas. For propane grills, carefully attach the regulator hose back to the tank. Hand-tighten it firmly, but don’t overtighten.
If you have a natural gas grill, open the main gas shut-off valve slowly. Always listen for any hissing sounds which could indicate a leak.
The Critical Leak Test
This step is absolutely vital before you light your grill. Mix a solution of dish soap and water – about equal parts. Turn the gas on at the tank, but do NOT light the grill.
Brush the soapy solution over all gas connections: the regulator connection, manifold connections, and where the burner intake tubes meet the orifices. Watch for bubbles. If you see bubbles forming, you have a leak. Turn off the gas immediately and tighten the connection. Repeat the test until no bubbles appear (National Fire Protection Association).
Firing Up for the First Time
With no leaks detected, it’s time for the moment of truth! Turn on the gas at the tank. Open your grill lid.
Turn one burner control knob to the “light” or “high” position and press the igniter button. You should hear a whoosh and see a flame. Repeat for all burners. Observe the flames; they should be mostly blue with yellow tips.
Quick Checklist for Burner Installation
- Gas supply turned off and disconnected?
- Old burners completely removed?
- Manifold orifices clear and clean?
- New burners properly aligned and seated?
- All fasteners and igniter wires secured?
- Gas line reconnected correctly?
- Leak test performed with no bubbles?
- All burners light and show even flames?
When Things Don’t Go as Planned: Troubleshooting
Sometimes, even with the best intentions, things don’t work perfectly right away. Don’t worry! Many common issues have simple solutions. The key is to retrace your steps calmly.
If a burner won’t light, check the igniter connection. If the flame is weak, re-check the orifice for blockages. Research indicates that most new installation issues relate to overlooked connections.
What If the Flame Looks Uneven?
An uneven flame usually points to a partial blockage in the burner tube or an issue with the orifice. Turn off the gas, let the grill cool, and re-examine the burner and orifice.
Ensure the burner tube is completely clear inside. Sometimes, manufacturing debris can be present in new parts. A thin wire can help clear minor obstructions. We found that proper alignment is critical for even flame distribution.
Maximizing Your Burner’s Lifespan
Installing new burners gives your grill a new lease on life. To keep them working great, a little ongoing care goes a long way. This isn’t just about cooking; it’s about investment protection.
Regular maintenance will save you time and money in the long run. Many grill experts point to consistent cleaning as the top factor for longevity.
Regular Cleaning Habits
After each use, scrape your grates. Every few months, give your grill a deeper clean. Remove the grates and heat tents, and brush off any food debris or grease from the burners.
Preventative cleaning keeps those small holes in the burners clear, ensuring even heat. Here’s a quick guide to common burner materials and care:
| Burner Material | Pros | Maintenance Tip |
|---|---|---|
| Stainless Steel | Resistant to rust, durable | Clean with soft brush, avoid harsh abrasives. |
| Cast Iron | Excellent heat retention | Season regularly, keep dry to prevent rust. |
| Porcelain-Coated | Easy to clean, good heat distribution | Use non-abrasive cleaners, check for chips. |
Conclusion
Replacing gas grill burners might seem daunting, but it’s a rewarding DIY project. By following these steps carefully, you can restore your grill’s heating power and enjoy perfect cooks again. Remember, patience and attention to detail are your best friends throughout this process. With your new burners installed, you’re ready to get back to grilling your favorite meals with confidence and consistency.
FAQs About Gas Grill Burner Installation
How often should I replace gas grill burners?
Many grill owners find that burners typically last between 5-10 years, depending on usage, care, and material. If you notice uneven heating, rust, or weak flames, it’s a good sign they need replacing.
Can I mix and match different burner types in my grill?
Generally, it’s best to replace burners with the exact same type and size recommended by your grill’s manufacturer. Different burner types may not fit properly or could cause uneven gas flow and performance issues.
What if my new burner isn’t lighting?
First, check that the gas supply is on and the tank isn’t empty. Then, inspect the igniter wire connection to the burner and ensure the igniter is sparking. Also, confirm the burner’s intake tube is properly seated over the gas valve orifice.
Is it normal for new burners to have a slightly yellow flame?
Initially, a very slight yellow tip might be normal as the burner “breaks in” or if there’s residual manufacturing oil. However, consistently yellow or orange flames usually indicate an issue with air-to-gas mixture, often from a clogged orifice or burner tube, or improper burner alignment.
Can I clean my old burners instead of replacing them?
You can certainly clean old burners. Use a wire brush to remove rust and debris, and clear any clogged holes with a thin wire. However, if burners are heavily rusted, cracked, or severely corroded, cleaning might only offer a temporary fix, and replacement is often the better long-term solution.
