
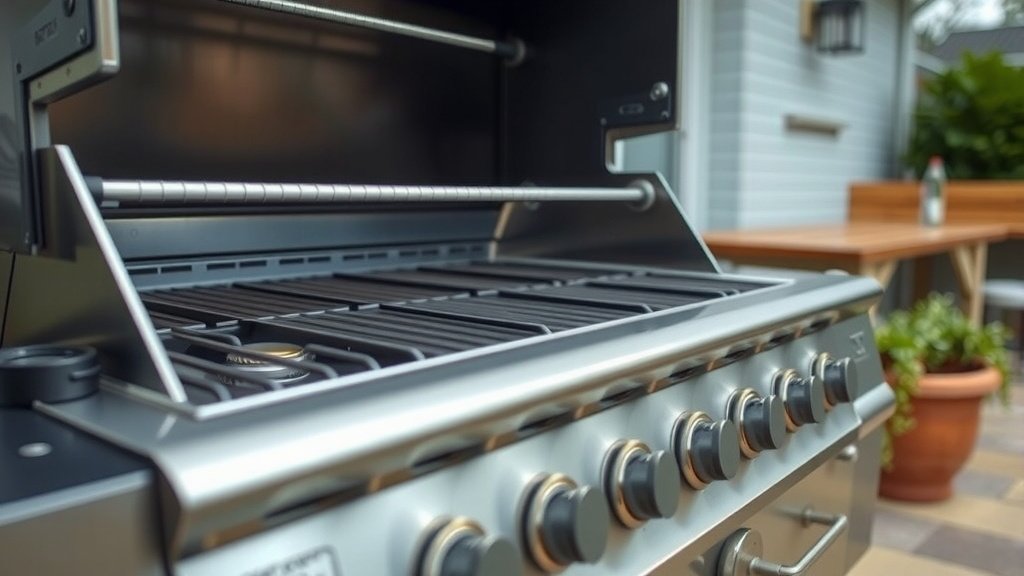
To replace a gas grill burner, you first disconnect the gas supply, remove the cooking grates and heat shields, then unfasten the old burner. Carefully install the new burner, securing it in place and reconnecting the gas line, before performing a leak test to ensure safety.
You can usually replace a gas grill burner yourself with common tools, saving money and keeping your grill working like new for delicious meals. This task typically takes under an hour, depending on your grill model and comfort with tools.
Here’s a quick overview of what you’ll find in this guide:
- You’ll learn why your burner might need replacing.
- We will guide you through the tools you will need.
- We will also talk about safety first measures to take.
- Then you will get a step-by-step process to swap out your old burner.
- Finally, you’ll find tips for finding the right replacement part and a conclusion.
How To Replace A Gas Grill Burner?
Replacing a gas grill burner involves a few simple steps: gather your tools, ensure safety, remove the old part, and install the new one. This keeps your grill cooking evenly and efficiently for many more seasons.
Why Do Grill Burners Fail?
Grill burners, over time, face a lot of heat and grease. This constant exposure leads to wear and tear. You might notice uneven flames or cold spots when cooking.
Rust and corrosion are common culprits. Food debris can also clog the small gas ports. Many experts suggest that even good maintenance can’t prevent eventual material fatigue (Gas Appliance Manufacturers Association).
Signs It’s Time for a New Burner
Are your steaks cooking unevenly? Do you see a weak or yellow flame instead of a strong blue one? These are clear signals.
Holes or cracks in the burner tube itself also mean it’s time for a change. Sometimes, you might even smell gas when the grill is off, which needs immediate attention.
Safety First: Before You Begin
Working with gas appliances demands care. Your safety is always the priority. Taking a few moments for precautions can save a lot of trouble.
Always remember, safety isn’t a suggestion; it’s a rule. You’re dealing with flammable gas, so be extra cautious.
Disconnect the Gas Supply
This is the absolute first step. Turn off the gas at the tank valve. Then, disconnect the hose from the tank. You want to make sure there’s no gas flowing to the grill.
It’s like hitting the pause button on danger. Many grill manufacturers advise waiting a few minutes after disconnecting to let any residual gas dissipate.
Work in a Well-Ventilated Area
Even after disconnecting, a slight gas smell might remain. An open space, like your backyard or patio, is ideal. You want fresh air circulating around you.
This helps prevent any gas buildup. It also makes the job more comfortable, especially on a warm day.
Gather Your Tools
Having the right tools ready makes the job smoother. You don’t want to stop halfway to search for a screwdriver. A little preparation goes a long way.
Think of it like preparing for a cooking adventure. You wouldn’t start grilling without all your ingredients, right?
Essential Tools for Burner Replacement
- Screwdriver (Phillips and flathead)
- Wrench or pliers
- Wire brush
- New replacement burner(s)
- Gloves (optional, but good for greasy parts)
- Soapy water (for leak testing)
Step-by-Step Burner Replacement Guide
Let’s get your grill back in top shape! This process is straightforward. Just follow along, and you’ll have a working grill again soon.
It’s like assembling a simple piece of furniture. Each part has its place, and you just fit them together.
1. Remove Cooking Grates and Heat Tents
First, lift out your cooking grates. Set them aside. Then, take out the metal heat tents or flame tamers. These usually just sit over the burners.
This opens up the grill interior. Now you can easily see the burners. You might find them surprisingly dirty underneath!
2. Disconnect Old Burners
Look for screws or clips holding the burners in place. Some burners slide onto a gas valve tube. Others have small fasteners. Carefully unfasten any connections.
Gently slide the old burners out of their position. They might be a bit stiff due to grime. Many experts suggest taking a photo before removal if you’re unsure about the configuration.
3. Clean the Grill Interior
Now that the burners are out, you have access to the bottom of the grill box. Use your wire brush to scrape away any loose debris, rust, or grease. A clean grill is a happy grill!
This also helps you inspect the condition of the grill body. It’s a good opportunity to do some general maintenance (Grill Maintenance Manuals).
4. Install the New Burners
Align your new burner(s) with the gas valve openings. Slide them into place. Make sure they fit snugly. If there are screws or clips, fasten them securely.
Sometimes, a bit of wiggling helps. Ensure the gas ports on the burner face upwards. It’s often a simple reverse of the removal process.
5. Reassemble Heat Tents and Grates
Place the heat tents back over the new burners. Make sure they sit correctly. Then, put your cooking grates back into their slots.
Almost done! You’re just a few steps away from grilling again. It’s exciting to see your grill come back to life.
Leak Testing Your Connections
This step is non-negotiable. You must check for gas leaks after working on any gas line. It only takes a minute and provides peace of mind.
Don’t skip this part! It’s a quick test that protects your home and family.
How to Perform a Leak Test
Mix some dish soap with water in a spray bottle. Create a good amount of suds. Reconnect your gas tank, then slowly turn on the gas valve.
Spray the soapy water generously over all new connections. If you see bubbles forming, that means there’s a leak. Tighten the connection until the bubbles stop. If leaks persist, turn off the gas and call a professional.
Finding the Right Replacement Burner
Choosing the correct burner is important. Not all burners fit all grills. A little research helps avoid frustration.
It’s like finding the right key for a lock. The wrong key just won’t work.
Here’s a quick table to guide you:
| Consideration | What to Look For |
|---|---|
| Grill Model & Make | Check your grill’s manual or a sticker on the back. |
| Burner Dimensions | Measure the length and width of your old burner. |
| Burner Type | U-shaped, H-shaped, straight tube, or cast iron? |
| Material | Stainless steel (common), cast iron, or cast brass. |
Checklist for Success
Before you fire up the grill, quickly review this list. It helps ensure everything is ready for safe and delicious cooking.
- Gas tank reconnected and valve open?
- All burner fasteners tight?
- No gas leaks detected with soapy water test?
- Heat tents and cooking grates back in place?
- Lid closed for initial burner test?
Conclusion
Replacing a gas grill burner might seem like a big job, but as you’ve seen, it’s quite manageable. By following these steps, you not only save money but also gain a better understanding of your grill. You can keep your outdoor cooking space functioning beautifully, ready for countless delicious meals. Enjoy your refreshed grill, and happy cooking!
Is it worth replacing grill burners?
Yes, absolutely. Replacing old or faulty grill burners is often more cost-effective than buying a brand-new grill. It extends the life of your existing unit, improves cooking performance, and makes your grilling safer, saving you money in the long run.
How often should you replace gas grill burners?
Most gas grill burners last between 3 to 5 years, but this varies based on usage, maintenance, and material quality. If you use your grill frequently or expose it to harsh weather, you might need to replace them sooner. Regular cleaning can help prolong their life.
Can you mix different types of grill burners in one grill?
Generally, it’s not recommended to mix different types of grill burners. Grills are designed for specific burner types and sizes to ensure even heat distribution and proper gas flow. Using incompatible burners can lead to uneven cooking, safety issues, or damage to your grill.
What is the best material for grill burners?
Stainless steel is a popular choice for grill burners due to its resistance to rust and corrosion, offering good durability. Cast iron burners also hold heat well, but they require more maintenance to prevent rust. Cast brass burners are often found in premium grills for their excellent longevity and heat properties.
Can dirty burners affect grill performance?
Yes, dirty burners can significantly affect grill performance. Clogged burner ports cause uneven heat, weak flames, and flare-ups. Regular cleaning, using a wire brush to clear the holes, can help maintain optimal performance and prevent premature burner failure. Neglecting this maintenance reduces your grill’s efficiency.
