
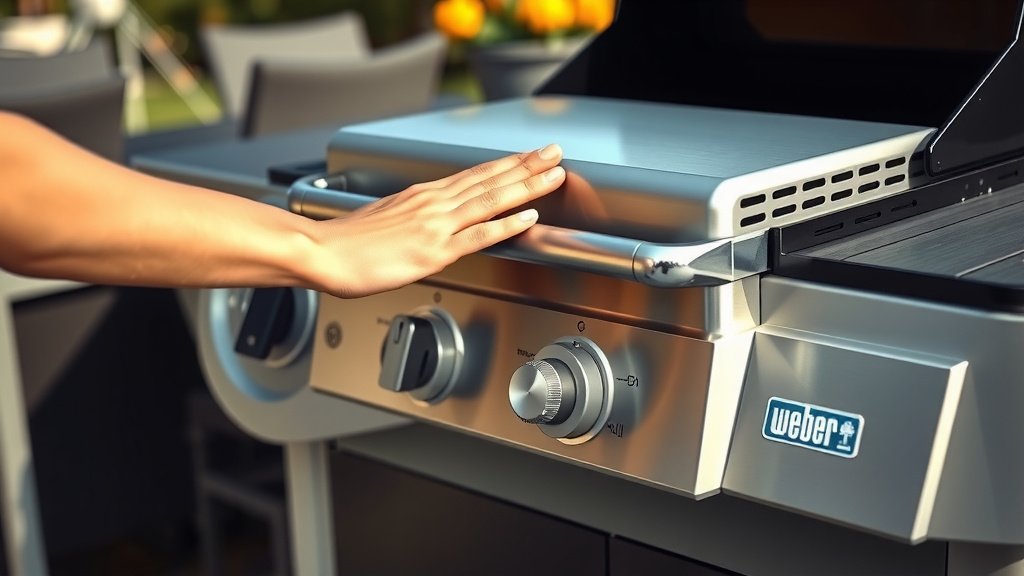
To light a Weber gas grill, first open the grill lid for safety, connect your propane tank or ensure your natural gas supply is open, and then slowly open the gas valve on your tank all the way.
Next, turn one burner knob to the START/HIGH position, press and hold the igniter button for a few seconds, and visually check that the burner has lit. If not, repeat for a few seconds.
- Always open the grill lid before lighting for safety.
- Connect your gas tank and open the valve fully.
- Turn one burner to START/HIGH, then press the igniter.
- If auto-ignite fails, use a long match or lighter for manual ignition.
- Common issues include empty gas tanks, faulty igniters, or clogged burner tubes.
How To Light A Weber Gas Grill?
Lighting your Weber gas grill is typically a straightforward process that gets you ready to cook in minutes. We’ll walk you through the steps to ensure a safe and successful start every time.
Getting Ready: Essential Pre-Light Checks
Before you even think about turning a knob, a few quick checks ensure both safety and successful ignition. Think of it like a pilot’s pre-flight routine for your backyard BBQ!
Safety First: What You Need to Know
Safety is paramount when dealing with gas. Always make sure your grill lid is open before attempting to light any burners. This prevents gas from building up, which could cause a dangerous flare-up (Weber Support).
Ensure your grill is on a stable, level surface, away from anything flammable. We’ve found that a clear area makes for a much more relaxing grilling experience.
Your Pre-Ignition Checklist
Let’s run through a quick checklist. It helps to keep things flowing smoothly and safely:
- Is the grill lid open? (Always open the lid!)
- Is your propane tank securely connected and the valve fully open?
- Do you have enough propane in the tank? (A common oversight!)
- Are all burner control knobs in the “off” position before you start?
- Are your grill grates clean? (A quick brush prevents flare-ups later.)
Going through these steps just takes a moment, but it saves a lot of potential headaches.
Lighting Your Weber Gas Grill: The Automatic Way
Most Weber gas grills come equipped with an automatic ignition system. This is usually the quickest and easiest path to getting those flames going.
Step-by-Step for a Quick Start
Here’s how to light your grill using the built-in igniter:
1. Open the grill lid: We cannot stress this enough – it’s crucial for safety.
2. Open the gas supply: If using a propane tank, slowly turn the tank valve counter-clockwise until it’s fully open. For natural gas, ensure your home’s gas valve is open.
3. Turn one burner to START/HIGH: Choose one burner, typically an end burner, and turn its control knob to the highest setting. You should hear a faint hiss of gas.
4. Press the igniter button: Push and hold the igniter button. You’ll hear a clicking sound as it tries to spark. Keep holding it for a few seconds.
5. Confirm ignition: Look through the cooking grates to confirm the burner has lit. You’ll see a flame. If it doesn’t light within 5 seconds, turn the knob off, wait a minute, and try again (Consumer Reports).
6. Light other burners: Once the first burner is lit, you can turn on other burners to your desired heat settings without needing the igniter again.
Troubleshooting the Auto-Igniter
Sometimes, the igniter might be a bit stubborn. Don’t worry, it happens! If you press the button and hear no clicking, or it clicks but no flame appears, you might need to try again.
We often find that giving it a second or third try, ensuring the gas is fully on, can do the trick. If it still doesn’t light, it’s time to consider manual ignition.
Manual Lighting: When the Spark is Shy
If your automatic igniter isn’t cooperating, don’t let it ruin your grilling plans. You can easily light your Weber gas grill manually.
How to Light It with a Match or Lighter
Always keep a long match or a long-stemmed lighter handy for this situation. It’s a reliable backup plan. Here’s how:
1. Ensure the lid is open: Again, safety first!
2. Have your lighting tool ready: Hold your match or lighter near the igniter port or burner tube on one side of the grill.
3. Turn one burner to START/HIGH: With your flame source ready, turn on the corresponding burner control knob.
4. Apply flame immediately: Bring the flame directly to the igniter port or burner. The gas should ignite instantly. Many experts suggest being quick but careful here.
5. Light remaining burners: Once one burner is lit, you can turn on the others as needed.
Remember, if a burner doesn’t light immediately, turn the gas off, wait a full minute for any residual gas to dissipate, and then try again.
Common Reasons Your Grill Won’t Ignite
It’s frustrating when your grill won’t light. We understand! Often, the problem is simple to identify and fix. Many customers report similar issues, so you’re not alone.
Gas Tank Issues: The Fuel of Your Flame
This is probably the most frequent culprit. Is your propane tank empty? A quick shake can often tell you, but a grill tank scale or gauge is more accurate. Also, ensure the tank valve is fully open, not just partially.
Another issue can be the **OPD (Overfill Protection Device)** valve on propane tanks. If you open the tank valve too quickly, it can restrict gas flow. We found that turning the tank off, waiting a few minutes, then slowly opening it fully often resets this safety feature.
Igniter Problems: Where’s the Spark?
If you don’t hear a clicking sound or see a spark when pressing the igniter, the issue might be electrical. Check the igniter battery (if your model uses one) – it might just need replacing. Also, ensure the igniter wires are securely connected.
Sometimes, the igniter electrode itself can be dirty or corroded. A gentle cleaning with a small brush can often restore its sparkle.
Burner Tube Blockages: Keeping the Flow Clear
Burner tubes can get clogged with food debris, grease, or even spider webs. This prevents gas from flowing freely and can stop ignition. We’ve seen this countless times!
Here’s a simple table to help diagnose burner issues:
| Symptom | Possible Cause | Quick Fix |
|---|---|---|
| No flame, gas hiss audible | Clogged burner port | Clean burner tube with a wire brush. |
| Small, uneven flame | Partially clogged burner | Perform thorough burner cleaning. |
| Gas smell, no flame, no hiss | Gas flow restriction (OPD valve) | Turn gas off, wait, slowly reopen tank valve. |
Regular inspection of your burner tubes can prevent these frustrating no-light situations.
Maintaining Your Weber for Consistent Performance
A well-maintained grill is a happy grill! Keeping your Weber in good shape means fewer lighting issues and more delicious meals.
Regular Cleaning for Optimal Grilling
After each use, scrape the grates. Periodically, perform a deeper clean. Remove the grates and flavorizer bars to access the burner tubes. Use a soft brush to clean any debris off the burners.
Many experts recommend doing a thorough cleaning at the start and end of grilling season. This helps prevent clogs and keeps your igniter working efficiently.
Checking Gas Connections: A Vital Safety Step
Always inspect your gas hose and connections for any cracks or damage. A simple soap and water test can reveal leaks: apply a soapy solution to the hose and connections with the gas on (but grill off). Bubbles mean a leak.
If you find a leak, turn off the gas immediately and replace the faulty parts. Safety guidelines point to frequent checks for peace of mind.
When to Call in the Pros
While many issues are solvable at home, there are times when it’s best to call a qualified service technician. If you’ve tried all the troubleshooting steps and your grill still won’t light, or if you suspect a major gas leak, don’t hesitate.
Your safety is the top priority. Experts agree that any persistent gas issues or strange smells warrant professional attention.
Conclusion
Lighting your Weber gas grill is typically a simple process that sets the stage for great food and memorable moments. By following the proper steps for automatic or manual ignition, and by performing routine checks and maintenance, you can ensure a safe and consistent grilling experience.
Don’t let a minor hiccup keep you from enjoying your grill. Most lighting problems have straightforward solutions, putting you back in control of your outdoor cooking adventures.
What should I do if my Weber gas grill smells like gas but won’t light?
If you smell gas but the grill isn’t lighting, immediately turn off the gas supply at the tank or source, then open the lid completely and step away. Wait several minutes for the gas to dissipate before attempting to troubleshoot again. This strong smell suggests gas buildup, which is a safety concern.
How often should I check my propane tank levels?
We recommend checking your propane tank levels before each grilling session, especially if you plan a longer cookout. You can use a tank scale, an inline gauge, or the simple hot water test (pour hot water down the side of the tank and feel for a cool spot where the liquid propane ends).
Can low ambient temperature affect my Weber grill’s lighting?
Yes, low ambient temperatures can sometimes affect gas pressure and igniter performance. Propane vaporizes less efficiently in cold weather, which might make lighting a bit slower. Allow a little extra time for the gas to flow and warm up, and ensure your igniter’s battery is fresh.
My Weber grill has multiple burners; should I light them all at once?
No, you should always light one burner first using the igniter or a manual flame. Once that first burner is successfully lit, then you can turn on the remaining burners to your desired heat settings. This staggered approach helps ensure safe and controlled ignition.
Is it normal for the igniter to click several times before lighting the burner?
Yes, it’s quite normal for the igniter to click a few times, usually between 1 to 5 clicks, before the burner ignites. The igniter creates a series of sparks to ensure the gas catches fire. If it clicks continuously without lighting, or makes no sound at all, that’s when you should investigate.
