
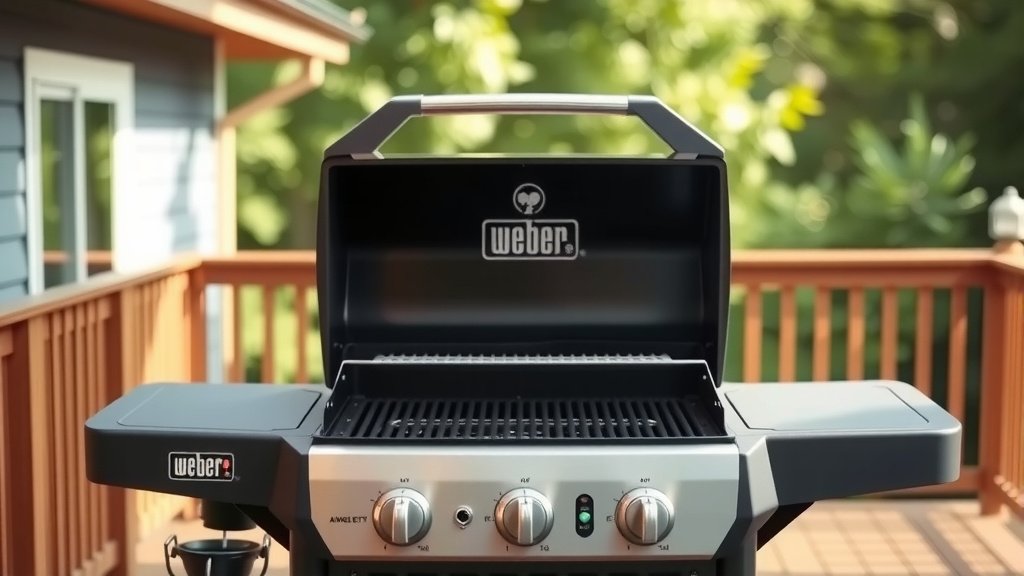
To turn on a Weber gas grill, first ensure the gas tank is connected and its valve is fully open, then open the grill lid. Turn one burner knob to the “Start/High” position, press the igniter button, and if it doesn’t light, try again or use a long match.
Always keep the lid open when igniting your grill to prevent gas buildup, ensuring safety and an easier startup process.
For a quick overview of lighting your Weber gas grill:
- Check your gas tank: Make sure it’s connected and open.
- Lift the lid: Safety first, always ignite with the lid open.
- Turn a burner to high: Start with one burner, usually the far left.
- Press the igniter: Listen for the click and watch for the flame.
- Adjust heat as needed: Once lit, you can turn on other burners.
How To Turn On A Weber Gas Grill?
Turning on your Weber gas grill is a straightforward process, but it involves a few key steps to ensure both safety and a perfect cooking experience. We want to guide you through each part, making sure your grilling journey starts smoothly.
Safety First: What You Need to Know Before You Start
Before you even think about lighting a flame, safety is paramount. You’re dealing with propane or natural gas, so a quick check can prevent potential issues. Always approach your grill with a mindful attitude, like a seasoned chef prepares their station.
Checking Your Gas Connections
Take a moment to inspect your gas tank and its connections. Is the hose securely attached to both the tank and the grill? A loose connection means gas can escape, which is something we want to avoid at all costs. Many experts say a visual inspection for kinks or damage is a smart habit (Consumer Product Safety Commission).
Opening the Gas Tank Valve
Once your connections look good, it’s time to open the gas tank valve. Turn the knob slowly counter-clockwise until it’s fully open. You want a consistent flow of gas to ensure your burners light properly. Think of it like opening a faucet all the way for the best water pressure.
The Ignition Process: Lighting Your Weber Grill
Now that safety checks are done, it’s time for the main event: getting that flame going. This is where your Weber grill shines with its user-friendly design. Remember, practice makes perfect, and soon you’ll be doing this without a second thought.
Opening the Grill Lid
This step is non-negotiable. Always open the grill lid completely before attempting to light any burner. Why? If gas builds up under a closed lid, it can lead to a sudden, intense burst of flame when ignited. We found that keeping the lid open allows any excess gas to dissipate safely.
Turning on the First Burner
Now, choose one burner knob, typically the far-left one, and turn it to the “Start/High” position. You’ll often hear a faint hiss as the gas begins to flow. This initial flow is crucial for the igniter to do its job. Some models might suggest a specific burner for ignition; check your grill’s manual if unsure.
Pressing the Igniter Button
With the burner set to high, press and hold the igniter button. You should hear a distinct clicking sound and see a flame light on that burner. If it doesn’t light within a few seconds, release the button, turn off the burner, wait a minute for any gas to clear, and then try again. Sometimes, a second attempt is all it takes.
What If the Burner Doesn’t Light? Troubleshooting Tips
Don’t panic if your grill doesn’t light on the first try. It happens! We’ve all been there, standing by a seemingly uncooperative grill. Here are some quick fixes to get you back on track.
Here are common reasons why your grill might not ignite:
- Low or empty gas tank: Is there enough fuel?
- Loose gas connection: Check that hose again.
- Clogged burner ports: Food debris can block gas flow.
- Faulty igniter electrode: It might be dirty or damaged.
- Spider webs in gas lines: Spiders love propane lines (we found that out from many grill forums).
The Manual Lighting Method
If the electronic igniter isn’t working, you can always light your Weber grill manually. With the lid open, turn one burner to “Start/High.” Then, carefully insert a long grill lighter or a long match through the cooking grates, near the burner tube. Light it as soon as the gas starts flowing. This is a reliable backup plan.
Checking for Gas Flow
Sometimes the issue isn’t the igniter, but a lack of gas flow. After opening your tank valve, listen for that faint hiss when you turn a burner knob. If you don’t hear it, the problem might be with your gas tank’s regulator activating its safety bypass. Try turning everything off, disconnecting and reconnecting the tank, then slowly reopening the valve.
Preheating Your Grill: Getting Ready to Cook
Once your first burner is lit, you’re almost ready to grill! Preheating is a crucial step for even cooking and preventing food from sticking. It’s like warming up a skillet before adding your steak.
| Step | Action | Why It Matters |
|---|---|---|
| 1. Light First Burner | Turn one burner to “Start/High” and ignite. | Establishes initial flame. |
| 2. Turn On Other Burners | Rotate remaining burners to desired setting. | Achieves even heat across the grill. |
| 3. Close Lid | Carefully lower the grill lid. | Builds and retains internal heat efficiently. |
| 4. Wait to Preheat | Allow 10-15 minutes (or to target temp). | Ensures cooking surface is hot for searing and even cooking. |
Setting the Temperature
With the first burner lit, you can now turn on the other burners to your desired temperature settings. For most grilling, we found that setting all burners to medium-high is a good starting point. Close the lid and let your grill preheat.
How Long to Preheat?
Weber grills usually need about 10-15 minutes to preheat fully. You’ll know it’s ready when the built-in thermometer reaches your target temperature, or when you can hold your hand about 5 inches above the grates for only a few seconds. This hot surface is essential for achieving those beautiful sear marks.
Maintaining Your Weber Grill for Easy Start-Ups
A little care goes a long way in ensuring your grill lights up every time. Think of it as preventative maintenance, saving you frustration down the line.
To keep your Weber gas grill starting easily:
- Clean grates regularly: Remove food residue after each use.
- Check burner tubes: Ensure they are free of debris or spider webs.
- Inspect igniter electrode: Keep it clean and dry.
- Store gas tank properly: Always upright, away from direct sunlight.
- Cover your grill: Protects it from elements when not in use.
Conclusion
Turning on your Weber gas grill doesn’t have to be a mystery. By following these clear steps, from checking your gas connections to properly igniting and preheating, you’ll be cooking up delicious meals in no time. Remember the importance of safety, especially keeping that lid open during ignition. With a little practice and regular maintenance, your Weber grill will be a reliable source of culinary joy for years to come. Now, go enjoy the sizzle!
How do I know if my gas tank is empty?
A simple way to check your propane tank level is to pour warm water down the side of the tank. Then, feel the tank with your hand, moving from top to bottom. The point where the tank transitions from warm to cool indicates the liquid propane level. The cool area is where the liquid propane is located.
Can I use lighter fluid on a gas grill?
No, you should never use lighter fluid or any other accelerant on a gas grill. Gas grills are designed to ignite safely using their internal ignition system. Introducing lighter fluid can be extremely dangerous, causing uncontrolled flare-ups and potentially damaging your grill.
What does it mean if my Weber grill has low flame?
Low flame on a gas grill often indicates that the gas tank’s “overfill protection device” (OPD) or “excess flow safety device” has been activated. This usually happens if the tank valve is opened too quickly. To reset it, turn off all burners and the tank valve, disconnect the regulator, wait a minute, then reconnect and slowly open the tank valve before trying to light the grill again.
How often should I clean my Weber grill?
For optimal performance and longevity, it’s a good practice to brush your cooking grates after every use. A more thorough cleaning, including the burner tubes and flavorizer bars, should be done a few times per grilling season, or every few months depending on how frequently you grill. We found that regular cleaning prevents buildup that can hinder ignition and cooking.
Is it normal for my Weber grill to smoke a lot when starting?
A little smoke when starting your grill, especially if there’s residual grease or food particles from a previous cook, can be normal. However, excessive, thick, or dark smoke could indicate a significant grease buildup, clogged burner ports, or issues with your flavorizer bars. If the smoke persists or seems unusual, it’s wise to perform a thorough cleaning and inspection.
