To grill baby back ribs on a gas grill, you will cook them low and slow using indirect heat, aiming for tender, fall-off-the-bone results. You’ll typically use a two-zone setup on your grill, maintaining a consistent temperature around 250-275°F (120-135°C).
Expect the total grilling process for baby back ribs to take about 3 to 5 hours on a gas grill, involving stages of smoking, wrapping, and saucing for a perfect finish.
Here’s the quick rundown for grilling amazing baby back ribs:
- Choose meaty baby back ribs, remove the membrane, and season generously.
- Set up your gas grill for two-zone cooking at 250-275°F.
- Cook ribs indirectly for 2-3 hours until a nice bark forms.
- Wrap the ribs in foil with liquid for another 1-2 hours until tender.
- Finish unwrapped on the grill, basting with sauce, until caramelized.
- Rest the ribs briefly before slicing and serving.
How To Grill Baby Back Ribs On Gas Grill?
Grilling baby back ribs on a gas grill is all about managing heat and patience, turning simple ribs into a tender, flavorful meal. You’ll be creating a perfect balance of smoky taste and juicy texture.
Choosing the Right Ribs
Picking good ribs is your first step to success. Look for racks that are meaty, with an even distribution of fat, not too thick or too thin. Freshness really matters for the best flavor.
Baby Back vs. Spare Ribs
Baby back ribs come from the loin section, higher on the pig. They are shorter, meatier, and generally more tender than spare ribs (USDA). Spare ribs are from the belly and require a bit more trimming.
Preparing Your Ribs for the Grill
Good prep work makes a huge difference in the final taste and texture of your ribs. Don’t skip these steps; they are quick and easy.
Removing the Membrane
This step is often overlooked, but it is super important. On the bone-side of the ribs, you will find a thin, silvery membrane. This membrane gets tough when cooked, making ribs chewy and harder to eat. Simply slide a knife under a corner, grab it with a paper towel, and pull it off.
Seasoning Your Ribs
A good dry rub adds a ton of flavor. You can use a store-bought rub or make your own blend of spices. Many experts say to apply the rub generously, covering all sides. We found that letting the rub sit on the ribs for at least 30 minutes, or even overnight in the fridge, allows the flavors to deepen (AmazingRibs.com).
Setting Up Your Gas Grill for Ribs
Gas grills offer great control, which is perfect for slow-cooked ribs. You want to maintain a consistent, low temperature.
The Two-Zone Setup
This setup is key for grilling ribs indirectly. Turn one side of your burners to medium-low heat and leave the other side off. This creates a hot zone and a cooler, indirect cooking zone. Your ribs will cook over the indirect side.
Target Temperature
Aim for an ambient grill temperature between 250-275°F (120-135°C). Use your grill’s built-in thermometer or a separate, accurate grill thermometer to monitor the heat. Consistency is crucial for tender ribs.
The Low and Slow Grilling Method
This is where the magic happens. Slow cooking breaks down the tough connective tissues in the ribs, making them incredibly tender.
Initial Grill Stage (Smoke or Just Cook)
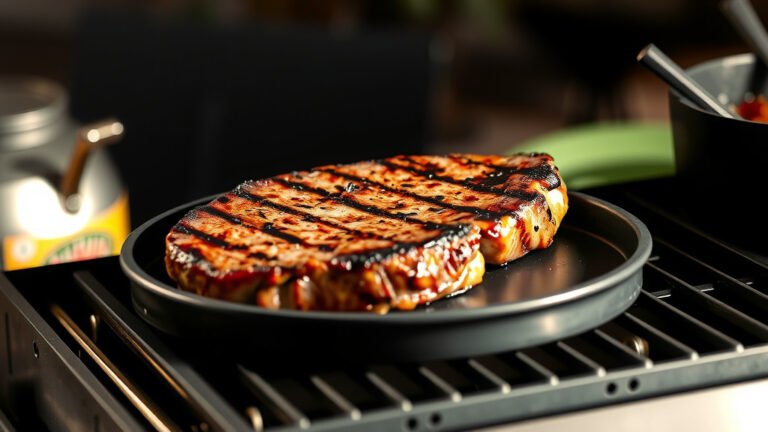
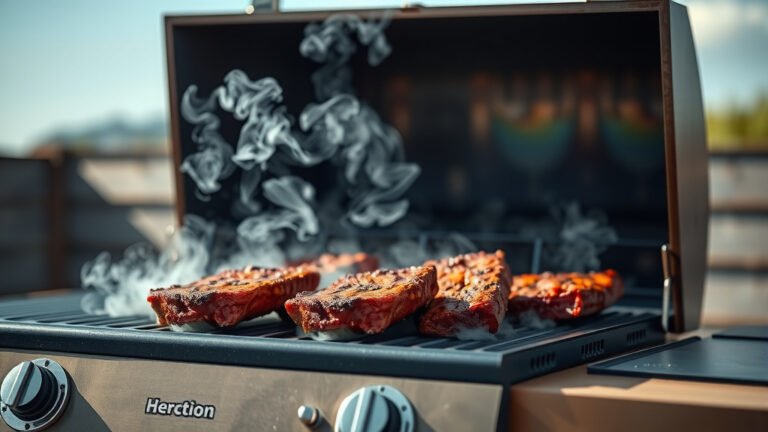
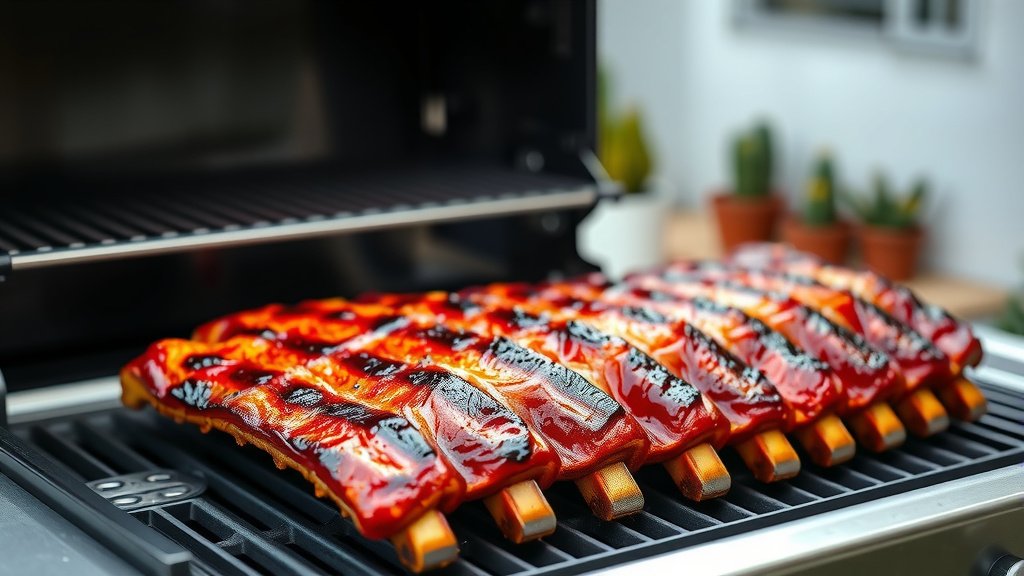
Place your seasoned ribs bone-side down on the indirect side of the grill. Close the lid and let them cook for 2 to 3 hours. During this time, the ribs will develop a lovely “bark”—a flavorful crust on the outside.
If you want a smoky flavor, you can add a smoker box with wood chips (like apple or cherry) over the hot burner. This will infuse a nice smoky essence into your ribs.
The Foil Wrap Stage
After 2-3 hours, when the bark is set, it’s time to wrap the ribs. This stage is often called the “Texas crutch.” Wrap each rack tightly in heavy-duty aluminum foil. You can add a splash of apple juice, cider vinegar, or even beer inside the foil packet. This liquid creates steam, helping to further tenderize the ribs. Put the wrapped ribs back on the indirect heat for another 1 to 2 hours.
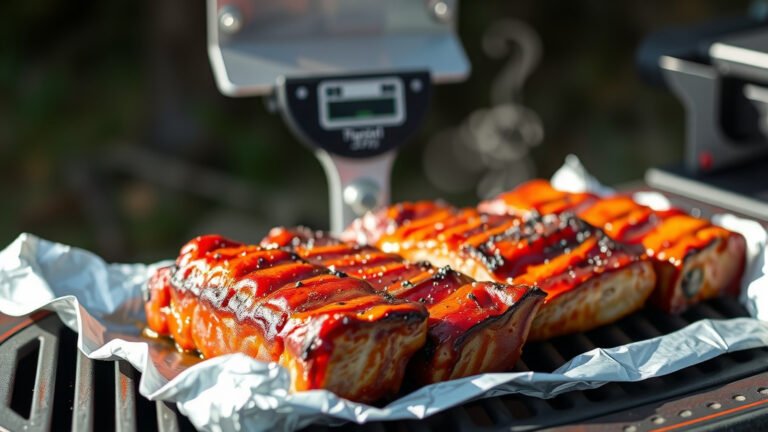
Adding Sauce (Optional)
Once the ribs are tender (after the foil stage), unwrap them. If you like barbecue sauce, now is the time to apply it. Brush a thin layer of your favorite sauce onto both sides of the ribs. Put them back on the indirect heat for another 30-60 minutes. Apply more sauce every 15-20 minutes, allowing it to caramelize without burning. This creates a sticky, delicious glaze.
Checking for Doneness
How do you know when your ribs are ready? You’re looking for tenderness, not just a specific temperature.
- The Bend Test: Pick up a rack of ribs with tongs in the middle. If the rack bends significantly and the meat starts to crack, it’s ready.
- The Twist Test: Grab a bone and gently twist it. If it wiggles easily or even pulls clean out, your ribs are done.
- Probe Tender: If you insert a toothpick or thermometer probe into the meat between the bones, it should slide in with very little resistance, like soft butter.
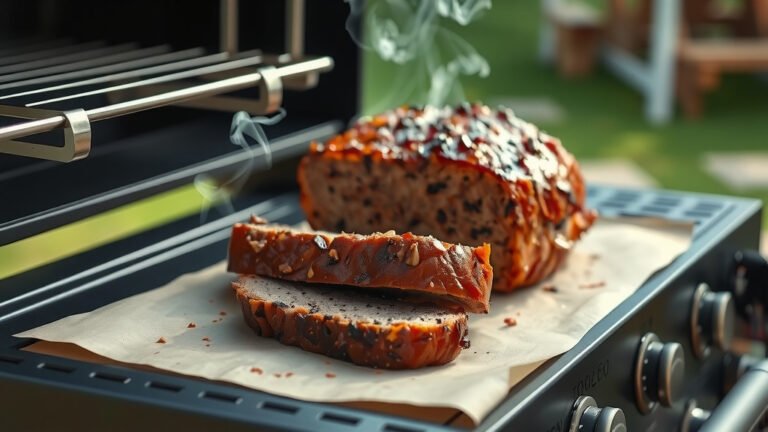
Resting Your Ribs
Just like with other grilled meats, resting ribs is important. Once they are done, remove them from the grill and let them rest, loosely tented with foil, for 10-15 minutes. This allows the juices to redistribute, resulting in more tender and flavorful ribs. Skipping this can lead to dry ribs.
A Quick Checklist for Rib Success:
- Choose quality ribs.
- Remove the membrane.
- Apply your favorite rub.
- Set up a two-zone grill.
- Maintain 250-275°F heat.
- Cook indirect for 2-3 hours.
- Wrap with liquid for 1-2 hours.
- Finish with sauce, if desired.
- Perform a doneness test.
- Rest before slicing.
Rubs Versus Sauces: Flavor Strategies
Understanding how rubs and sauces work together helps you create the perfect flavor profile for your ribs. Some people prefer one over the other, while many enjoy both.
| Feature | Dry Rubs | Barbecue Sauces |
|---|---|---|
| Application | Applied before cooking; forms a “bark.” | Applied towards the end of cooking. |
| Flavor Profile | Deep, savory, spicy, herbal; penetrates meat. | Sweet, tangy, smoky, spicy; coats surface. |
| Texture | Creates a crisp, flavorful crust (bark). | Forms a sticky, glazed coating. |
| Ingredients | Spices, salt, sugar, herbs. | Tomato base, vinegar, sugar, spices. |
| Timing | Hours before grilling. | Last 30-60 minutes of grilling. |
Conclusion
Grilling delicious baby back ribs on your gas grill is a rewarding experience that anyone can master with a little patience. By setting up your grill correctly for indirect heat and following the low and slow method, you’ll achieve ribs that are incredibly tender and packed with flavor. Remember, the journey from raw ribs to a mouth-watering meal is a simple process of consistent heat and timely steps. Enjoy your perfectly grilled ribs!
What is the best temperature for grilling baby back ribs on a gas grill?
The ideal temperature for grilling baby back ribs on a gas grill is consistently between 250-275°F (120-135°C). This low and slow heat ensures the connective tissues break down properly, resulting in very tender ribs.
How long should I cook baby back ribs on a gas grill?
You should plan for a total cooking time of about 3 to 5 hours for baby back ribs on a gas grill. This includes about 2-3 hours for the initial smoke/cook, 1-2 hours wrapped in foil, and 30-60 minutes for saucing and finishing.
Do I need to wrap baby back ribs in foil when grilling?
Wrapping baby back ribs in foil during grilling, often called the “Texas crutch,” is highly recommended. This stage helps tenderize the ribs by steaming them, making them much more succulent and ensuring they don’t dry out. Many pitmasters use this technique (Serious Eats).
How do I prevent baby back ribs from drying out on the gas grill?
To prevent baby back ribs from drying out, cook them using indirect heat at a low temperature (250-275°F), use the foil wrap stage with a little liquid, and avoid overcooking. Resting the ribs after grilling also helps keep them juicy.
Can I add smoke flavor to ribs on a gas grill?
Yes, you can add smoke flavor to ribs on a gas grill. Place a smoker box filled with wood chips (like apple, cherry, or hickory) over one of the lit burners on the hot side of your grill. The chips will smolder and release smoke, infusing your ribs with a smoky taste.