Cleaning your gas grill regularly involves removing food debris, grease, and carbon buildup from grates, burners, and drip trays to ensure safety and performance.
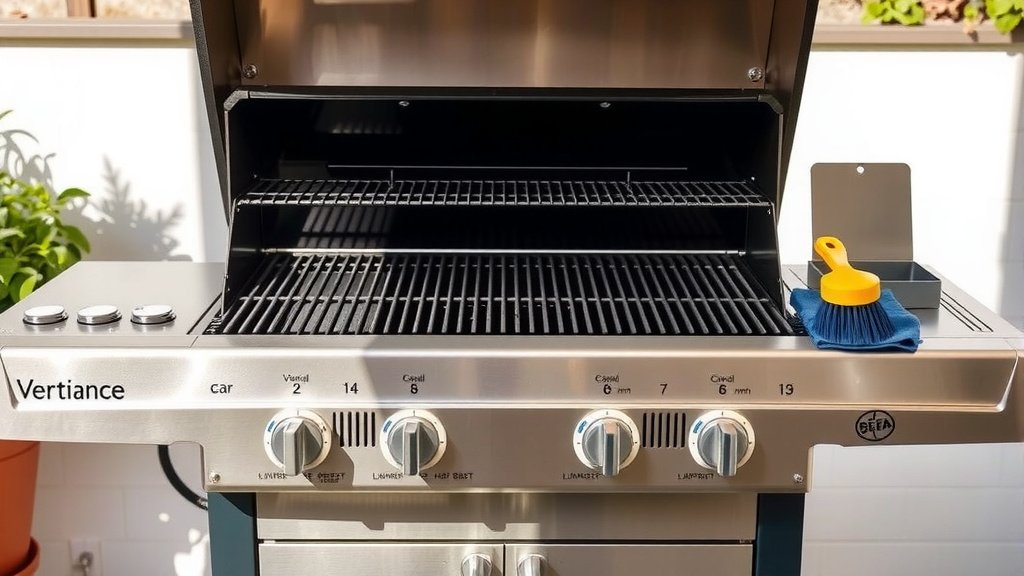
For a clean gas grill, typically you’ll need a grill brush, warm soapy water, a scraper, and a degreaser, focusing on both the inside and outside.
- Keep your gas grill in top shape for better food and longer life.
- Regular cleaning prevents flare-ups and uneven heating.
- You’ll need basic tools like a brush, soap, and a scraper.
- Prioritize safety by disconnecting the gas before you start.
- A quick clean after each use and a deep clean seasonally is ideal.
Ever notice how a clean grill just makes everything taste better? It is not your imagination! Keeping your gas grill sparkling is about more than looks. It is about safety, performance, and flavor.
Think of it like tuning up your car; a little care goes a long way. Let’s make sure your next cookout is amazing, free from old grease and charred bits. You deserve the best grilling experience!
How To Clean Your Gas Grill?
Cleaning your gas grill properly involves a few simple steps to tackle the grates, burners, and grease management system. Disconnect the gas, cool the grill, then scrub the grates, clean burner ports, and empty the drip tray.
Why Cleaning Your Gas Grill Matters
A dirty grill can cause problems you might not even realize. Old grease and food bits can ignite, leading to unexpected and dangerous flare-ups. This is something we all want to avoid.
Beyond safety, imagine biting into a perfectly grilled steak, only to taste last week’s burnt burger. A clean grill prevents those funky flavors from transferring. You want to taste your food, not the residue!
Regular cleaning also helps your grill last longer. Grease and rust can cause parts to break down faster. Many experts agree that routine cleaning significantly extends the lifespan of your appliance (Gas Grill Manufacturers Association).
When to Clean Your Gas Grill
Knowing when to clean helps you maintain your grill without overdoing it. There are generally two types of cleaning: quick and deep. Both play a role in keeping things spotless.
Quick Clean vs. Deep Clean
A quick clean should happen every time you finish grilling. While the grates are still warm, give them a good scrape. This prevents food from hardening into a cement-like mess.
A deep clean is something you do a few times a year, depending on how often you grill. This is when you get into all the nooks and crannies. Think of it as spring cleaning for your grill.
Some sources suggest a deep clean at least once per season (Consumer Reports). This ensures everything is in tip-top shape for your grilling adventures.
What You’ll Need for the Job
Gathering your tools beforehand makes the job much smoother. You likely have most of these items already around your house. No need for anything too fancy here.
- Stiff wire grill brush (or a nylon brush for porcelain grates)
- Scraper (plastic or metal, depending on surfaces)
- Bucket of warm, soapy water (dish soap works great)
- Garden hose
- Sponge or cloth
- Heavy-duty degreaser (optional, for tough grease)
- Rubber gloves (to protect your hands)
- Paper towels or old rags
Safety First: Before You Start
Safety is not just a suggestion; it’s a necessity. Working with gas appliances requires a bit of caution. You do not want any surprises while cleaning.
First, always ensure your grill is completely off and cool to the touch. Then, disconnect the gas supply. Turn off the valve on your propane tank or disconnect the natural gas line. This prevents accidental gas leaks or ignition.
Step-by-Step Gas Grill Cleaning Guide
Alright, let’s roll up our sleeves! Cleaning a gas grill is not as hard as it sounds. We will break it down into manageable steps. You will be surprised how satisfying it feels.
Cleaning the Grill Grates
The grates are where all the action happens. They see the most food and grease. Keeping them clean is probably the most important step for great results.
After your grill cools down, use your stiff wire brush to scrub away burnt-on food. For porcelain-coated grates, a nylon brush is gentler. We found that brushing in one direction helps remove more debris.
For stubborn spots, you can remove the grates and soak them in warm, soapy water for 15-30 minutes. Then scrub again. Rinse them thoroughly and let them dry completely before placing them back.
Clearing the Burner Tubes
The burner tubes deliver the gas, creating your flame. If they are clogged, you will get uneven heating or no flame at all. This is a common issue with neglected grills.
Carefully remove the grates and heat plates (also known as flavorizer bars). You will see the burner tubes underneath. Look for small holes; these are the gas ports.
Use a small wire or a paperclip to gently clear any clogged ports. Some research suggests using a soft brush to sweep off debris from the burner tubes themselves (Weber Grills).
Tending to the Heat Plates (Flavorizer Bars)
Heat plates sit above the burners and catch drippings, turning them into smoky flavor. Over time, they get covered in carbon and grease. They need attention too.
Scrape off any heavy buildup with a plastic scraper. You can also use a stiff wire brush if they are made of cast iron. For enamel-coated plates, use a softer brush to avoid scratching.
If they are especially greasy, you can wash them in warm, soapy water. Rinse well and make sure they are dry before putting them back. Clean heat plates mean better flavor distribution.
Emptying the Drip Tray and Grease Pan
This is where all the grease and drippings end up. It is arguably the messiest part, but ignoring it can lead to fire hazards. You definitely do not want a grease fire.
Locate your grill’s drip tray and grease collection pan. These are usually found underneath the grill body. Carefully remove the pan and discard the contents. Some pans have disposable liners; replace these if yours does.
Wash the drip tray with warm, soapy water and rinse thoroughly. Let it dry completely. A clean drip tray means safer grilling and less risk of inviting unwanted critters.
Wiping Down the Exterior
The outside of your grill deserves some love too! A clean exterior just looks better and protects the finish. It is the final touch to a thorough cleaning.
Use a damp cloth and mild soap to wipe down the lid and side tables. For stainless steel, wipe in the direction of the grain to prevent streaks. You can also use a specific stainless steel cleaner for a brilliant shine.
Do not forget the control knobs! Wipe them clean with a damp cloth. This is a small detail that makes a big difference in the overall appearance of your grill.
Essential Grill Maintenance Checklist
Beyond the deep clean, a few ongoing tasks will keep your grill happy. This simple checklist helps you stay on top of things without much effort.
- Brush grates after every use.
- Check gas connections for leaks annually (use soapy water test).
- Inspect burner flames for evenness (blue flame is good).
- Keep the lid gasket clean if your grill has one.
- Cover your grill when not in use to protect it from weather.
- Empty the grease tray regularly.
Common Cleaning Mistakes to Avoid
Even with the best intentions, some pitfalls can hinder your cleaning efforts. Knowing what not to do is as important as knowing what to do. You want to protect your grill.
Do not use abrasive cleaners on delicate surfaces, especially porcelain. This can damage the finish. Also, avoid harsh chemicals that could leave residues which then transfer to your food.
Another common mistake is neglecting the inside components, like the burner covers. Many experts found that these parts are often overlooked, leading to accelerated wear (Appliance Service Guides).
Making Cleaning a Habit
Consistency is your friend when it comes to grill maintenance. A little effort often prevents a lot of hassle later. Think of it as a small investment in your grilling enjoyment.
Try to incorporate a quick grate brush into your post-grilling routine. For deep cleans, schedule them like you would any other household chore. A regular schedule prevents major buildup.
| Cleaning Task | Frequency | Why It Matters |
|---|---|---|
| Grill Grates Scrub | After Every Use | Prevents food sticking and flare-ups |
| Empty Grease Tray | Every 3-4 Uses | Avoids grease fires and pest attraction |
| Burner & Heat Plate Clean | Every 3 Months / Seasonally | Ensures even heating and burner longevity |
| Exterior Wipe Down | Monthly / As Needed | Maintains appearance and protects finish |
| Gas Line Inspection | Annually | Checks for leaks and ensures safety |
Conclusion
Keeping your gas grill clean is a simple yet crucial part of owning one. You are not just cleaning a piece of equipment; you are maintaining a tool for creating delicious memories. From safety to flavor, the benefits are clear.
So, grab your brush, disconnect that gas line, and give your grill the care it deserves. Your taste buds and your wallet will thank you. Happy grilling!
How often should I deep clean my gas grill?
You should aim for a deep clean of your gas grill at least two to three times a year, especially if you use it frequently. Many grill enthusiasts do it seasonally, like at the start of spring and end of fall.
Can I use oven cleaner on my gas grill grates?
It is generally not recommended to use oven cleaner on your gas grill grates. Oven cleaners contain harsh chemicals that can be difficult to rinse completely and might leave residues that could be harmful or affect food flavor.
What if my gas grill burners are not igniting after cleaning?
If your burners are not igniting after cleaning, first re-check all gas connections for tightness. Ensure the propane tank valve is fully open. Sometimes, moisture can affect the igniter, so let it air dry completely. If issues continue, a small wire brush might be needed to clean the igniter tip.
Is it okay to clean my gas grill with a pressure washer?
Using a pressure washer on your gas grill is usually not a good idea. The high pressure can damage delicate components, strip away protective coatings, or force water into areas it should not be, leading to rust or electrical issues. A garden hose is sufficient for rinsing.
How do I prevent rust on my gas grill after cleaning?
To prevent rust, ensure all parts of your gas grill are completely dry after cleaning, especially metal grates. You can also lightly coat cast iron grates with a high-smoke-point cooking oil. Covering your grill when not in use is also highly effective against rust-causing moisture.