To clean a BBQ gas grill effectively, start by ensuring the grill is off and cool, then remove and scrub the grates, clean burner covers, clear burner ports, and empty the drip pan.
Regular cleaning of your BBQ gas grill prevents flare-ups, maintains consistent heat, and significantly extends the lifespan of your equipment.
Here’s a quick overview of how to get your gas grill sparkling clean:
- Always start with a cool grill and the gas supply turned off.
- Scrub your grates after every use for best results.
- Deep clean burner covers, burners, and the drip pan periodically.
- Use appropriate tools like a grill brush, scraper, and mild dish soap.
- Regular maintenance protects your investment and improves cooking.
How To Clean BBQ Gas Grill?
Cleaning your BBQ gas grill doesn’t have to be a dreaded chore. It’s about following a few simple steps to keep your grill performing at its best and your food tasting great. You’ll be surprised how much a little effort goes a long way.
Why Bother Cleaning Your Gas Grill?
Have you ever had a flare-up that scorched your food? Or noticed inconsistent heating zones? These are often signs your grill needs a good clean. A clean grill means safer cooking and tastier results.
We found that accumulated grease and food debris can block burner ports, causing uneven heat and potentially dangerous flare-ups. Regular cleaning helps your grill run efficiently and extends its working life (Consumer Reports).
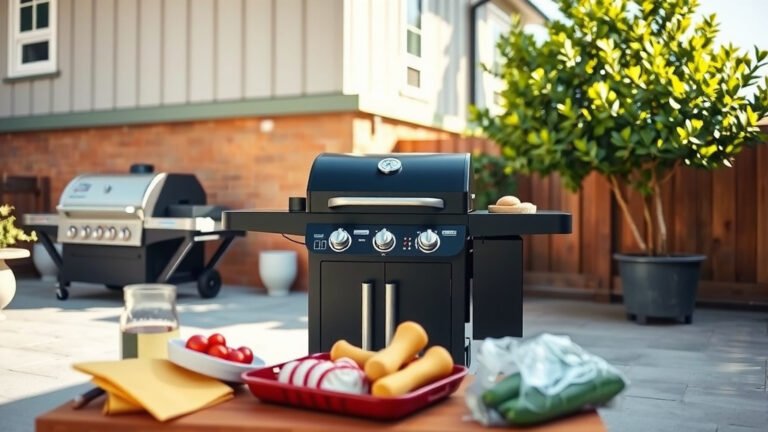
Gather Your Cleaning Arsenal
Before you dive in, make sure you have the right tools for the job. Having everything ready saves time and makes the process smoother. Think of it like a chef preparing their ingredients – mise en place for grilling!
| Tool | Purpose | Notes |
|---|---|---|
| Stiff-bristled grill brush | Removes food bits from grates. | Avoid wire brushes for porcelain enamel. |
| Plastic scraper or putty knife | Scraping stubborn grease. | Safer than metal on some surfaces. |
| Bucket and dish soap | Soaking grates and burner covers. | Warm water helps cut grease. |
| Sponge or cloth | Wiping surfaces, exterior. | Microfiber cloths work well for shine. |
| Wire brush or paperclip | Clearing clogged burner ports. | Use carefully to avoid damage. |
| Rubber gloves | Protects hands from grease and cleaners. | A must for a deep clean. |
Many experts say that choosing the correct brush is vital. For example, some grates might require a nylon brush instead of a wire one to prevent scratching surfaces.
Safety First: Before You Start Scrubbing
Before you even think about cleaning, your safety is paramount. Always ensure the grill is completely off and cool to the touch. This simple step prevents burns and accidents.
You should disconnect the gas tank from the grill. This removes any potential gas flow during cleaning. A cold grill is a safe grill to work on.
Your Step-by-Step Grill Cleaning Guide
Now that you’re ready and safe, let’s get into the nitty-gritty of cleaning your gas grill. We’ll tackle each part methodically. Think of it as a spa day for your grill.
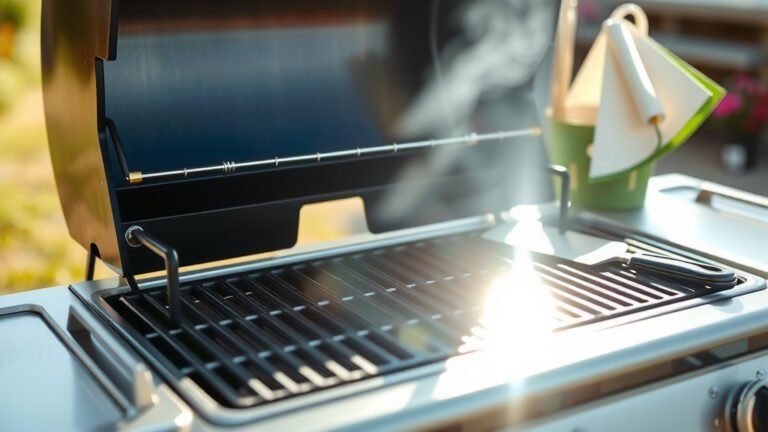
Cleaning the Grill Grates
The grates are where all the cooking happens, so they get the dirtiest. Keeping them clean is probably the most important step for great food.
The Hot Scrape Method
Many grill masters prefer to clean grates while the grill is still warm, right after cooking. This makes food residue easier to remove. Just use a stiff-bristled brush to scrape them clean.
The Cool Soak Method
For a deeper clean, let the grates cool completely. Then, remove them and soak them in a bucket of warm, soapy water. After a good soak, scrub with your brush and rinse thoroughly with water.
Addressing Burner Covers (Flavorizer Bars)
These V-shaped metal pieces sit above your burners, catching drips and vaporizing juices. They can get really greasy. Remove them and scrape off any caked-on residue with a plastic scraper. A good scrub with a wire brush and soapy water usually does the trick for these.
Clearing the Burner Tubes
This part is critical for even heat distribution. Food and grease can block the small holes where the gas comes out. We found that a small wire brush or even a paperclip can carefully clear these ports.
It’s vital to be gentle. You don’t want to damage the burner tubes themselves. Many experts recommend not using water directly on the burners to avoid rust and internal damage.
Managing the Drip Pan and Grease Tray
Beneath your burners is the drip pan, catching all the grease and drippings. This area can become a fire hazard if neglected. Remove the pan, scrape out solidified grease, and wash it thoroughly with hot soapy water.
Always ensure the drip pan is clean and free of excessive grease. Some grills have disposable liners, which make this job incredibly easy. A clean pan prevents unwanted flare-ups.
Sprucing Up the Exterior
Don’t forget the outside! Wipe down the lid, side tables, and control panel with a damp cloth and a mild cleaner. For stainless steel, a specialized stainless steel cleaner can make it shine like new (Good Housekeeping).
A shiny exterior is more than just looks; it protects your grill from the elements. This last step gives your BBQ that fresh-off-the-showroom floor feel.
When to Clean Your Gas Grill?
Knowing when to clean can make a big difference in how much effort you need to put in. A little regular attention means less heavy lifting later.
After Every Cook
A quick brush of the grates after each use, while the grill is still warm, is a game-changer. This prevents food from hardening and becoming impossible to remove. It’s a simple habit with big rewards.
The Seasonal Deep Clean
At least twice a year, or after every 10-15 uses, you should perform a deep clean. This involves all the steps we just discussed, getting into every nook and cranny. Many experts say a thorough clean before and after grilling season optimizes performance and longevity.
Quick Grill Cleaning Checklist
Here’s a handy checklist to make sure you hit all the important spots:
- Gas off and grill cool.
- Disconnect the propane tank.
- Brush and clean grill grates.
- Scrub burner covers (Flavorizer bars).
- Inspect and clear burner ports.
- Empty and wash the drip pan.
- Wipe down the exterior.
Conclusion
Cleaning your BBQ gas grill is a straightforward process that rewards you with better-tasting food and a longer-lasting grill. By following these practical steps, you can ensure your next cookout is a success, free from unexpected flare-ups and uneven heat. It’s an investment in your grilling happiness. So, go ahead, give your grill the care it deserves!
FAQ: How often should I clean my gas grill grates?
You should ideally clean your grill grates after every use. A quick brush while the grates are still warm prevents food from sticking and makes future cleaning much easier. For a deep clean, aim for every 10-15 uses or seasonally.
FAQ: Can I use oven cleaner on my gas grill?
While some people consider it, many experts advise against using oven cleaner on gas grill grates or internal components. Oven cleaners contain harsh chemicals that can damage certain grill materials, like aluminum, and leave behind residues that might affect food taste or safety. Stick to mild dish soap and water or specialized grill cleaners.
FAQ: What’s the best way to clean rusty grill grates?
For light rust, scrub with a stiff wire brush and a paste of baking soda and water. For heavier rust, you might need to soak the grates in white vinegar overnight before scrubbing vigorously. Always season the grates with a high-smoke-point oil after cleaning to prevent future rust.
FAQ: Why is it important to clean the burner tubes?
Cleaning burner tubes is crucial because clogged ports can cause uneven flame distribution, leading to hot and cold spots on your grill. Blockages can also reduce gas flow, making your grill less efficient and harder to heat up. Clear burner tubes ensure consistent, reliable heat.
FAQ: How do I prevent mold in my grill?
To prevent mold, always clean your grill thoroughly after use and ensure it’s completely dry before covering or storing. Store your grill in a well-ventilated area. If you live in a humid climate, consider airing out your grill occasionally, even when not in use. Some research also suggests removing food scraps immediately helps.