To effectively clean an old gas grill, begin by disconnecting the gas supply, removing grill grates, and soaking all removable components in warm, soapy water to loosen stubborn grease and grime.
Then, thoroughly scrape and scrub the firebox interior, burner tubes, and other parts before rinsing and drying them completely for a renewed old gas grill.
- Gather tools like brushes, scrapers, degreaser, and gloves.
- Always disconnect the gas tank before starting any cleaning work.
- Remove grates, heat plates, and burners for individual scrubbing.
- Scrape off all loose debris and deep clean stubborn grease spots.
- Rinse every component completely and dry them to avert rust.
- Reassemble carefully and consider a quick test burn afterward.
How To Clean An Old Gas Grill?
Cleaning an old gas grill involves disconnecting the gas, removing and scrubbing all internal components, degreasing the firebox, and rinsing everything thoroughly before drying and reassembly.
This process restores its function and extends its lifespan for many more cookouts.
Why Bother Cleaning an Old Grill?
You might gaze at your old gas grill and think it is too far gone. But a good cleaning can bring it back to life. Think of it as a spa day for your trusty outdoor cooking companion.
A clean grill cooks better, heats more evenly, and tastes cleaner (Many experts say this is a fact).
Safety First, Always
Before you even think about grabbing a brush, safety is key. You are working with gas lines and potentially sharp edges. Many experts say that safety precautions are essential for any grill maintenance.
Make sure your grill is cold and the gas tank is completely disconnected. This means turning off the gas valve and unhooking the tank itself. A simple step that keeps you safe.
Gather Your Cleaning Arsenal
You wouldn’t go into battle without your gear, right? Cleaning an old grill needs the right tools. We found that having everything ready saves time and frustration.
Here’s a quick list of what you will likely need:
- Heavy-duty grill brush (wire or stainless steel)
- Putty knife or metal scraper
- Sponge or scrubbing pads
- Grease cleaner or degreaser
- Bucket of warm, soapy water
- Rubber gloves
- Protective eyewear
- Trash bags
- Paper towels or old rags
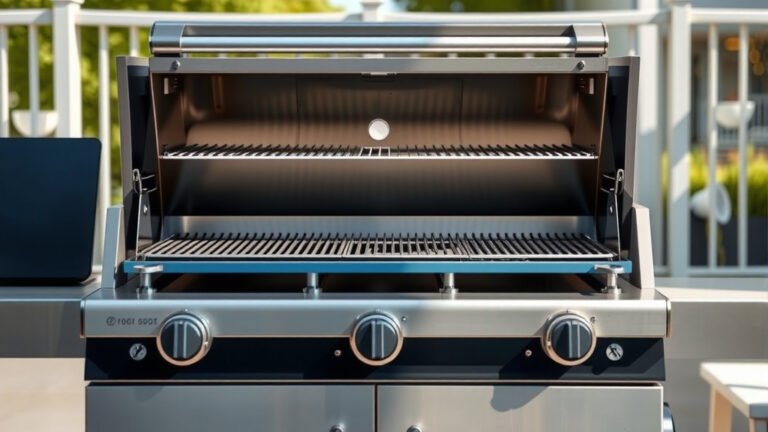
The Disassembly Dance
Time to take things apart. This might seem daunting, but it is typically straightforward. Think of it as getting to know your grill’s inner workings better.
Carefully remove each component, usually starting from the top.
Grates Off!
First, take out the cooking grates. These are probably the dirtiest parts. Set them aside for a deep clean. Some grates are heavy, so lift with care.
A good soak in warm, soapy water can work wonders for loosening baked-on food (Many experts suggest this).
Heat Deflectors and Burner Covers
Next are the heat deflectors or flavorizer bars. These are metal plates above the burners. They catch drippings and help spread heat.
They are likely coated in charred bits and grease. Take them out and set them with the grates.
Remove the Burners
This step needs a bit more care. Burners are typically held by pins or screws. Refer to your grill’s manual if you are unsure.
Carefully disconnect them. Be gentle with the gas tubes to avoid damage.
Deep Cleaning Each Component
Now that everything is separated, it’s time for the real scrubbing. This is where you bring back that shine.
Each part needs a specific approach for the best results.
Grill Grate Revival
For grates, a heavy-duty brush is your best friend. Scrub them hard with warm, soapy water. For very stubborn grime, you can let them soak longer.
Many people find that a pressure washer can work wonders if you have one available, but be careful not to damage the coating (Cleveland Clinic). Always rinse thoroughly.
Tackling Heat Plates and Burner Covers
Scrape these with a putty knife to remove loose crud. Then, scrub with your grill brush and soapy water. These parts often see a lot of wear, so be patient.
We found that a good degreaser can really cut through the caked-on grease here.
Burner Tube TLC
The burner tubes are crucial for even heating. Use a wire brush to clean the outside, removing any rust or debris. Check the burner ports (small holes) for clogs.
A paperclip or thin wire can clear these ports gently. You want an even flame, not weak spots, so this step is super important.
The Firebox and Drip Tray
This is where all the drippings and debris collect. It can be a greasy mess, but cleaning it is satisfying.
This area directly impacts how clean your grill stays during future use.
Scraping the Firebox Interior
Use your putty knife or scraper to remove all loose charcoal, grease, and ash from the bottom and sides of the firebox. Scoop it all into a trash bag.
Then, spray with a grill degreaser and scrub hard. Rinse it with water from a hose, letting the water drain out of the bottom opening.
Emptying the Drip Tray
The drip tray or grease pan is usually below the firebox. It catches all the grease. Empty it completely into a trash bag.
Wash it with hot, soapy water. Many experts suggest lining it with foil next time for easier cleanup.
Exterior Shine Up
Don’t forget the outside! A clean exterior makes your grill look brand new. It is the first thing your guests will see.
A little elbow grease here makes a big difference in presentation.
Lid and Side Shelves
Wipe down the lid and side shelves with warm, soapy water. For stainless steel, use a specialized stainless steel cleaner for a streak-free shine (Many cleaning guides suggest this).
Make sure to dry these parts well to avert water spots.
Rust Remedies
Old grills often have some rust. Don’t worry, a little rust doesn’t mean your grill is done for. It’s a common issue we found with older models.
You can often treat light rust and make your grill safer to use.
Treating Light Rust
For light surface rust, a wire brush can usually remove it. Follow up with a good scrub with soapy water and rinse.
Some people then apply a thin layer of cooking oil to the cleaned metal to help avert future rust (research often supports this practice).
| Component | Cleaning Method | Frequency |
|---|---|---|
| Grill Grates | Brush off food, soak in soapy water, scrub | After every use, deep clean monthly |
| Heat Deflectors | Scrape, scrub with degreaser | Every 2-3 uses, deep clean monthly |
| Burner Tubes | Brush exterior, clear ports with wire | Every 3-4 months |
| Firebox Interior | Scrape out debris, degrease, rinse | Every 3-4 months |
| Drip Tray | Empty, wash with soap and water | After every few uses |
The Grand Reassembly
After all parts are sparkling clean and completely dry, it’s time to put your grill back together. This is usually the reverse of disassembly.
Double-check all connections, especially those involving the gas lines.
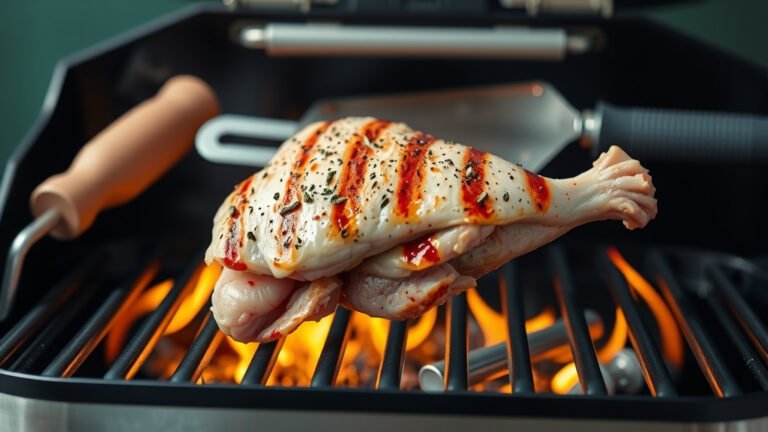
A Final Check and Test Burn
Once reassembled, reconnect your gas tank. Before cooking, perform a test burn. Turn on the burners to high for about 15-20 minutes.
This burns off any residual cleaning products and ensures everything is working properly. Look for even flames from each burner.
Maintaining Your “New” Old Grill
Now that your old gas grill is gleaming, how do you keep it that way? A little regular care goes a long way. Think of it as preventing future headaches.
Consistent maintenance helps avert future intensive cleaning jobs.
Quick Cleaning After Each Cook
While the grates are still warm, give them a quick brush. This removes most food bits before they harden. Many guidelines point to this as a good first step (Weber Grill Guide).
Wipe down the exterior surfaces after each use too.
Regular Deep Cleanings
Plan for a deeper cleaning every few months, similar to what you just did. This keeps grease buildup from becoming a major problem.
It also helps you catch any small issues before they grow into big ones.
Conclusion
Cleaning an old gas grill might seem like a big job, but it is incredibly rewarding. You will not only extend the life of your appliance but also ensure safer, tastier meals for years to come.
With the right tools, a bit of effort, and this guide, your old grill can become a backyard star once more. Go ahead, give it the attention it deserves!
FAQ: How often should I deep clean my gas grill?
You should deep clean your gas grill at least twice a year, typically at the start and end of grilling season. If you use it very often, consider a quarterly deep clean.
FAQ: Can I use oven cleaner on my gas grill grates?
Yes, you can use oven cleaner on your gas grill grates, especially for stubborn baked-on grease. However, make sure to rinse the grates extremely thoroughly afterward to remove all chemical residue before cooking.
FAQ: What is the best way to clean rusty grill grates?
For rusty grill grates, start by scrubbing with a wire brush to remove loose rust. Then, make a paste of baking soda and a small amount of water, apply it, let it sit for a while, and scrub again. Rinse well and consider seasoning them with cooking oil.
FAQ: Is it safe to use a pressure washer on my grill?
Using a pressure washer can be effective for cleaning the firebox and grates. However, be cautious around delicate components like igniters and burner tubes. Use a lower pressure setting and ensure everything is completely dry before reassembly to avert electrical issues or rust.
FAQ: How do I prevent my grill from getting so dirty again?
To prevent heavy buildup, always brush your grates after each use while they are still warm. Also, regularly empty and clean your drip tray. Keep your grill covered when not in use to protect it from the elements. These simple habits save a lot of work.