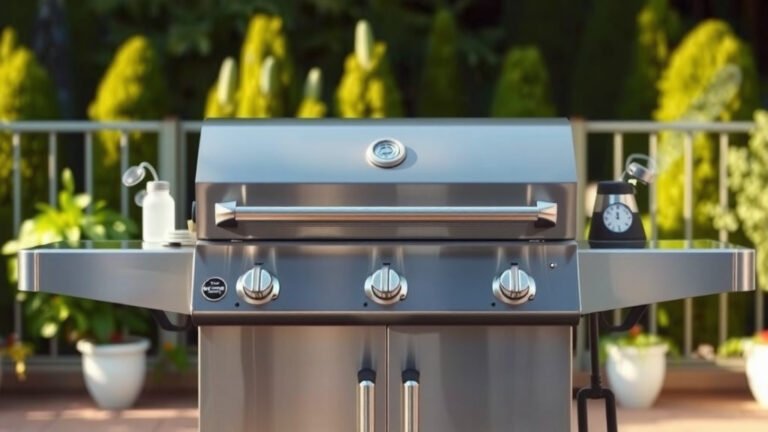
To clean a gas grill inside, first disconnect the gas supply and allow the grill to cool completely. Then, remove the cooking grates and flame tamers to thoroughly scrub away built-up food debris and grease.
How to clean a gas grill inside effectively involves meticulously scraping, brushing, and wiping down all internal surfaces, including the lid, cooking box, and burner tubes, to ensure peak performance.
Too busy to read it all? Here’s a quick rundown on cleaning your gas grill’s interior:
- Always disconnect the gas and cool your grill before starting any cleaning.
- Remove grates and heat shields to easily access the cooking box.
- Scrape away loose debris, then scrub with a proper grill brush and cleaner.
- Clean burner tubes carefully; clear any blocked burner ports with a wire.
- Wipe down all interior surfaces, reassemble components, and perform a burn-off.
How To Clean A Gas Grill Inside?
Cleaning your gas grill inside involves a few straightforward steps: cooling, disassembling, scraping, scrubbing, and wiping down all internal components for optimal grilling. This process keeps your food tasting great and your grill lasting longer.
Why Internal Cleaning Matters
A clean grill isn’t just about looks; it’s about performance and safety. We found that a clean grill cooks more evenly, preventing hot spots and cold zones. Bits of old food can also cause unwanted flare-ups.
Removing carbon buildup keeps your burners working efficiently. Many experts say proper maintenance significantly extends your grill’s lifespan (Weber Grills).
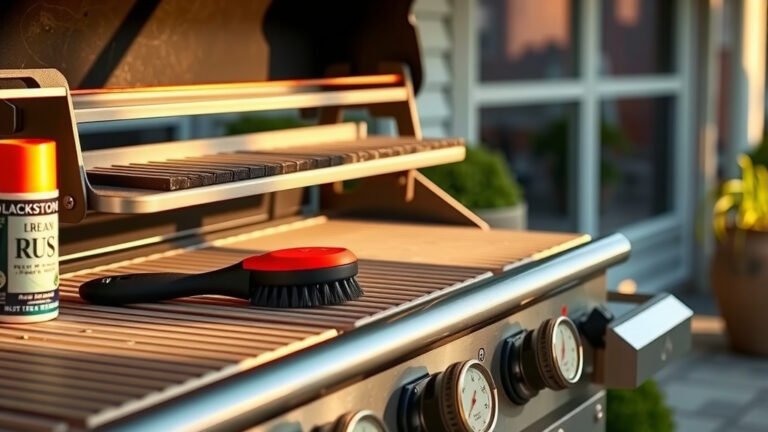
Gather Your Cleaning Crew (Tools)
Before you begin, gather your supplies. You’ll need a good wire grill brush, a plastic scraper, some warm soapy water, and a few rags. A grill cleaning solution or degreaser can also be very helpful. Don’t forget rubber gloves to protect your hands!
Safety First: Prep Your Grill
Safety is the starting point for any grill maintenance. Always ensure your grill is completely cold to the touch. This prevents burns and injury.
Then, turn off the gas at the tank valve and disconnect the gas line. This eliminates any risk of gas leaks during cleaning. A cool grill is a safe grill.
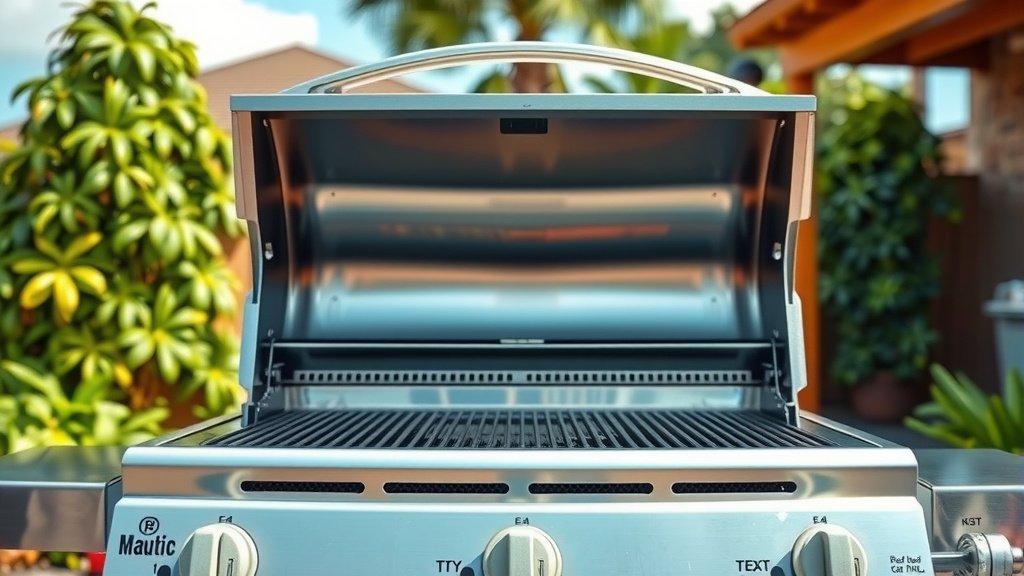
Grates and Heat Tents: First to Go
Start by removing the grates. These are usually the dirtiest parts. After the grates, carefully lift out the flame tamers or heat deflectors.
Place them aside on a protective surface, like old newspapers or a tarp. This makes the cooking box accessible for deeper cleaning.
Scraping Off the Gunk
Use your grill scraper to remove any large, loose debris from the grates and flame tamers. Try to get off as much charred food as possible. This initial scrape makes washing much easier later on.
A Soapy Soak for Grates
For really dirty grates, we found soaking them can work wonders. Fill a large bucket or utility sink with warm water and dish soap. Let the grates soak for 15-30 minutes. This helps loosen stubborn grease and grime.
Tackling the Cooking Box
The cooking box, also known as the firebox, collects a lot of grease and drippings. This area needs thorough attention. It’s where most of the cooking action happens.
Scrape, Scrape, Scrape
Using your plastic scraper, gently push debris from the sides of the cooking box towards the bottom opening. Be careful not to damage any internal components. You’ll be surprised how much gunk builds up here.
The Scrub Down
Once scraped, use your wire grill brush to scrub the interior walls of the cooking box. You can spray a grill cleaner or degreaser first, if needed. Scrub firmly to remove all remaining grease and carbon. Wipe with a damp cloth afterwards.
The Heart of the Flame: Burner Care
Your burner tubes are vital for even heat. They need careful handling during cleaning. Blocked ports can lead to uneven flames or poor heating.
Handle with Care
Carefully remove the burner tubes. They often lift straight out. If they are rusty or brittle, handle them very gently. Some people prefer to leave them in place if they seem fragile.
Brush the exterior of the burner tubes with a soft brush or cloth. Do not use a wire brush, as this can damage the metal.
Clearing the Ports
Look for any clogged burner ports – these are the small holes where the flame comes out. Many experts suggest using a stiff wire or a paper clip to poke through these holes (BBQGuys). This clears any obstructions, ensuring a consistent flame.
Lid and Drip Pan: Don’t Forget
These often get overlooked, but they contribute to the overall cleanliness and function. A dirty lid can flake soot onto your food. A full drip pan is a fire hazard.
Lid Love
The inside of your grill lid can accumulate carbon flakes that resemble peeling paint. Use a plastic scraper or a gentle wire brush to scrape these off. Wipe down with warm, soapy water and a cloth. Rinse and dry well.
Drip Pan Deep Dive
Remove the drip pan, also called the grease tray, from beneath the grill. Empty any grease and foil liners. Wash the pan with warm soapy water. We found that a clean drip pan prevents animal pests and odors (USDA Food Safety and Inspection Service).
The Great Rinse and Wipe
Once everything is scraped and scrubbed, it’s time for a thorough rinse. Wipe down all internal surfaces with clean, damp rags. You want to remove all traces of cleaner and loosened grime. Let everything air dry completely.
Reassembly: Putting It Back Together
Once all parts are dry, carefully put your grill back together. Reinsert the burner tubes, then the flame tamers, and finally the cooking grates. Make sure everything fits snugly in its proper place.
Reconnect your gas line to the tank. Double-check all connections for tightness. A loose connection can cause gas leaks.
The Final Burn-Off
Turn on your grill to high heat for about 10-15 minutes. This “burn-off” will incinerate any lingering residue or cleaning solution fumes. Let it cool again, and your grill is ready for its next cooking adventure!
Your Inside Grill Cleaning Checklist
Here’s a quick list to make sure you hit all the key points:
- Disconnect gas and let grill cool.
- Remove grates and flame tamers.
- Scrape cooking box interior.
- Scrub cooking box walls and bottom.
- Clean burner tubes and clear ports.
- Scrape and wipe lid interior.
- Empty and clean drip pan.
- Wipe all interior surfaces clean.
- Reassemble all components.
- Perform a 10-minute burn-off.
Maintenance Schedule: Keep It Clean
How often should you clean inside? Experts often recommend a quick grate cleaning after every use. A more thorough internal cleaning, like the one we described, is ideal a few times per grilling season. Think of it as spring cleaning for your grill!
| Cleaning Frequency | What to Clean | Recommended Tools |
|---|---|---|
| After Every Use | Cooking Grates | Grill brush, scraper |
| Every 5-10 Uses | Flame Tamers, Drip Pan | Grill brush, degreaser, rags |
| 2-3 Times per Season | Cooking Box, Burner Tubes, Lid Interior | Scraper, wire brush, cleaner, wire for ports |
| Annually | Full Deep Clean & Inspection | All tools, check gas lines |
Conclusion
Keeping your gas grill’s interior clean is a straightforward process that pays off with better-tasting food and a longer-lasting appliance. By following these steps, from ensuring safety to carefully scrubbing each component, you maintain your grill’s peak performance. Make internal cleaning a regular part of your grilling routine, and you’ll enjoy many more delicious meals.
How often should I deep clean the inside of my gas grill?
Many grill experts suggest a thorough deep cleaning of your gas grill’s interior about two to three times per grilling season, especially if you grill frequently. Regular light cleaning after each use helps extend the time between deep cleans.
Can I use oven cleaner to clean the inside of my gas grill?
It’s generally not recommended to use standard oven cleaner inside your gas grill. Oven cleaners can be very harsh and may damage certain grill materials, potentially leaving a residue that could affect food flavor or even become a safety concern when heated. Stick to dedicated grill cleaners or warm soapy water.
What if I find rust inside my gas grill?
If you find minor surface rust inside your gas grill, you can often remove it with a wire brush or steel wool. For more severe rust on components like burner tubes, it might be time to consider replacing those parts. Rust can compromise the integrity and safety of your grill.
How do I clean burner ports if they are clogged?
To clean clogged burner ports, first ensure the gas is off and the grill is cool. Carefully remove the burner tubes. Use a stiff wire, a paper clip, or a specialized burner port cleaner to gently poke through each small hole. This clears any food debris or rust that might be blocking the gas flow.
Is it normal for the grill lid to “peel” inside after cleaning?
What looks like “peeling paint” inside your grill lid is actually carbon buildup that has flaked off due to high heat and moisture. It’s not paint, but rather a normal accumulation of grease and smoke residue. This is why it’s important to scrape and wipe the lid’s interior regularly to prevent these flakes from falling onto your food.