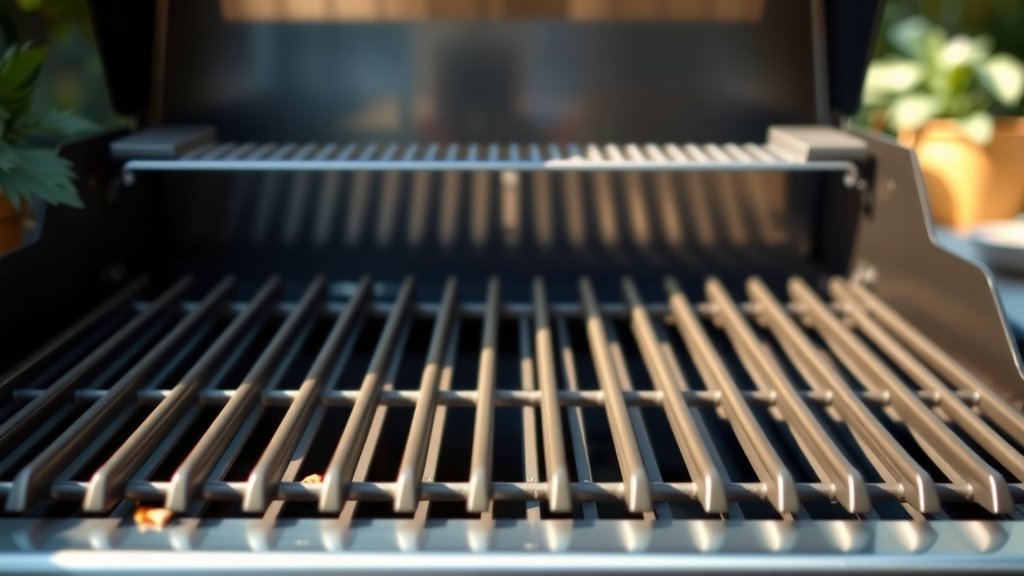
To clean a gas grill grate effectively, heat your grill to a high temperature for 10-15 minutes, then turn it off and use a stiff-bristled brush to scrape away charred food debris.
For a deeper clean, allow the grates to cool, then soak them in warm, soapy water before scrubbing with a non-abrasive pad and rinsing thoroughly.
Here’s a quick summary of how to get your grill grates sparkling clean:
- Heat your grill for 10-15 minutes to burn off food.
- Turn off the gas and scrape the grates with a wire brush.
- For a deeper clean, remove cooled grates and soak them in warm, soapy water.
- Scrub away any remaining grime with a sponge or brush.
- Rinse well and dry completely before storing or using again.
How To Clean A Gas Grill Grate?
To clean a gas grill grate, you should first heat the grill to burn off excess food, then scrape it with a brush while still warm, and for a deeper clean, wash with soap and water.
Why Cleaning Your Grill Grate Matters
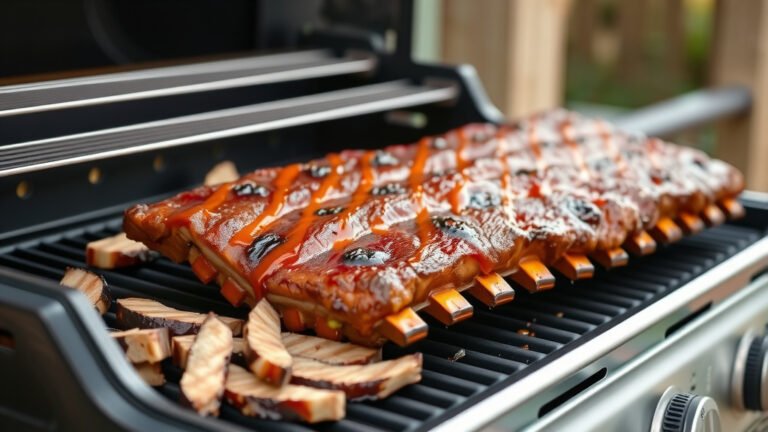
Ever wonder why that delicious steak from your neighbor’s grill tastes just a little bit better? Often, it comes down to a clean cooking surface. A clean grill grate means healthier cooking. You don’t want old, burnt food mingling with your fresh meal, right?
Cleaning also ensures your grill performs at its best. Dirty grates can block heat distribution and create uneven cooking spots. We found that regular cleaning prevents flare-ups and helps your food cook more evenly, giving you that perfect char every time.
The Right Time to Clean
When should you clean your grill grates? Many experts say the best time for a quick scrape is right after you finish cooking, while the grates are still warm (Weber Grill Guides). The heat softens any stuck-on bits, making them easier to remove. For a deep clean, plan for every few uses or seasonally.
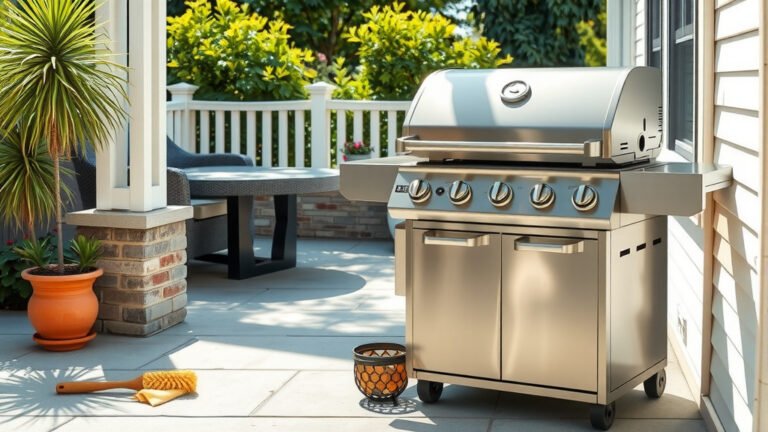
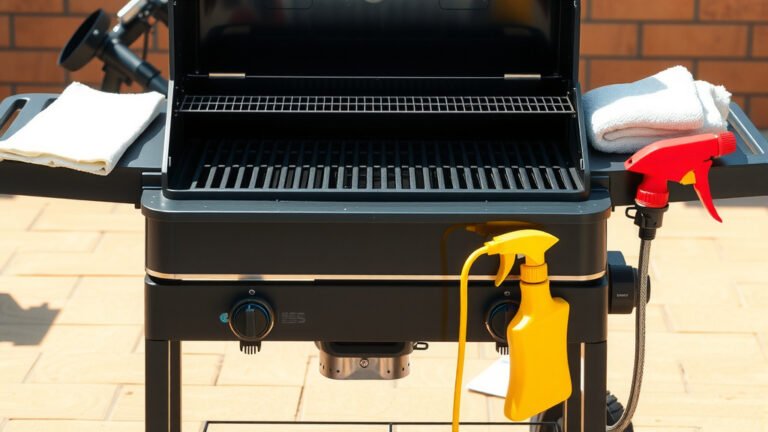
Essential Tools for the Job
Getting your grill grates spotless doesn’t require a workshop full of gadgets. A few basic tools will do the trick. You’ll want a good quality grill brush, some dish soap, and maybe a bucket for soaking. These items are typically all you need for effective cleaning.
Having the right brush makes a huge difference. For tough grime, a brush with sturdy bristles is key. Just make sure the bristles are secure and won’t detach. Some people prefer non-wire brushes for porcelain grates, which we found helps avoid scratching the surface.
Safety First: A Quick Reminder
Before you jump into cleaning, always think about safety. Make sure your gas supply is off and the grill is cool enough to handle if you’re doing a deep clean. If you’re scraping while warm, use heat-resistant gloves. Your hands will thank you! We found that a bit of caution prevents accidents and makes the whole process smoother.
Step-by-Step Guide to Cleaning Your Gas Grill Grate
Ready to get those grates gleaming? Let’s walk through the process together. It’s simpler than you might think, and the results are definitely worth the effort. Think of it as a small investment in future delicious meals.
Initial Scrape While Warm
Turn your grill on high for about 10-15 minutes. This high heat will incinerate most of the food residue, turning it into ash. Once that time is up, turn off the grill. Now, while the grates are still warm but not scorching hot, grab your grill brush. Firmly scrape all surfaces of the grate. You’ll see the charred bits flake right off.
Cooling Down Safely
After your initial scrape, let the grates cool down completely if you plan on removing them for a deeper clean. Trying to handle hot grates can be dangerous and frankly, quite difficult. Patience here is a virtue. This step ensures you can work comfortably and safely.
The Soap and Water Bath
Once cooled, carefully remove the grates from your grill. Place them in a large sink or a sturdy bucket. Fill it with warm water and add a generous amount of dish soap. Let them soak for at least 30 minutes, or even a few hours for really stubborn grime. This soaking helps to loosen caked-on food and grease (Good Housekeeping).
Scrubbing Away the Grime
After soaking, use a scrubbing pad, a sponge, or a non-wire brush to scrub the grates. You might be surprised at how easily the remaining grime comes off after a good soak. For tougher spots, a little elbow grease will help. Focus on both sides of each grate to ensure a thorough clean.
Rinsing Thoroughly
Once you’re satisfied with the scrubbing, rinse the grates thoroughly under running water. You want to remove all traces of soap and any loosened debris. Residual soap can affect the taste of your food and cause future sticking. A good rinse is important for clean cooking.
Drying and Protecting
Dry your grates completely with a clean towel or let them air dry. This prevents rust, especially for cast iron grates. For cast iron, many grill enthusiasts recommend a light coating of cooking oil after drying. This helps to “season” the grates, creating a non-stick surface and protecting them from corrosion.
| Cleaning Type | Frequency | Key Action |
|---|---|---|
| Quick Scrape | After every use | Heat, then brush |
| Light Wash | Every 2-3 uses | Soak, scrub, rinse |
| Deep Clean | Monthly or Seasonally | Remove, soak thoroughly, scrub |
| Rust Prevention | After every deep clean | Dry & lightly oil (cast iron) |
Different Grate Materials, Different Approaches
Not all grill grates are created equal! The material of your grates dictates the best cleaning method. Knowing what you have will help you avoid damage and ensure a longer lifespan for your grates. It’s about giving your specific grates the care they deserve.
Cast Iron Grates
Cast iron grates are known for excellent heat retention but require a bit more attention. Avoid harsh soaps if possible, as they can strip away the seasoning. After cleaning, always dry them immediately and apply a thin layer of cooking oil. This “seasoning” process keeps them non-stick and prevents rust from forming.
Stainless Steel Grates
These grates are quite durable and relatively easy to clean. You can use a wire brush without much worry. For a deeper clean, warm soapy water works well. Some research suggests a paste of baking soda and water can help with stubborn stains on stainless steel. Always rinse well to prevent any residue. They are quite forgiving, making them a popular choice for many.
Porcelain-Coated Grates
Porcelain-coated grates look great and are often non-stick. However, they are prone to chipping if treated too roughly. Avoid metal brushes or harsh abrasive pads. A nylon brush or a softer scrub pad with soapy water is your best bet. Be gentle to maintain the coating and prevent chipping (Grill Grate Manufacturer Guidelines).
Your Grill Grate Cleaning Checklist:
- Stiff-bristled grill brush (or nylon for porcelain)
- Dish soap
- Large bucket or sink
- Non-abrasive sponge or scrub pad
- Clean towels for drying
- Cooking oil (for cast iron)
- Heat-resistant gloves (optional, but helpful)
Common Cleaning Mistakes to Avoid
Even with good intentions, some common missteps can hinder your cleaning efforts or even damage your grill. Learning what not to do is just as important as knowing what to do. Let’s make sure you’re avoiding these easy-to-make errors.
Forgetting Safety
One of the biggest mistakes is neglecting safety. Trying to clean a scorching hot grill without protection, or leaving the gas on during deep cleaning, can lead to burns or other hazards. Always ensure the grill is off and cooled appropriately for the task. Your well-being is always the top priority.
Using Harsh Chemicals
While industrial cleaners might seem tempting for tough grease, many experts advise against using harsh chemical oven cleaners on grill grates. These chemicals can be difficult to rinse completely and might leave behind residues that could transfer to your food or damage the grate material. Stick to simple soap and water for the best results (USDA recommendations for food-contact surfaces).
Neglecting Regular Maintenance
The biggest mistake of all? Not cleaning at all! Letting grime build up over time makes the job much harder. A quick scrape after each use keeps things manageable. Think of it like brushing your teeth—a little bit daily prevents a lot of work later. Consistency truly pays off.
Conclusion
Cleaning your gas grill grates doesn’t have to be a chore. With the right tools, a bit of knowledge, and a commitment to regular maintenance, you can keep your grill performing beautifully and your food tasting fantastic. Remember, a clean grill isn’t just about appearances; it’s about safety, flavor, and longevity. So go ahead, give your grates the care they deserve, and enjoy many more delicious cookouts!
How often should I deep clean my gas grill grates?
You should aim for a deep clean of your gas grill grates about once a month, especially if you grill frequently. If you use your grill less often, a thorough cleaning seasonally, perhaps every three months, might be sufficient. Regular light cleaning after each use will reduce the need for more frequent deep cleaning.
Can I put gas grill grates in the dishwasher?
Generally, it’s not recommended to put gas grill grates in the dishwasher. Dishwashers can be too harsh for some grate materials, especially cast iron, which can rust quickly. Porcelain-coated grates might chip. Stainless steel could tolerate it, but hand washing allows for better scrubbing of baked-on residue.
What should I do if my grill grates start to rust?
If your grill grates show signs of rust, especially cast iron, you can often remove it. Scrub the rusted areas vigorously with a wire brush or steel wool. For severe rust, some people use a vinegar-and-baking-soda paste. Once clean, ensure the grates are completely dry and then apply a generous coating of cooking oil to re-season and prevent further rust.
Is it safe to use a wire brush on all types of grill grates?
Using a wire brush is generally safe for stainless steel and bare cast iron grates. However, for porcelain-coated grates, a wire brush can scratch or chip the coating, leading to rust. For porcelain, it’s best to use a nylon brush or a non-abrasive scrub pad to protect the surface.
Why does food stick to my newly cleaned grill grates?
Food might stick to your newly cleaned grill grates for a few reasons. If you have cast iron grates, they might not be properly seasoned after cleaning; applying a thin layer of cooking oil before each use helps. For all grate types, ensure your grill is preheated sufficiently before adding food. Also, make sure your food is at room temperature and lightly oiled before it hits the grates.