To build a brick outdoor grill, you first need a solid, level concrete foundation and then layer heat-resistant bricks with mortar, creating a sturdy firebox and cooking surface. The process involves careful planning, selecting the right materials, and precise bricklaying techniques to ensure durability and safety.
You can construct a beautiful and functional brick outdoor grill by following clear steps: prepare your site, gather your materials, build a strong base, lay bricks with mortar for the walls and firebox, and finish with supports for your grill grates.
- Building a brick outdoor grill starts with a strong concrete foundation for stability.
- Carefully select heat-resistant firebricks for the cooking area and standard bricks for outer walls.
- Mortar application needs to be precise for a durable structure, ensuring all joints are full.
- Properly designing the firebox and grill grate supports is key for optimal cooking.
- Allowing the mortar to cure fully before use is a critical safety step.
How To Build A Brick Outdoor Grill?
Building a brick outdoor grill gives you a permanent, attractive, and highly functional cooking station right in your backyard. It’s a rewarding project that combines masonry skills with a love for outdoor living.
Why Build a Brick Grill?
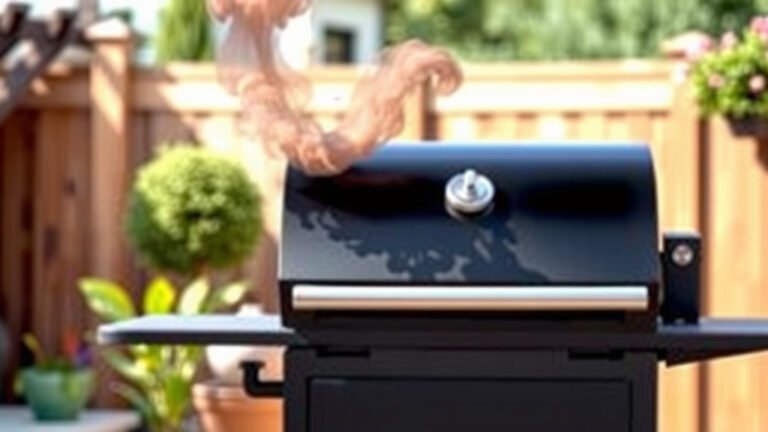
Imagine the aroma of sizzling steaks or slow-smoked ribs from your own custom-built grill. Brick grills offer unmatched durability and can become a stunning focal point in your outdoor space.
Many homeowners choose brick because it withstands weather better than many portable units. Plus, it just looks incredible, doesn’t it? It can even boost your home’s curb appeal (HomeAdvisor).
Choosing Your Spot
Before any brick touches mortar, pick the perfect location. You want a spot that is far enough from your house and any low-hanging tree branches to prevent fire hazards. Consider wind direction too; you don’t want smoke blowing into your outdoor dining area.
We found that a flat, stable area is always best. Think about accessibility to your kitchen for prep and cleanup, too. Good drainage is another point to consider for the foundation.
Essential Materials for Your Grill
Getting the right materials is half the battle won. You’ll need specific types of bricks and a good quality mortar. Don’t cut corners here; your grill’s longevity depends on it.
For the firebox, you must use firebricks, which handle extremely high temperatures without cracking. Standard red bricks work for the outer shell where heat isn’t as intense. Regular mortar is fine for the outer layers, but a specific refractory mortar is best for the firebox area.
| Material | Purpose | Quantity (Approximate) |
|---|---|---|
| Firebricks | Firebox/High heat areas | 100-150 (depending on size) |
| Standard Bricks | Outer walls/Structure | 200-300 (depending on size) |
| Refractory Mortar | Firebox | 1-2 bags (50 lbs each) |
| Masonry Mortar Mix | Outer walls | 2-3 bags (80 lbs each) |
| Concrete Mix | Foundation slab | Several bags |
| Reinforcing Bar (Rebar) | Foundation strength | 2-3 lengths |
| Grill Grate & Support Rods | Cooking surface | 1 set |
Tools You’ll Need
A good craftsman is only as good as their tools, right? Gathering your tools upfront saves a lot of frustration later. You’ll need the basics for masonry work.
Think about a trowel, level, string line, tape measure, hammer, and a bucket. A brick set and bolster chisel will help with cutting bricks if needed. A wheelbarrow for mixing mortar is also really handy.
The Foundation: Building a Solid Base
Every great structure starts with a strong foundation. Your brick grill is no exception. A stable base prevents cracking and settling down the line.
You’ll need to pour a concrete slab, ideally at least 4-6 inches thick. Dig down about 6-8 inches, lay gravel, then add rebar for strength. This base should extend a few inches beyond the grill’s footprint on all sides.
Laying the First Course
This is where your vision starts to take shape. The first layer of bricks, known as the first course, is absolutely critical. It sets the stage for the entire build.
Dry-lay your first course without mortar to ensure proper spacing and fit. Use a level constantly. Once satisfied, apply a generous bed of mortar and lay your bricks, tapping them gently into place. Keep those lines straight!
Building Up the Walls
With the foundation set, you’ll continue stacking bricks, layer by layer. Remember that half-brick offset pattern for strength. This is called a running bond, and it’s super important.
Use your level on every single course – horizontally and vertically. Keep your mortar joints consistent, typically about 3/8 to 1/2 inch thick. Too thick or too thin can compromise stability.
Creating the Firebox
This is the heart of your grill. The firebox needs to be built with firebricks and refractory mortar. This specialized mortar can handle the extreme heat of charcoal or wood fires.
Build the firebox walls slightly narrower than the outer walls, leaving a small air gap for insulation. We found that proper ventilation for airflow is also key here; consider leaving small gaps at the base for air intake (Popular Mechanics).
Adding the Grill Grate Supports
You need a way to hold your cooking grates. Many builders embed steel rebar or angle iron directly into the mortar joints. Plan these supports at different heights for versatile cooking.
Some people say three different heights are ideal for grilling, searing, and warming. Others prefer just two. Here’s the trade-off: more heights offer versatility, but fewer heights simplify the build.
The Chimney (Optional but Recommended)
While optional, a small chimney or smoke stack significantly improves airflow and smoke management. It directs smoke upwards, away from the cook and guests. It helps draw air through the firebox more efficiently.
A simple brick chimney can be incorporated into the back wall of your grill. It doesn’t need to be tall, just enough to create a draw. Many experts say a height of about 1-2 feet above the grill opening is sufficient for effective smoke evacuation.
Curing Your Mortar
Patience is a virtue, especially after all that hard work. Mortar needs time to cure properly, making it strong and durable. Rushing this step can lead to cracks.
Keep the mortar moist for the first few days by lightly misting it with water. Cover it with plastic sheeting to help retain moisture. We found that a good 7-day curing period is standard before putting any serious heat on it (Quikrete).
Safety First: Important Considerations
Building something this substantial requires a focus on safety. Always wear appropriate personal protective equipment (PPE) like gloves and eye protection.
Ensure your grill location is safe, away from flammable materials. Always have a water source or fire extinguisher nearby during the first few uses, just in case. After all, you’re playing with fire!
Pre-Build Checklist
- Choose a safe, level location.
- Gather all necessary materials and tools.
- Obtain any local permits if required.
- Draw out a detailed plan or blueprint.
- Inform family members of construction plans.
Conclusion
Building your own brick outdoor grill is a challenging yet incredibly rewarding home improvement project. With careful planning, the right materials, and a bit of elbow grease, you can create a beautiful, durable, and functional centerpiece for your outdoor entertaining. Remember, take your time, pay attention to detail, and prioritize safety throughout the process. Soon, you’ll be enjoying delicious meals cooked on your custom-built masterpiece!
How long does it typically take to build a brick outdoor grill?
Building a brick outdoor grill typically takes anywhere from 3 to 7 days of active construction, plus several days for the concrete foundation and mortar to properly cure. The total time depends on your skill level, the grill’s complexity, and how many hours you dedicate each day.
Can I use regular bricks for the entire grill, or do I need firebricks?
You absolutely need firebricks for the firebox area where direct heat will be present. Regular bricks cannot withstand the high temperatures of a charcoal or wood fire and will likely crack and degrade over time. Standard bricks are fine for the outer structural walls.
What kind of mortar should I use for the firebox?
For the firebox, you must use refractory mortar, sometimes called fire cement. This specialized mortar is designed to withstand extreme temperatures without deteriorating. Standard masonry mortar is not suitable for high-heat applications and will fail.
Do I need a concrete foundation for a brick grill?
Yes, a solid concrete foundation is essential for a brick outdoor grill. It provides a stable, level base that prevents settling, cracking, and structural issues over time. Without a proper foundation, your grill could become unstable and potentially unsafe.
How far away from my house should I build the outdoor grill?
You should build your outdoor grill at least 10 feet away from any combustible structures, including your house, fences, or low-hanging tree branches. This distance helps prevent fire hazards and ensures safety during operation.