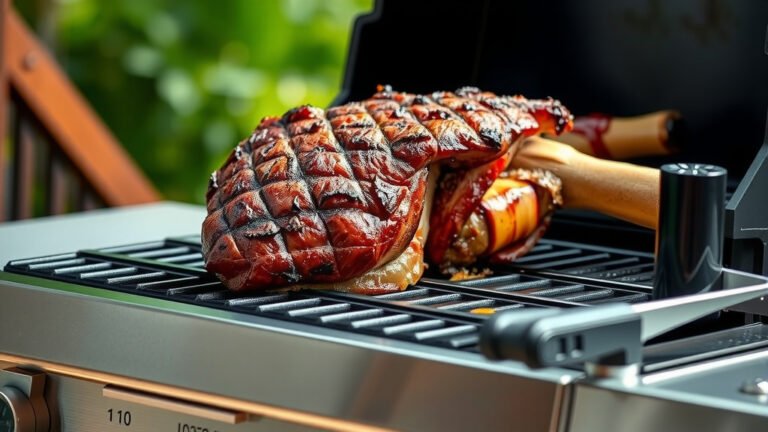
To sear steaks on a gas grill, first preheat your grill to a very high temperature, usually 500-600°F, creating a screaming hot zone for that crust. Then, place your seasoned steak directly over the high heat for 2-3 minutes per side until a beautiful brown crust forms.
After searing, move the steak to a cooler, indirect heat zone to finish cooking to your desired internal temperature, ensuring a juicy interior and that perfect sear.
TL;DR: Quick Tips for Searing Steaks on a Gas Grill
- Achieve a perfect crust by preheating your gas grill to an extremely high temperature.
- Season your steak generously just before placing it on the hot grates.
- Sear each side for 2-3 minutes over direct high heat to develop that rich, brown exterior.
- Move the steak to a cooler, indirect zone to cook through without burning.
- Always let your steak rest for 5-10 minutes after grilling to lock in the juices.
You’re standing by your gas grill, a beautiful steak waiting, and you dream of that perfect restaurant-quality crust. Sound familiar? It’s a common desire for many home cooks. Achieving a fantastic sear on a gas grill might seem tricky, but with the right steps, you can create a flavorful, caramelized exterior that locks in all the juicy goodness. Let’s make that dream a reality together.
How To Sear Steaks On A Gas Grill?
Searing steaks on a gas grill involves two main phases: intense high-heat searing for the crust, followed by gentler indirect heat to cook the interior evenly. This two-zone method is key for a steak that’s crusty outside and tender inside.
Prepping Your Steak: The Foundation of Flavor
Before any heat touches your steak, a little prep goes a long way. Think of it as setting the stage for a culinary masterpiece. A well-prepared steak accepts that sear much better.
Choosing the Right Cut
Not all steaks are equal for searing. We found that thicker cuts, around 1.5 to 2 inches, work best. Cuts like ribeye, New York strip, and sirloin are popular choices. They can handle the intense initial heat without overcooking too quickly.
Bringing it to Room Temperature
Many grill experts advise letting your steak sit out for 30-60 minutes before grilling. Why? A steak closer to room temperature cooks more evenly. It helps prevent a cold center and ensures a better overall cook from edge to edge.
Seasoning Your Steak Perfectly
Salt is your best friend here. A generous sprinkle of coarse salt (like kosher or sea salt) and freshly ground black pepper is often all you need. You can add other spices if you like, but remember, the goal is to enhance the beef’s natural flavor, not overpower it. Pat the steak dry with paper towels before seasoning; this helps achieve a better crust.
Setting Up Your Gas Grill for Searing Success
Your grill isn’t just a heat source; it’s a tool that needs proper calibration. Getting the right temperature zones is vital for that perfect sear and cook.
Creating Two Heat Zones
This is the secret weapon for gas grill searing. You’ll want one side of your grill on high heat (direct zone) and the other side on low or off (indirect zone). This allows you to sear intensely, then finish cooking without burning the exterior. Many culinary researchers point to this two-zone cooking as a superior method (America’s Test Kitchen style, referring to common professional techniques).
Preheating is Non-Negotiable
Turn on your high-heat burners and close the lid. Let the grill preheat for at least 10-15 minutes, aiming for 500-600°F. A screaming hot grill ensures immediate caramelization and prevents sticking. It’s like a hot pan for frying; you want that immediate sizzle.
Cleaning the Grates
Hot, clean grates are essential for a non-stick surface and defined sear marks. Use a sturdy grill brush to scrape away any residue after preheating. This small step makes a huge difference in your steak’s appearance and taste.
The Searing Process: Achieving that Perfect Crust
Now for the exciting part! This is where you transform your raw steak into a beautifully browned masterpiece. Don’t be afraid of the high heat; it’s what creates the magic.
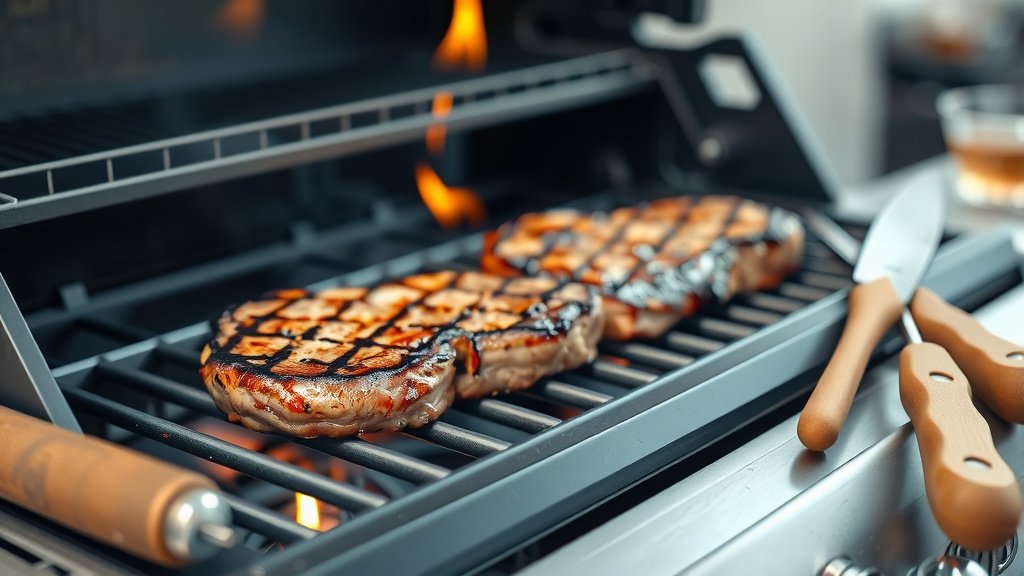
Initial Sear Over Direct Heat
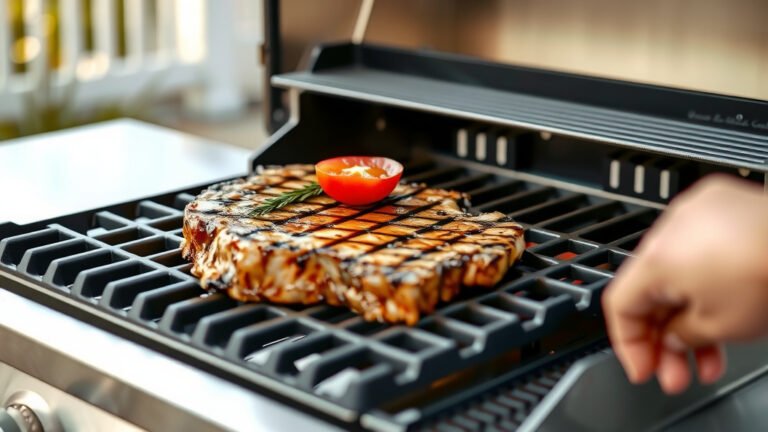
Carefully place your seasoned steak directly over the hottest part of the grill. Close the lid if you wish, but keep a close eye on it. Sear for 2-3 minutes per side. You’re looking for a deep, golden-brown crust, not black. If you want cross-hatch marks, rotate the steak 45 degrees halfway through each side’s searing time.
Moving to Indirect Heat
Once you have that beautiful crust, move the steak to the cooler, indirect side of the grill. Close the lid and let it cook gently. This allows the inside to reach your desired doneness without burning the seared exterior. Think of it as baking after a quick fry.
Monitoring Internal Temperature
This is critical for perfect doneness. Use a reliable instant-read meat thermometer inserted into the thickest part of the steak, avoiding any bone. Many home cooks under or overcook because they “guess” doneness. We found that a thermometer takes out all the guesswork. Here’s a quick guide:
| Doneness | Target Temperature (Pull from Grill) |
|---|---|
| Rare | 120-125°F |
| Medium-Rare | 130-135°F |
| Medium | 135-140°F |
| Medium-Well | 140-145°F |
| Well-Done | 150-155°F |
Remember, the steak will continue to cook a few degrees after it’s removed from the grill. This is called carryover cooking.
The Art of Resting Your Steak
You’ve done all that work, don’t skip this final, crucial step. It’s like letting paint dry; rushing it ruins the finish.
Why Resting Matters
When you cook meat, the muscle fibers contract, pushing the juices to the center. Resting allows these fibers to relax and the juices to redistribute throughout the steak. Cut into it too soon, and all that delicious moisture will run out onto your cutting board. Many chefs and culinary guides emphasize the importance of this step (Culinary Institute of America principles).
How Long to Rest
Place your steak on a cutting board or platter, tented loosely with foil. For most steaks, 5-10 minutes is ideal. For thicker cuts, even up to 15 minutes is fine. Be patient; it’s worth it.
Pre-Searing Checklist: Are You Ready?
- Steak at room temperature?
- Grill grates clean?
- Grill preheated to 500-600°F?
- Two-zone heat setup ready?
- Meat thermometer handy?
- Steak seasoned and patted dry?
Conclusion
Searing steaks on a gas grill might seem like a high-stakes challenge, but with careful preparation and understanding of heat zones, you can consistently achieve incredible results. Remember, it’s all about a super-hot initial sear for that crust, then finishing gently over indirect heat. Don’t forget that vital resting period to keep your steak juicy. Practice makes perfect, so grab your tongs and start grilling!
How do I prevent my steak from sticking to the gas grill?
To prevent sticking, ensure your grill grates are very hot and thoroughly cleaned before placing the steak. You can also lightly oil the grates or the steak itself just before grilling.
Should I flip my steak multiple times while searing?
For a strong, even sear, it’s generally best to flip your steak only once or twice during the high-heat searing phase. Excessive flipping can prevent a proper crust from forming.
Can I sear a frozen steak on a gas grill?
While you can grill a frozen steak using a reverse sear method (low heat first, then high heat), it’s generally not recommended for direct searing. For the best crust and even cooking, always thaw your steak completely before searing.
What kind of oil should I use for searing steak on the grill?
If you choose to oil your steak or grates, use an oil with a high smoke point, like avocado oil, grapeseed oil, or canola oil. Olive oil has a lower smoke point and can burn at high grill temperatures.
My steak is getting a good sear but is cooking too fast. What am I doing wrong?
If your steak is searing quickly but overcooking inside, it might be too thin for the high heat, or your indirect zone might not be cool enough. Try thicker cuts and ensure a distinct temperature difference between your direct and indirect heat zones.