
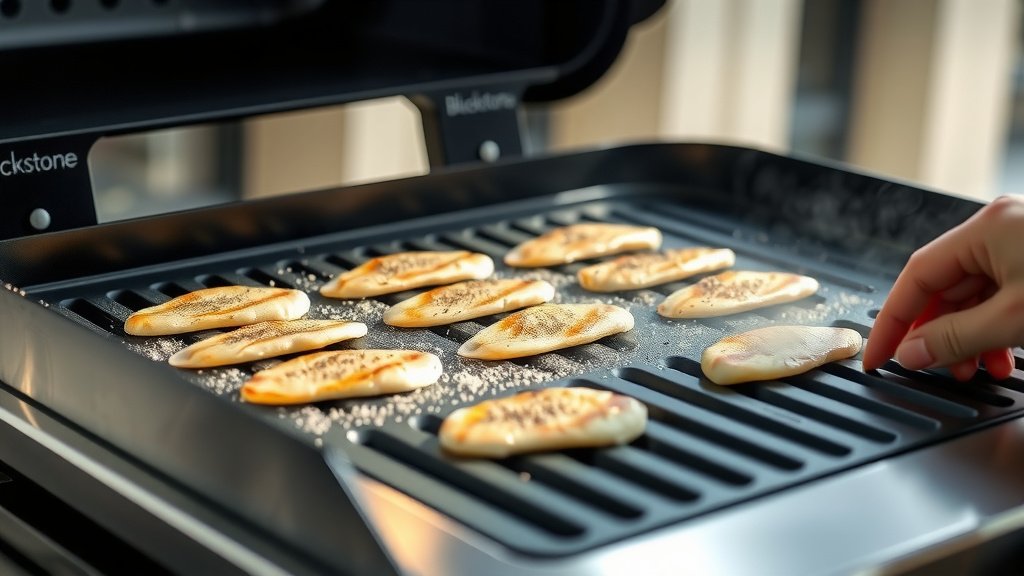
To season your Blackstone grill, you’ll apply thin layers of cooking oil to the griddle surface and heat it until the oil smokes and burns off, creating a protective, non-stick coating.
This process, often repeated several times, builds a durable, dark, and slick finish that guards against rust and makes cooking easier on your griddle.
Quick overview for how to season your Blackstone grill:
- Clean your new griddle thoroughly to remove factory residue.
- Apply a very thin layer of high smoke point oil like flaxseed or grapeseed.
- Heat the griddle to its smoke point, letting the oil burn off completely.
- Repeat this oiling and heating cycle 4-6 times to build a strong season.
- Maintain the seasoning with proper cleaning and occasional touch-ups.
How To Season Your Blackstone Grill?
Seasoning your Blackstone griddle involves creating a baked-on layer of oil that protects the metal. This initial seasoning is essential for a great cooking experience and the longevity of your griddle.
Think of it like conditioning a new piece of cast iron cookware. You are building a non-stick, rust-resistant surface that will improve with every use.
What Exactly is Blackstone Griddle Seasoning?
Griddle seasoning is a layer of polymerized oil fused onto the cooking surface. When oil is heated past its smoke point, it breaks down and bonds with the metal, forming a hard, non-stick coating. This coating gives your griddle its signature dark color.
Many experts say this process is not just about making it non-stick. It also fills the tiny pores in the metal, creating a barrier that food won’t stick to and moisture cannot penetrate.
Why is Seasoning Your Blackstone Grill So Important?
Seasoning protects your griddle from its worst enemy: rust. Without this protective layer, moisture and oxygen can easily cause the bare metal to corrode. A well-seasoned griddle is a happy, rust-free griddle.
Beyond rust prevention, seasoning creates a naturally non-stick surface. This means your eggs will slide, your pancakes will flip easily, and cleanup becomes a much simpler task. It’s all about making your cooking life easier.
What You’ll Need to Season Your Blackstone Griddle
Gathering your supplies beforehand makes the seasoning process smooth. You won’t want to stop midway to search for an item. Having everything ready means you can focus on the task at hand.
Essential Supplies List
- High Smoke Point Oil: Flaxseed oil is highly recommended by many griddle enthusiasts for its strong polymerizing properties. Grapeseed, canola, and avocado oils also work well (Blackstone Products Support).
- Paper Towels or Clean Cloths: You’ll need these for applying oil and wiping surfaces.
- Tongs: Useful for holding paper towels without burning your hands.
- Griddle Scraper: For removing any factory residue during the initial cleaning.
- Soap and Water: For the initial wash before seasoning begins.
Prepping Your Blackstone for Its First Seasoning
Before you even think about oil, your new griddle needs a good scrub. New griddles often come with a protective coating from the factory. You need to remove this completely.
Wash the griddle surface with warm, soapy water. Use a soft cloth or sponge, then rinse thoroughly. Dry it completely to prevent any immediate rusting. Some people even suggest turning on the heat briefly to help it dry fully. Drying is a key step.
The Step-by-Step Guide to Seasoning Your Blackstone Grill
This is where the magic happens! Follow these steps carefully to build a strong, lasting season on your griddle. Patience here will pay off greatly in the long run.
Step 1: Apply the First Layer of Oil
Once your griddle is clean and dry, turn on all burners to high heat. Let the griddle warm up for about 10-15 minutes until it starts to discolor slightly. Then, apply a very thin layer of your chosen high smoke point oil. We found that a quarter-sized amount of oil is usually enough for the entire surface. Use paper towels held by tongs to spread the oil evenly, covering all parts of the cooking surface. Thin is the key here; too much oil will lead to a sticky mess.
Step 2: Heat and Burn Off the Oil
Continue heating the griddle. You will see the oil begin to smoke. This smoke is a sign that the oil is polymerizing and bonding with the metal. Let it smoke until the smoke stops completely, and the griddle surface turns dark brown or black. This usually takes 15-20 minutes. Don’t rush this part. Let the oil cook onto the griddle fully. Patience prevents problems.
Step 3: Repeating the Process
Once the smoke stops, let the griddle cool for a few minutes. It should still be quite warm. Repeat Step 1 and Step 2. Apply another very thin layer of oil, spread it evenly, and heat until the smoke stops. Many experts recommend doing this cycle at least 4 to 6 times for a strong initial seasoning. You’ll notice the griddle getting progressively darker with each layer. More layers mean more protection.
Step 4: Inspecting Your Griddle’s Surface
After your final seasoning layer, let the griddle cool completely. Feel the surface; it should be smooth, dark, and slightly slick to the touch. It shouldn’t feel sticky or rough. If it does, you might have applied too much oil in one layer or didn’t let it burn off completely. This smooth, dark finish means your griddle is ready for its first cook!
Maintaining Your Blackstone Griddle’s Seasoning
Seasoning is not a one-time event. It’s an ongoing relationship with your griddle. Proper care after each use helps build and maintain a fantastic cooking surface. Think of it like taking care of a garden; consistent effort yields great results.
Cleaning After Each Use
After cooking, scrape off any food bits with your griddle scraper while the griddle is still warm. Then, pour a little water (or even just oil) onto the hot surface and scrape again to steam clean. Wipe it down with paper towels. Finally, apply a very thin coat of cooking oil to the warm griddle before storing. This protects the season and keeps it ready for next time. Many sources agree this routine helps preserve your hard work (Blackstone Products Support).
Re-seasoning When Needed
Sometimes, your seasoning might get damaged. High heat, harsh scraping, or acidic foods can strip it away. If you notice food sticking more, or if you see light spots appearing, it’s time to re-season. You don’t need to do the full 4-6 layers; just apply a couple of layers to the affected areas using the same method. This is like a touch-up paint job, keeping your griddle in top working condition.
Common Mistakes to Avoid When Seasoning
Even seasoned grillers can make simple errors. Being aware of these common pitfalls will help you achieve the best seasoning possible. Avoiding these mistakes saves you time and frustration. Learning from others is smart.
- Using too much oil: This is perhaps the biggest mistake. Thick layers of oil become gummy and sticky instead of polymerizing. Remember, “thin layers” is the mantra.
- Not heating long enough: If the oil doesn’t smoke completely and turn dark, it hasn’t properly bonded. You’ll end up with a weaker, less effective season.
- Using low smoke point oils: Oils like butter or olive oil will smoke quickly but won’t form a durable, hard seasoning. Stick to oils like grapeseed or flaxseed.
- Forgetting to clean thoroughly first: Any factory residue left on the griddle will prevent the oil from bonding correctly. A clean start is essential.
- Seasoning too quickly: Rushing the process doesn’t allow each layer to fully polymerize. Give each coat the time it needs to smoke off completely.
How Often Should You Season Your Blackstone?
The frequency of seasoning depends on your usage and maintenance habits. Initial seasoning is a must, but ongoing care keeps it strong. We found that understanding these needs helps you keep your griddle in peak shape.
| Type of Seasoning | When to Do It | Why It’s Important |
|---|---|---|
| Initial Seasoning | Before first use | Establishes non-stick, rust-proof base |
| Routine Maintenance | After every cook | Preserves existing seasoning, prevents rust |
| Touch-Up/Re-season | When food sticks or light spots appear | Repairs damage, restores performance |
Checklist: Is Your Blackstone Ready to Grill?
Before firing up your Blackstone for its first meal, quickly run through this checklist. This ensures you’ve set yourself up for success. A quick check can save you from a messy first cook. Be prepared, not surprised.
- Is the griddle surface dark and uniformly black/brown?
- Does the surface feel smooth and slick, not sticky?
- Did you apply at least 4-6 layers of seasoning?
- Did you use a high smoke point oil?
- Is there any rust visible on the cooking surface? (If so, clean and re-season that spot)
Conclusion
Seasoning your Blackstone grill is an easy, yet essential step for any new owner. It transforms a bare metal slab into a versatile, non-stick cooking surface that’s a joy to use. By following these straightforward steps, you’re not just preparing your griddle; you’re investing in years of enjoyable outdoor cooking. Keep those thin layers coming, clean it with care, and your Blackstone will serve up amazing meals for a very long time. Happy griddling, everyone!
Can I use any oil to season my Blackstone?
While you can use various cooking oils, experts recommend high smoke point oils for seasoning your Blackstone. Flaxseed oil is a top choice, but grapeseed, canola, and avocado oils are also very effective. Avoid oils with low smoke points like butter or extra virgin olive oil, as they won’t polymerize correctly to form a durable coating.
What if my Blackstone griddle rusts after seasoning?
If your Blackstone griddle develops rust even after seasoning, it means the protective layer was compromised or not built up strongly enough in that area. To fix it, gently scrub the rust spot with a coarse pad and a little oil until the rust is gone. Then, clean and thoroughly dry the area, and apply several new, thin layers of seasoning oil specifically to that spot until it matches the rest of the griddle.
How long does the seasoning process take?
The entire initial seasoning process for your Blackstone grill, including cleaning and applying 4-6 layers, typically takes about 1.5 to 2 hours. Each layer of oil application and burning off takes around 15-20 minutes. It’s a process that requires some time, but it’s well worth the investment for a properly seasoned griddle.
Do I need to season a new Blackstone grill?
Yes, absolutely! Seasoning a new Blackstone grill is a critical first step before its initial use. New griddles have a factory protective coating that needs to be removed, and the bare metal requires a seasoned layer to become non-stick and protected from rust. Skipping this step can lead to food sticking and rapid rust formation.
Can I over-season my Blackstone griddle?
It’s challenging to truly “over-season” your griddle in the sense of too many layers, as long as each layer is applied correctly. The main issue isn’t too many layers, but rather applying layers that are too thick or not allowing each layer to fully polymerize. If layers are too thick, they can become sticky or flake off. Always aim for thin, evenly spread layers that fully smoke off.
