To season a charcoal grill for the first time, you will generally clean the grates thoroughly, apply a thin coat of high-heat cooking oil, and then heat the grill to a high temperature for about an hour.
This process creates a protective, non-stick layer on your grill grates, making your cooking experience better and extending the life of your grill.
- Get your new charcoal grill ready for its first cook by following simple seasoning steps.
- You’ll clean the grates, apply a high-heat oil, and then heat the grill to bake on that protective layer.
- This preparation helps prevent rust and makes food less likely to stick.
- Think of it as setting up your grill for many delicious meals ahead.
How To Season A Charcoal Grill For The First Time?
Seasoning a new charcoal grill involves cleaning its grates, applying a high-heat oil, and then burning it off to create a durable, non-stick surface.
This simple process prevents rust and improves your grilling experience right from the start.
Why Seasoning Your New Grill Matters So Much
Imagine unwrapping a brand-new car and never washing it. Not ideal, right? Seasoning your grill is similar. It’s a vital first step for any new charcoal grill owner.
This process isn’t just a suggestion; it’s about protecting your investment and ensuring delicious meals. We found that proper seasoning creates a barrier against rust, a common enemy of metal grills.
It also gives your grates a non-stick surface. This means your burgers won’t cling for dear life, and cleanup becomes much easier. Many experts say a well-seasoned grill cooks more evenly too (Cook’s Illustrated).
Before You Begin: What You’ll Need
You probably have most of these items already. Gather them up to make the process smooth and easy.
- Warm, soapy water
- A sturdy scrub brush or sponge
- Clean cloths or paper towels
- High-heat cooking oil (like grapeseed, canola, or vegetable oil)
- Charcoal or briquettes
- Lighter fluid or a chimney starter
- Grill tongs and heat-resistant gloves
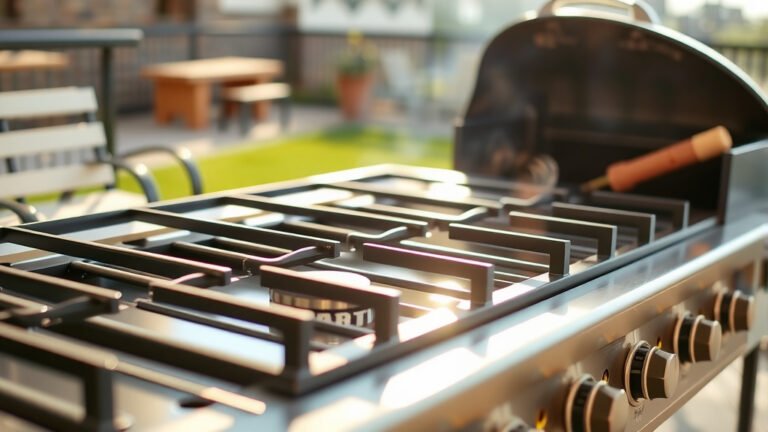
Step 1: The Initial Clean-Up
Your new grill might look spotless, but it could have manufacturing oils or dust. Think of it as a fresh canvas that needs a quick wipe-down.
Start by washing your grill grates thoroughly with warm, soapy water. Use a stiff brush to scrub away any residue. Rinse them well and dry them completely to prevent any immediate rust from forming.
We found that skipping this initial clean can leave unwanted tastes on your food later.
Step 2: Choosing the Right Oil
Not all oils are created equal for seasoning. You need an oil with a high smoke point. Why? Because you’ll be heating it to extreme temperatures.
Oils like canola, vegetable, grapeseed, or flaxseed oil are excellent choices. Olive oil, on the other hand, has a lower smoke point and can burn off too quickly, leaving a sticky mess instead of a protective layer.
Many guidelines point to grapeseed oil as a good first step because of its very high smoke point and neutral flavor (Cleveland Clinic).
Oil Options at a Glance
| Oil Type | Smoke Point (Approx.) | Why it’s Good for Seasoning |
|---|---|---|
| Grapeseed Oil | 420°F (215°C) | High smoke point, neutral flavor. |
| Canola Oil | 400°F (204°C) | Widely available, good smoke point. |
| Vegetable Oil | 400°F (204°C) | Cost-effective, versatile. |
| Flaxseed Oil | 225°F (107°C) | Low smoke point, but creates a very hard layer. Often mixed. Some say it is great (NIH). |
Step 3: Applying a Thin Oil Coat
Think of painting a wall; you want thin, even coats, not thick drips. The same applies here.
Dip a paper towel or clean cloth into your chosen high-heat oil. Wipe a very thin, even layer over all surfaces of your grill grates. Don’t forget the sides and edges. You are aiming for a barely visible sheen.
Too much oil will result in a sticky, gummy residue, which is the opposite of what you want. You want to avoid pooling or drips of oil.
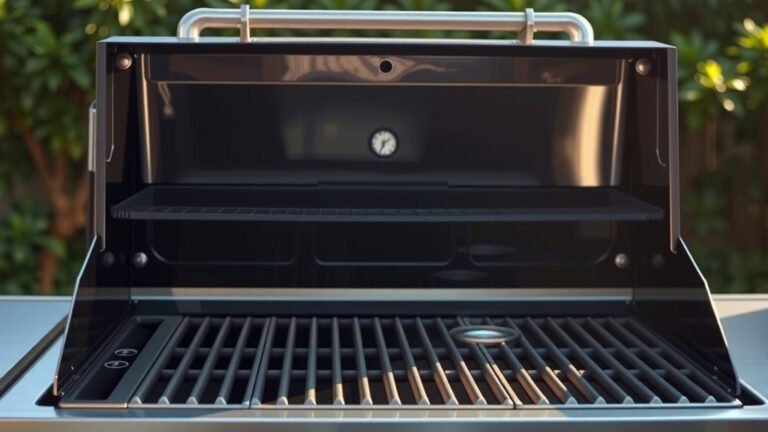
Step 4: The Burn-Off Process
Now comes the heat! This step bakes the oil onto the metal, creating that hard, protective layer.
Load your charcoal grill with briquettes or lump charcoal. Light them using a chimney starter or lighter fluid. Let them get good and hot. Once the coals are ash-gray, spread them evenly.
Place your oiled grates back on the grill. Close the lid and let the grill heat up to its highest temperature, around 400-500°F (200-260°C). Let it “cook” for about 45 minutes to an hour.
During this time, the oil will polymerize, essentially turning into a hardened, non-stick surface. You might see some smoke, which is normal as the oil bakes on. Keep the vents open to maintain high heat.
Step 5: Cool Down and Reapply (Optional but Recommended)
Patience is a virtue, especially when grilling. After the burn-off, let the grill cool down completely. This allows the newly formed seasoning layer to harden.
Once cool, you can repeat the oiling and burn-off process. While one cycle is sufficient, two or three thin layers can build a more robust, longer-lasting seasoning. Many seasoned grillers choose to do this for extra durability and protection.
Common Mistakes to Avoid
Nobody wants to mess up their first grill experience. Here are a few pitfalls to sidestep:
Using the Wrong Oil
As we mentioned, low smoke point oils like olive oil will just burn and create a sticky residue. Stick to high-heat options for best results.
Applying Too Much Oil
This is a big one. Excess oil leads to a gummy surface that attracts food instead of repelling it. Wipe off any drips or pools before heating.
Not Getting Hot Enough
The oil needs high heat to bond properly with the metal. Don’t rush this step. Allow your charcoal to fully heat up and sustain that temperature.
Cleaning with Harsh Soaps Later
Once seasoned, avoid abrasive scrubbers or strong soaps. They can strip away your hard-earned seasoning. A simple grill brush and water after cooking are usually enough for maintenance.
Your First-Time Seasoning Checklist
Here’s a quick run-through to keep you on track:
-
Wash and dry grates completely.
-
Choose a high-heat cooking oil.
-
Apply a very thin, even layer of oil.
-
Heat grill to 400-500°F (200-260°C) with oiled grates inside.
-
Maintain high heat for 45-60 minutes.
-
Allow grill to cool completely.
-
Repeat oiling and heating if desired for a stronger layer.
Conclusion
Seasoning your new charcoal grill is a straightforward task that pays big dividends. It sets the stage for many years of rust-free, easy-to-clean grilling adventures. By following these steps—from choosing the right oil to the crucial burn-off—you are giving your grill the best possible start.
Remember, a little preparation now means a lot more enjoyment later. So go ahead, season that grill, and get ready for some truly delicious food!
FAQs About Seasoning a Charcoal Grill
Do I need to season the entire grill, or just the grates?
Typically, you only need to season the cooking grates themselves. The inside of the grill lid or bowl usually builds up its own protective layer from smoke and heat over time. Focus your efforts where the food directly touches.
What happens if I don’t season my new charcoal grill?
If you skip seasoning, your grill grates will be more prone to rusting. Food will also stick much more easily during cooking, making cleanup harder and potentially tearing apart delicate items like fish or chicken.
How often should I re-season my charcoal grill grates?
After the initial seasoning, you generally won’t need to do a full re-seasoning unless you notice food sticking or rust appearing. Regular light oiling before and after each cook helps maintain the seasoning. After a very thorough cleaning, a light re-season might be beneficial.
Can I use cooking spray to season my grill?
While some cooking sprays use high-heat oils, many contain propellants or other ingredients that can leave a gummy residue or burn unevenly. It’s usually better to use a liquid high-heat oil applied with a cloth for more control and a consistent layer.
My grates feel sticky after seasoning. What went wrong?
A sticky residue often means you applied too much oil during the seasoning process, or the grill didn’t get hot enough for long enough. Try wiping down the sticky areas to remove excess oil and then repeat the high-heat burn-off. Always aim for a very thin, almost invisible layer of oil.