To clean your outdoor grill effectively, preheat it to burn off loose food, then scrub the grates with a sturdy grill brush. For a deep clean, disassemble and soak grates in hot, soapy water.
Always scrape out debris from the firebox and wash drip trays to keep your outdoor grill performing its best and safe for delicious meals.
- Quickly clean grates after each use to prevent food buildup.
- Deep clean your grill every few months to remove grease and extend its life.
- Gather essential tools like a grill brush, scraper, and mild dish soap.
- Remember to clean internal components like burner tubes and the drip tray.
- Always check your grill type for specific cleaning needs and safety tips.
How To Clean Your Outdoor Grill?
Cleaning your outdoor grill involves regular upkeep of the grates and seasonal deep cleaning of the internal components. This ensures safe, tasty food and a longer life for your trusty cooking companion.
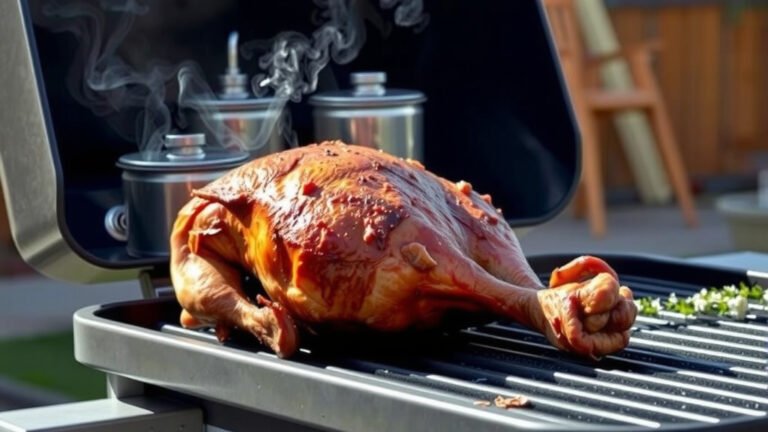
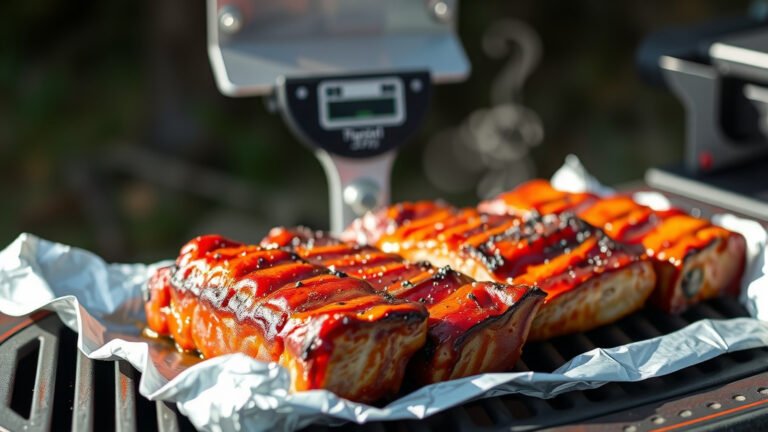
You love grilling, right? There’s nothing quite like fresh food cooked outdoors. But what happens after the sizzling stops? That delicious char can turn into a sticky mess. Taking a few minutes to clean your grill makes a big difference.
Why Should You Clean Your Grill?
Cleaning your grill is more than just keeping it shiny. It protects your health and your investment. Imagine biting into perfectly cooked steak without any old, burnt bits sticking to it.
Old food bits can harbor bacteria. Many experts say that proper cleaning helps stop cross-contamination (Mayo Clinic). You want your food to be safe and delicious.
When you keep the grates clear, your food cooks more evenly. Plus, a clean grill just tastes better. No leftover flavors from last week’s burgers on your fresh fish.
Regular cleaning also helps your grill last longer. Grease and rust can damage parts over time. Think of it as preventative care for your favorite outdoor appliance.
How Often Should You Clean Your Outdoor Grill?
Think of grill cleaning in two stages: a quick clean and a deep clean. You wouldn’t skip washing dishes after dinner, would you?
A quick clean should happen after every single use. It takes just a few minutes. This prevents food from hardening onto your grates.
A deep clean is something you do less often. Many people find that doing this seasonally, like every two to three months, works well. It prepares your grill for heavy use or puts it away for winter.
Essential Tools You’ll Need
Before you start, gather your gear. Having the right tools makes the job much easier. It’s like having the right spatula for flipping.
- A sturdy grill brush (consider bristle-free options).
- A grill scraper for stubborn, baked-on food.
- Heat-resistant gloves to protect your hands.
- A large bucket for soaking grates.
- Mild dish soap or a specialized grill cleaner.
- Sponges, cloths, or paper towels.
- Aluminum foil (optional, for scrubbing).
- A small wire brush or paperclip for burner holes.
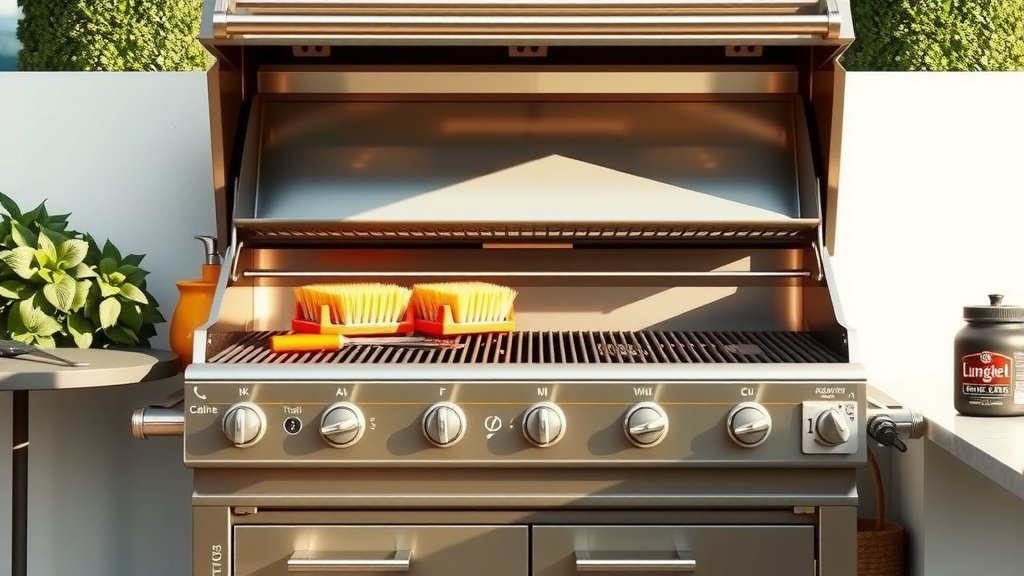
Step-by-Step Guide to Cleaning Your Grill Grates
The grates are where all the cooking action happens. Keeping them pristine is key to great grilling.
The Immediate Post-Grill Clean
This quick clean is your first line of defense. It’s super simple and makes a big difference. Get to it while the grill is still warm.
After you finish cooking, turn the heat up high for about 10-15 minutes. This will burn off some food residue. It turns tough bits into ash.
Then, use your grill brush to scrape off the loosened debris. Go back and forth along the grates. You will see those bits fall away.
Deep Cleaning Your Grill Grates
For a truly sparkling surface, you need to go a bit deeper. This is where your bucket comes in handy. It is much easier than scrubbing cold grease.
First, let your grill cool completely. Then, carefully remove the grates. Set them aside for soaking.
Fill your bucket with hot water and add a generous amount of mild dish soap. Submerge the grates in this soapy water. Let them soak for at least 30 minutes, or even overnight for really tough grime.
After soaking, use your grill brush, scraper, or even crumpled aluminum foil to scrub the grates. You will find that most of the cooked-on food lifts right off. Some people prefer a plastic scraper to avoid scratching.
Rinse the grates thoroughly with clean water. Make sure all soap residue is gone. Then, dry them completely to prevent rust before placing them back on your grill.
Cleaning the Interior of Your Grill
The inside of your grill needs attention too. This includes burner tubes, heat deflectors, and the firebox. Neglecting these areas can impact performance and safety.
Handling the Burner Tubes and Heat Deflectors
These parts can get greasy and clogged. It is important to treat them gently.
Carefully remove the heat deflectors and burner tubes. Use a stiff brush, not your grill brush, to gently brush away any loose debris or rust. Be careful not to damage the burner holes.
We found that many experts recommend using a paperclip or a small wire to clear any clogged burner holes (NIH). This helps ensure even flame distribution.
Cleaning the Firebox and Drip Tray
The bottom of your grill collects a lot of grease and food particles. This can lead to flare-ups if not managed.
Use a plastic scraper or putty knife to scrape accumulated grease and debris from the bottom of the firebox into the drip tray. Then, remove the drip tray itself.
Empty the drip tray and wash it with hot, soapy water. Rinse well and dry completely. Some people like to line their drip tray with aluminum foil for easier cleanup next time.
Cleaning the Exterior of Your Grill
A clean exterior makes your grill look good. It is like polishing your car after a wash. You want it to shine.
Wipe down all exterior surfaces with a damp cloth and mild soap. For stainless steel grills, use a specialized stainless steel cleaner and polish. Always wipe in the direction of the grain to avoid streaks.
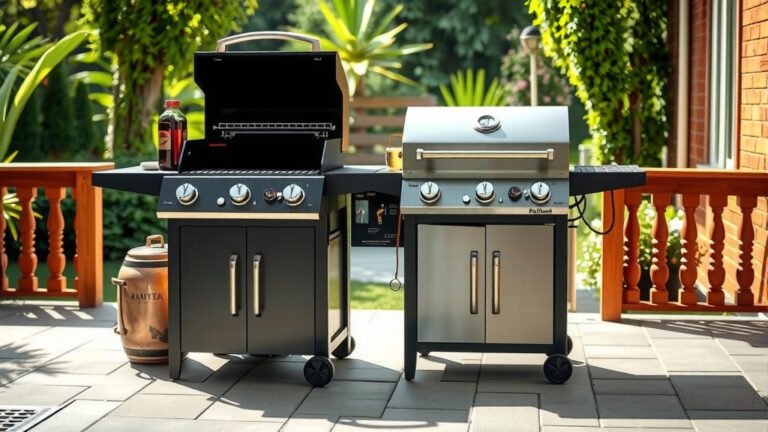
Special Cleaning Tips for Different Grill Types
Each grill type has its own quirks. Knowing these little differences can save you time and effort.
Gas Grills
Gas grills are convenient, but need attention to gas lines.
Beyond the general cleaning, regularly check your gas lines for cracks or leaks. Many manufacturers suggest doing this with a soapy water solution; bubbles indicate a leak.
Charcoal Grills
Charcoal grills are known for their smoky flavor, but also their ash production.
Always empty the ash from the bottom of your charcoal grill after it cools completely. Built-up ash can restrict airflow and affect cooking performance. Clean the ash pan with soap and water.
Pellet Grills
Pellet grills offer unique flavors from wood pellets. They also produce ash.
Make sure to clean out the ash pot and firepot regularly. Excess ash can cause operational issues. Inspect the hopper for any moisture or pellet clumping. Keep it dry!
Maintenance Checklist for a Longer-Lasting Grill
Follow this checklist to keep your grill in top shape season after season. It is simple, yet effective.
- Clean grates after every use while still warm.
- Deep clean internal components every 2-3 months.
- Check gas lines and connections annually for gas grills.
- Empty ash regularly from charcoal and pellet grills.
- Cover your grill when not in use to protect it from elements.
- Inspect components like burners and igniters for wear.
Common Cleaning Mistakes to Avoid
Even with the best intentions, you can make some mistakes. Knowing what not to do is just as important as knowing what to do.
Do not use harsh chemical cleaners on cooking surfaces. These can leave behind residues that are unsafe for food. Stick to mild soap and water.
Avoiding the interior parts is a common oversight. Grease buildup inside can become a fire hazard. Pay attention to the firebox and drip tray.
Neglecting your grill cover is another mistake. A good cover protects your grill from weather, extending its life greatly. It prevents rust and grime buildup.
| Tool Type | Best Use | Safety Notes |
|---|---|---|
| Wire Grill Brush | Stubborn grime on grates | Can shed bristles; check regularly for loose wires (NIH). |
| Bristle-Free Brush | General grate cleaning | Safer option; minimal risk of ingestion. |
| Plastic Scraper | Removing baked-on food | Safe for most surfaces; helps prevent scratches. |
| Sponge/Cloth | Exterior, gentle wash | Use with mild soap; rinse thoroughly to avoid streaks. |
Conclusion
Cleaning your outdoor grill is not just a chore; it is an investment in better food and a longer-lasting appliance. By following these practical steps, you ensure every cookout is a success. From quick post-grill brushes to seasonal deep cleans, you now have the knowledge to keep your grill performing its best. A clean grill is a happy grill, ready for countless delicious memories.
What kind of brush is best for cleaning grill grates?
Many experts suggest using a bristle-free grill brush or a sturdy wire brush. If you use a wire brush, always check it for loose bristles before and after each use to prevent them from getting into your food. Some people also use a nylon brush or even crumpled aluminum foil.
Can I use oven cleaner to clean my grill?
It is generally not recommended to use harsh oven cleaners on grill grates, especially if they are going to come into contact with food. These chemicals can be very strong and may leave behind harmful residues. Mild dish soap and hot water are much safer and often just as effective.
How do I prevent rust on my grill?
To prevent rust, always dry your grill grates and other metal parts completely after cleaning. You can also lightly oil the grates with cooking oil after cleaning and before storage. Using a grill cover when your grill is not in use also provides excellent protection from moisture and the elements.
Is it okay to clean my grill when it’s hot?
You can do a quick clean of your grill grates when they are still warm (not scorching hot). This helps burn off food residue and makes it easier to scrape. However, for a deep clean of internal components, it is safer and more effective to let the grill cool down completely.
How do I clean my stainless steel grill exterior?
For your stainless steel grill exterior, use a damp cloth with mild soap or a specialized stainless steel cleaner. Always wipe in the direction of the metal grain to avoid streaks and to keep the surface looking its best. Avoid abrasive scrubbers that can scratch the finish.