To season a new gas grill, you first clean the grates, then apply a high smoke point cooking oil like flaxseed or grapeseed oil, and finally heat the grill to a medium-high temperature for about 15-20 minutes until the oil bakes onto the surface. This creates a protective, non-stick layer.
You’ll repeat this oil and heating process several times to build up a robust seasoning that protects your grill grates from rust and makes cooking much easier.
Here’s a quick rundown of what you need to know about seasoning your new gas grill:
- Get ready to season your gas grill to prevent sticking and rust.
- Always choose a high smoke point oil for the best results.
- Clean your grates thoroughly before applying any oil.
- Heat your grill after oiling to create a durable, non-stick surface.
- Repeating the process builds up a stronger, more lasting seasoning.
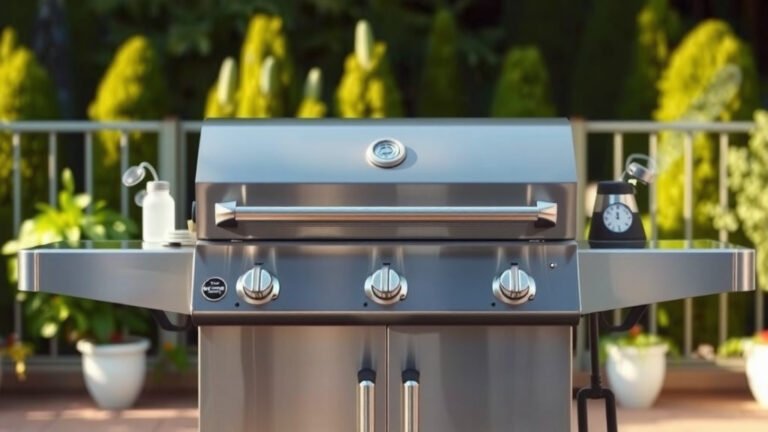
How Do You Season A New Gas Grill?
You season a new gas grill by cleaning the grates, applying a suitable oil, and then heating the grill to allow the oil to polymerize, forming a protective, non-stick coating.
Why Seasoning Your Gas Grill Matters
When you get a new grill, its grates are fresh from the factory. They don’t have a protective layer. Seasoning helps fill those tiny pores in the metal. This makes your grill grates non-stick, much like a cast iron pan.
It also creates a barrier against moisture. This is vital for preventing rust, especially if you live in a humid climate. Many experts say this step significantly extends the life of your grates (University of Illinois Extension).
Beyond Preventing Rust: Better Flavor
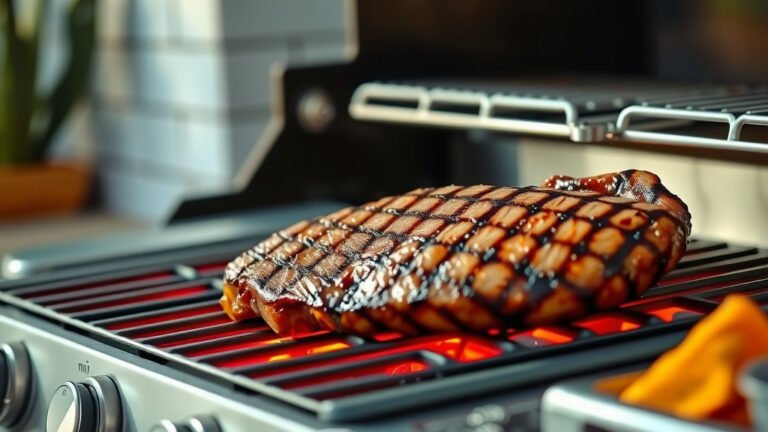
Did you know seasoning can also improve flavor? A well-seasoned grill gives your food a better sear. It transfers delicious flavors from previous cooks, too. Think of it as building a character for your grill over time.
Gather Your Seasoning Supplies
Before you start, make sure you have everything ready. This makes the process smooth and quick. You don’t want to be hunting for supplies halfway through.
| Item | Why You Need It |
|---|---|
| High Smoke Point Oil | Creates the non-stick layer; won’t burn quickly. |
| Clean Cloths/Paper Towels | For applying oil and wiping excess. |
| Warm Soapy Water | For initial cleaning of the grates. |
| Grill Brush/Scraper | To remove any factory residues. |
| Grill Gloves | To protect your hands from heat. |
Choosing the Right Oil for Your Grill
The type of oil you use is critical. You need an oil with a high smoke point. This means it can get very hot without burning and turning bitter. Research often points to certain oils for this purpose (Cleveland Clinic).
- Flaxseed oil: Many grilling enthusiasts consider this the gold standard. It creates a very hard, durable seasoning.
- Grapeseed oil: A popular choice due to its high smoke point and neutral flavor.
- Vegetable or canola oil: Readily available and effective, though perhaps less durable than flaxseed.
- Crisco (shortening): Another solid option for building up a good seasoning layer.
Avoid olive oil or butter. Their low smoke points mean they’ll burn and leave a sticky mess. This would defeat the purpose of seasoning your new grill.
Your Step-by-Step Grill Seasoning Guide
Let’s walk through the process together. It’s simpler than you might think. Just take your time with each step.
Step 1: The Initial Clean-Up
Your new grill grates might have factory residues or dust. You need to wash these away thoroughly. Use warm, soapy water and a soft cloth or sponge.
Rinse them completely afterward. Dry the grates completely with a clean towel. Any moisture left behind can hinder the seasoning process.
Step 2: Apply a Thin Layer of Oil
Now, pour a small amount of your chosen high smoke point oil onto a paper towel. Wipe down all surfaces of your grill grates. You want a very thin, even coating.
Think of it like polishing furniture. Too much oil will just create a gummy, sticky mess. Less is definitely more here.
Step 3: Fire Up the Grill!
Place the oiled grates back into your gas grill. Close the lid. Turn all burners to a medium-high setting. You’re aiming for a temperature around 350-400°F (175-200°C).
Let the grill heat for about 15-20 minutes. You might see some smoke, which is normal. This means the oil is polymerizing, or baking onto the metal.
Step 4: Cool Down and Repeat
After 15-20 minutes, turn off the grill. Let it cool down completely. This allows the newly formed seasoning layer to harden.
Once cool, repeat Steps 2 and 3. Apply another thin layer of oil and heat the grill again. We found that 3 to 4 repetitions are often ideal for building a good, solid seasoning (Consumer Reports).
Troubleshooting Common Seasoning Questions
Sometimes you might run into little hiccups. Don’t worry; these are often easy to fix. We want your first grilling experience to be perfect.
My Grill is Smoking Too Much – What Now?
Excessive smoke usually means you’ve applied too much oil. Remember, a very thin coat is best. If this happens, just let the grill run a bit longer. The extra oil will eventually burn off.
Next time, try to wipe the grates even more thoroughly after oiling. You just need a sheen, not a puddle of oil.
What If My Grates Feel Sticky?
A sticky residue is another sign of too much oil. This layer hasn’t properly polymerized. If it’s very sticky, you might need to clean the grates again. Then restart the seasoning process with less oil.
Many people find that wiping off excess oil before heating is the secret. It’s like painting – thin coats work best.
Maintaining Your Grill Seasoning
Seasoning isn’t a one-time event. Think of it as a living finish. Regular care keeps it going strong. This ensures your grill remains a joy to use.
Post-Cook Cleaning Tips
After each cook, you should clean your grates gently. While the grill is still warm (not scorching hot), use a grill brush. Just brush off any food debris. Avoid harsh soaps or steel wool, as these can strip away your hard-earned seasoning.
Many experts suggest a nylon or brass bristled brush for this. They are tough enough for food, but gentle on the seasoning.
Re-Oiling After Cleaning
After brushing, you might want to apply a tiny bit of oil. Just a very light wipe. This helps replenish the seasoning. It’s like moisturizing your skin after washing.
This quick re-oiling protects the grates until your next grilling session. It’s a small step that makes a big difference in longevity.
Seasoning Checklist for Success
Here’s a quick list to make sure you’ve covered all your bases:
- Grates are thoroughly cleaned and dry.
- High smoke point oil is selected.
- Oil is applied in a very thin, even layer.
- Grill is preheated to medium-high (350-400°F).
- Each heating cycle lasts 15-20 minutes.
- Grill cools completely between oiling sessions.
- Process is repeated 3-4 times for best results.
Conclusion
Seasoning your new gas grill is a small investment of time that pays off big. It sets the stage for many years of rust-free, non-stick grilling. By following these simple steps, you’ll protect your equipment and improve your cooking experience. So go ahead, get those grates seasoned, and prepare for some amazing meals!
How often should you season a new gas grill?
You should initially season a new gas grill 3-4 times before its first use. After that, you can re-season it whenever food starts sticking, or if you notice rust developing, usually every few months with regular use.
Can you use cooking spray to season a gas grill?
While convenient, cooking spray is generally not recommended for initial grill seasoning. Many sprays contain propellants and additives that can leave a sticky residue rather than a durable, polymerized layer. Stick to liquid high smoke point oils for best results.
What if I forget to season my new gas grill?
If you forget to season your new gas grill, your food might stick more, and the grates will be more prone to rusting. It’s not too late to season it after a few uses; just clean the grates thoroughly first to remove any cooked-on debris.
Does seasoning a gas grill affect the taste of food?
Properly seasoning a gas grill should not negatively affect the taste of your food. In fact, a good seasoning creates a better non-stick surface, which helps food cook more evenly and develop better sear marks without sticking or tearing, leading to better-tasting results.
Can you over-season a gas grill?
Yes, you can “over-season” a gas grill by applying too much oil at once. This leads to a gummy, sticky, or uneven coating that can flake off. The key is multiple thin layers, not one thick one, to allow the oil to properly polymerize into a hard, protective surface.