Seasoning cast iron BBQ grill grates involves applying a thin layer of cooking oil and then heating the grates to a high temperature, allowing the oil to polymerize and create a durable, non-stick, and rust-resistant surface.
You can achieve a strong seasoning by repeating this oil and heat cycle several times, which builds up layers of protective carbonized oil.
Here’s a quick rundown of what you’ll discover:
- Understand why seasoning your cast iron grates is absolutely essential for better grilling.
- Learn how to select the best oils for a lasting, effective seasoning.
- Follow a simple, step-by-step guide to properly season both new and rusty grates.
- Pick up easy maintenance tips to keep your seasoning strong and your grates ready for action.
- Find out when it’s time to re-season your grates for optimal performance.
How To Season Cast Iron BBQ Grill Grates?
To season cast iron BBQ grill grates, first clean them thoroughly, then apply a very thin layer of high smoke point oil, and finally bake them upside down in your grill at a high temperature for an hour, repeating this process multiple times.
Why Seasoning Your Cast Iron Grates Matters
Ever wonder why some grill masters rave about their cast iron grates? It often comes down to one thing: proper seasoning. Think of seasoning as creating a natural, protective shield for your grill.
It’s not just about looking good; it is about performance and longevity. Skipping this step can lead to big headaches, like food sticking and rust forming quickly.
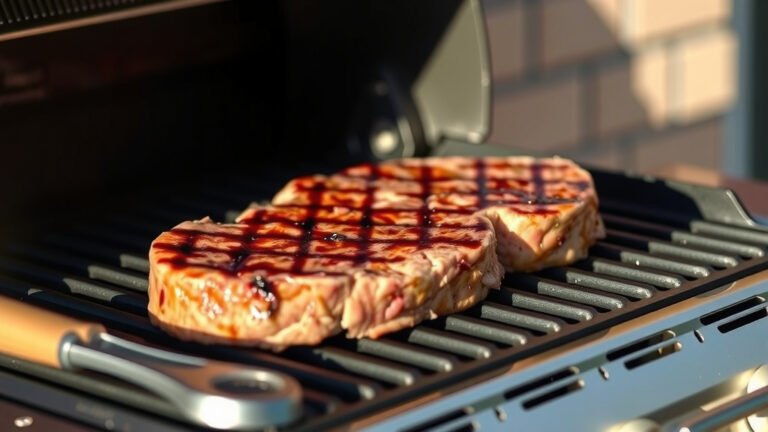
Enjoying a Natural Non-Stick Surface
Imagine flipping burgers without them tearing apart. A well-seasoned grate develops a fantastic, natural non-stick coating. This polymerized oil layer acts as a barrier. It keeps your food from clinging, making cooking much more enjoyable (Many experts say, Cook’s Illustrated).
This means less struggle and more delicious, intact meals coming off your grill.
Preventing Rust and Corrosion
Cast iron is an amazing material, but it has a weakness: rust. Moisture is its enemy, and a rusty grate is no fun to cook on. Seasoning creates a barrier against humidity and the elements.
This protective layer is vital for keeping your expensive grates in top shape. We found that proper seasoning significantly extends the life of your cast iron, saving you money in the long run.
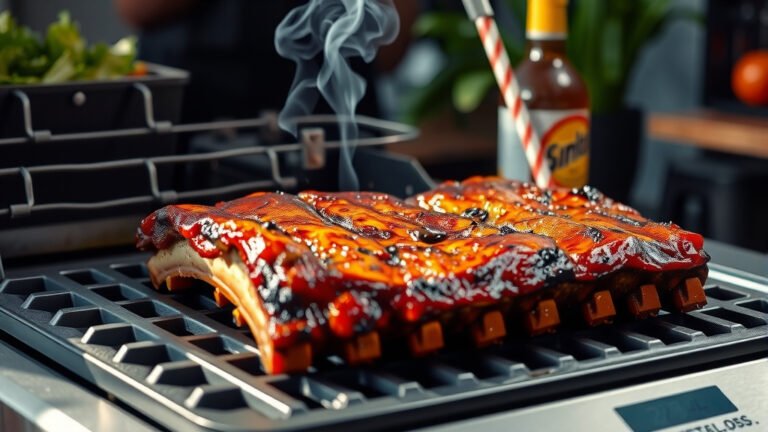
Enhancing Your Food’s Flavor
You might not realize it, but seasoning also adds a subtle depth of flavor to your food. Over time, the layers of carbonized oil build up. This creates a surface that contributes to that classic grilled taste we all love.
It’s like how a well-used cast iron pan gets better with age, infusing dishes with a unique richness.
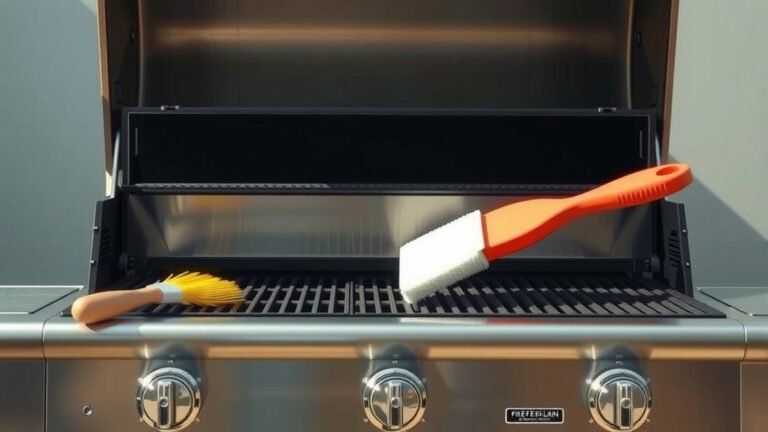
What You Need: Gathering Supplies
Before you begin, gathering your tools makes the process smooth. You will need a few common household items. Think of it like prepping your kitchen before a big meal.
Having everything ready means you won’t have to stop mid-process. This ensures a more effective and less frustrating experience for you.
Choosing the Right Oil for Seasoning
Not all oils are created equal when it comes to seasoning cast iron. You need an oil with a high smoke point and one that polymerizes well. This means it dries and hardens into a strong, protective layer.
We found that some oils are far better suited for this task than others. Here’s a quick look at popular choices:
| Oil Type | Smoke Point (Approx.) | Key Benefit |
|---|---|---|
| Flaxseed Oil | 350°F (177°C) | Strongest, most durable seasoning (some research suggests, America’s Test Kitchen). |
| Grapeseed Oil | 420°F (216°C) | Neutral flavor, excellent polymerization. |
| Vegetable Oil | 400°F (204°C) | Widely available, good all-rounder. |
| Canola Oil | 400°F (204°C) | Affordable, easy to find. |
Prepping Your Grates: Cleanliness is Key
Whether your grates are brand new or have seen many grilling seasons, a proper clean is crucial. You want to remove any factory coatings, dirt, or rust. This ensures the oil can directly bond with the cast iron.
Think of it as preparing a canvas before painting; a clean surface makes all the difference for a lasting finish.
Tackling New Grates
New cast iron grates often come with a protective wax or oil coating from the factory. You need to remove this. Wash them thoroughly with hot, soapy water and a stiff brush. Don’t worry about using soap this one time.
Rinse completely and dry immediately to prevent flash rust. A towel dry followed by a few minutes over low heat on your grill works well.
Dealing with Rusty Grates
Got rusty grates? Don’t despair! You can bring them back to life. Use a wire brush, steel wool, or even sandpaper to scrub away all visible rust.
For stubborn rust, a vinegar soak (equal parts white vinegar and water for a few hours) can help loosen it. Afterward, wash thoroughly with soap and water, rinse, and dry completely to stop any new rust from forming. Many experts say a clean, rust-free surface is vital.
The Seasoning Ritual: A Step-by-Step Guide
Now for the main event! Seasoning your grates is a straightforward process, but it requires patience and precision. Don’t rush it; each step plays a critical role in building a durable seasoning layer.
You’ll be proud of your efforts once you see those beautiful, dark grates ready for grilling.
Wash, Dry, and Inspect
After prepping, give your grates one final rinse with hot water. Dry them completely using paper towels or a clean cloth. You can also place them over low heat on your grill for 5-10 minutes to ensure they are bone dry. Any moisture left behind can prevent proper seasoning and lead to rust.
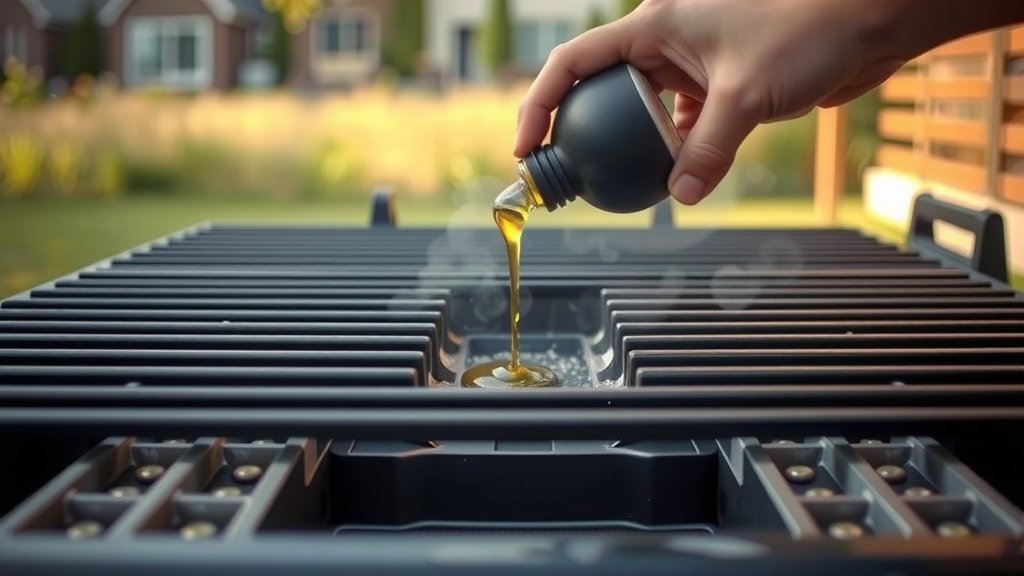
Applying the Ultra-Thin Oil Layer
This is where many people go wrong: too much oil. Remember, a very thin, almost invisible layer is what you want. Apply a small amount (about a tablespoon for two grates) of your chosen oil to a paper towel.
Wipe down all surfaces of the grate – top, bottom, and sides. Then, use a clean, dry paper towel to wipe off as much oil as you possibly can. The grates should look dry, not greasy. Research often connects a thinner layer with better polymerization (Cook’s Illustrated).
The Crucial Baking Process
Time to bake! Place your grates upside down in your grill. This prevents pooling of any excess oil. Close the lid and heat your grill to a high temperature, around 450-500°F (230-260°C).
Let them bake for at least an hour at this temperature. The high heat allows the oil to polymerize, changing it from a liquid to a hard, protective plastic-like coating. After an hour, turn off the grill and let the grates cool completely inside the grill.
Here’s a quick checklist for your baking process:
- Preheat grill to 450-500°F (230-260°C).
- Place grates upside down on the grill.
- Close the grill lid.
- Bake for 60 minutes.
- Turn off heat.
- Allow grates to cool completely inside the grill.
Building Layers for Durability
One layer of seasoning is good, but multiple layers are great! For a truly durable and effective seasoning, repeat the oiling and baking process at least 3-4 times. Each layer builds upon the last, creating a stronger, slicker, and more rust-resistant surface.
Some grill enthusiasts even do 5-6 cycles. You will notice the grates getting darker and smoother with each repetition. Patience really pays off here.
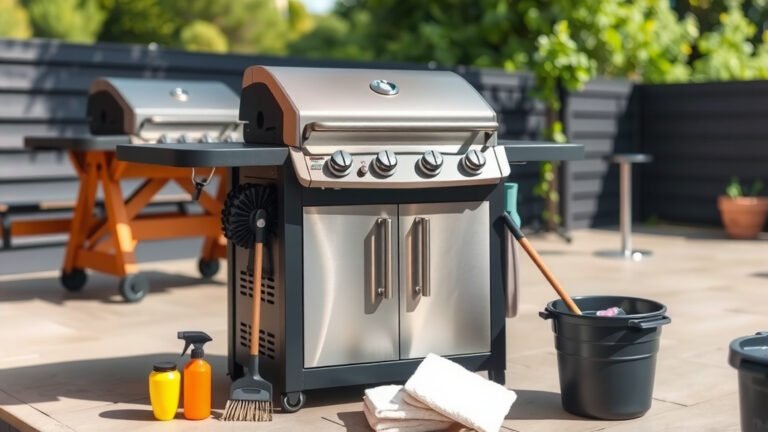
Keeping Your Grates in Top Condition
Seasoning is not a one-time event; it’s an ongoing relationship with your cast iron. Proper maintenance after each use helps preserve your hard-earned seasoning. It also means less work for you in the long run.
A little care goes a long way in ensuring your grates stay in peak grilling condition for years.
Post-Cook Cleaning Tips
After each cook, while the grates are still warm, scrape off any food residue with a grill brush. Do not use soap! Soap will strip away your seasoning. For tougher spots, a bit of hot water and a stiff brush will work. Many guidelines point to simple hot water and a scraper as the best cleaning method (Lodge Cast Iron).
Then, dry the grates completely. Apply another thin coat of cooking oil before storing. This extra oil layer adds to your seasoning and protects against moisture.
When Does Your Grate Need a Re-Season?
Even with good care, your seasoning might wear down over time. How do you know when it’s time to re-season? If food starts sticking more often, or if you notice dull, dry spots appearing on the grates, it is a clear sign. Rust is also a big indicator that your seasoning needs attention.
Think of it as an oil change for your car; it’s preventative maintenance. A quick re-seasoning cycle or two will bring them back to life.
Conclusion
Seasoning your cast iron BBQ grill grates is a simple yet incredibly rewarding process. It’s an investment in your grilling future, providing a non-stick surface, robust rust protection, and even enhanced flavor for your food. By following the steps outlined, from proper cleaning and oil selection to the crucial baking cycles, you will build a durable foundation.
Remember that ongoing care, like cleaning without soap and applying a fresh coat of oil after each use, will keep your grates performing at their best. So go ahead, give your cast iron grates the love they deserve, and enjoy many years of fantastic grilling experiences!
What’s the best oil for seasoning cast iron grates?
Grapeseed oil and flaxseed oil are often recommended as the best for seasoning due to their high smoke points and excellent polymerization properties, creating a very durable finish. Vegetable and canola oils are also good, affordable alternatives.
How many layers of seasoning do I need?
While one layer provides some protection, it’s best to apply at least 3-4 thin layers for a strong, durable, and effective seasoning. Some grill enthusiasts even go for 5-6 layers to achieve a very deep, rich patina.
Can I use soap to clean seasoned cast iron grates?
No, you should avoid using soap on seasoned cast iron grates after the initial factory coating removal. Soap can strip away the polymerized oil layers you’ve worked hard to build, reducing the non-stick properties and leaving your grates vulnerable to rust. Stick to hot water and a stiff brush for cleaning.
How do I remove rust from my cast iron grill grates?
To remove rust, use a wire brush, steel wool, or sandpaper to scrub away all visible rust. For tougher rust, you can soak the grates in an equal parts white vinegar and water solution for a few hours. Always wash thoroughly with soap and water afterward, rinse completely, and dry immediately to prevent new rust before re-seasoning.
My food sticks even after seasoning. What went wrong?
If food still sticks, your seasoning might not be thick enough, or the oil layers applied were too thick initially, leading to a gummy rather than polymerized surface. Ensure you’re applying very thin coats of oil and baking at a high enough temperature for long enough. You might need to re-clean and re-season, focusing on building multiple thin layers.