To season a new Blackstone grill, you’ll apply thin layers of high-smoke-point oil to the griddle surface and heat it until it smokes, allowing the oil to polymerize and create a durable, non-stick coating.
This process protects your griddle from rust, makes cooking easier, and builds a better flavor profile over time for all your favorite foods.
Here’s a quick rundown of what you’ll find in this guide:
- Discover why seasoning is a **must-do step** for your new grill.
- Learn about the **best oils to use** and why they matter.
- Walk through the **simple, step-by-step process** of seasoning your griddle.
- Understand how many **layers you really need** for optimal results.
- Get tips for **maintaining your seasoning** after every cookout.
How To Season A New Blackstone Grill?
Seasoning your new Blackstone grill involves cleaning the surface, applying several thin coats of cooking oil, and heating it until the oil burns off and bonds to the griddle, creating a protective, non-stick layer.
Understanding Why Seasoning Your Blackstone Is Crucial
Think of seasoning as building a **protective shield** for your griddle. When you first get a Blackstone, the metal surface is raw, making it vulnerable to rust. We found that the initial seasoning process is vital for forming a barrier.
Beyond rust prevention, a well-seasoned griddle also becomes naturally non-stick. This means your pancakes won’t stick, and your burgers will flip with ease. Many experts say it’s the secret to **effortless cooking and cleanup** (Blackstone Products). What’s more, each layer of seasoning actually adds to the flavor of your food over time.
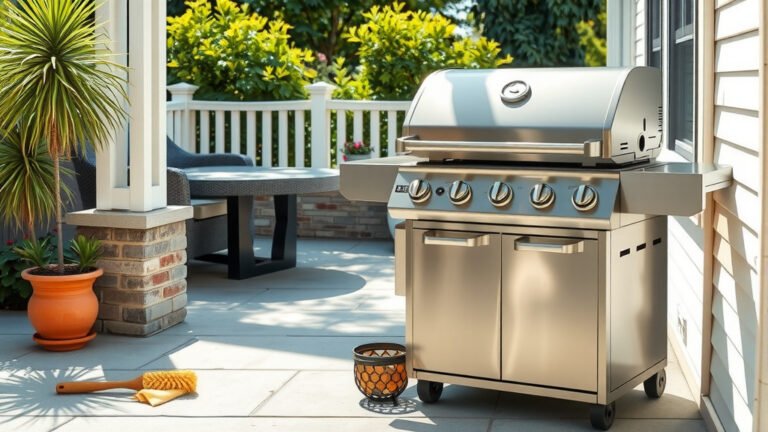
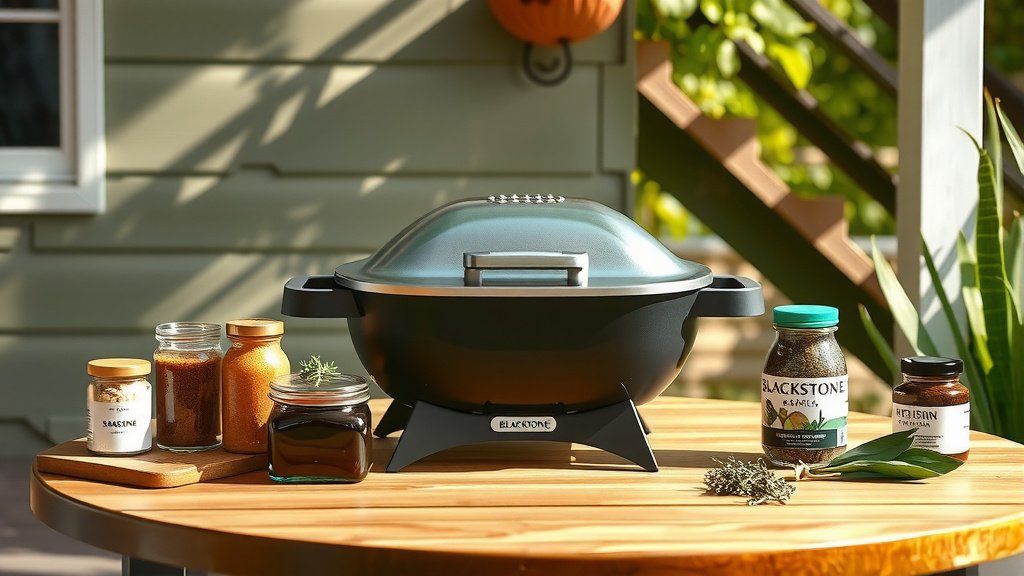
Gathering Your Seasoning Essentials
Before you start, make sure you have everything ready. This prevents interruptions and makes the process smooth. You’ll need paper towels or a clean cloth, a griddle scraper, and your chosen cooking oil. Having these items on hand ensures you can **complete each step efficiently**.
Choosing the Right Oil for Your Blackstone
The type of oil you use makes a big difference. You need an oil with a **high smoke point**, which means it can withstand high temperatures without burning too quickly. Research often connects these oils to better polymerization (University of California, Davis).
Common choices include flaxseed oil, grapeseed oil, avocado oil, and canola oil. Each has its own benefits, but the key is that they can endure the heat necessary to bond with the griddle surface. We found that a good high smoke point oil creates a **stronger, more durable seasoning**.
| Oil Type | Smoke Point (Approx.) | Notes for Seasoning |
|---|---|---|
| Flaxseed Oil | 225°F (107°C) | Forms a very hard, durable layer. Some find it prone to flaking if applied too thick. |
| Grapeseed Oil | 420°F (216°C) | Excellent all-rounder. High smoke point, relatively neutral flavor. |
| Avocado Oil | 520°F (271°C) | Highest smoke point. Great for very high heat seasoning. |
| Canola Oil | 400°F (204°C) | Widely available and cost-effective. A solid choice for beginners. |
| Vegetable Oil | 400°F (204°C) | Similar to canola, a good general-purpose option for seasoning. |
The First Clean: Preparing Your Griddle
Even though your griddle is new, it needs a good initial cleaning. Manufacturers often apply a **protective coating to prevent rust** during shipping. You’ll want to remove this.
Use hot, soapy water and a soft cloth to gently wash the griddle surface. Rinse it thoroughly to remove all soap residue. Then, dry it completely to **prevent any water spots or flash rust** from forming immediately (Blackstone Grills Official Guide).
Firing Up Your Blackstone for Seasoning
Once clean and dry, it’s time to fire up your grill. Turn all burners to medium-high heat. Allow the griddle to heat up evenly until it starts to discolor, turning a **darker shade or even bluish**. This means it’s ready for the oil.
You’ll notice the original protective coating burning off, possibly with some smoke. This is normal. Let it continue heating for about 10-15 minutes to **ensure uniform heat distribution** across the entire surface.
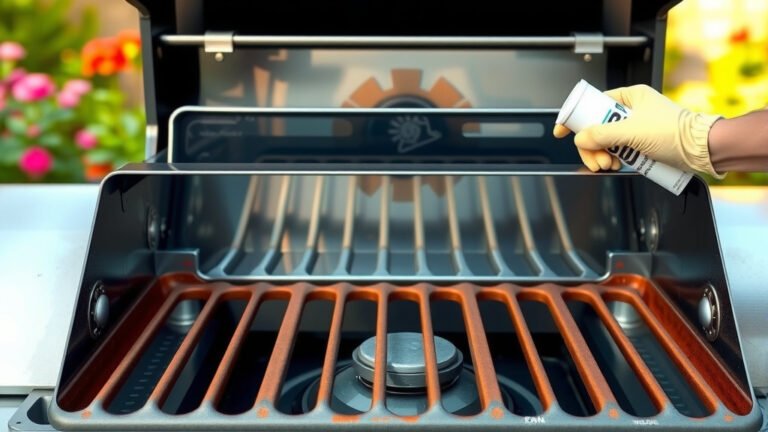
Applying the First Thin Layer of Oil
Now for the main event! Apply about two tablespoons of your chosen oil directly onto the hot griddle surface. Use paper towels held with tongs to spread the oil across the entire griddle, **from edge to edge**. Make sure to get the sides too.
The key here is *thinness*. You want a coat so thin that it almost looks dry. Many experts emphasize that **less is more** when applying oil for seasoning (Griddle Master forums). Too much oil will create a sticky, gummy surface.
Burning Off and Repeating the Process
Once the oil is spread thinly, let the griddle continue heating. The oil will start to smoke heavily. This is the **polymerization process in action**, where the oil bonds with the metal. Let it smoke until it completely stops.
Once the smoke stops, the griddle will have a darker, almost black finish. This indicates the oil has properly bonded. Turn off the burners, let it cool for 10-15 minutes, and then repeat the entire oiling and smoking process. We found that **3-5 layers are generally ideal** for a robust initial seasoning.
The Importance of Multiple Thin Coats
Why so many layers? Each thin layer of oil that polymerizes adds to the durability and non-stick properties. Think of it like painting a fence; one coat isn’t enough to protect it properly. Many guidelines point to **successive thin layers** as the best approach for a long-lasting finish (The Griddle Guys). This builds a thick, uniform, and incredibly strong seasoning.
Cooling Down and Final Inspection
After your final seasoning layer has smoked off and cooled, turn off the burners. Let the griddle cool completely to room temperature. This allows the seasoning to fully set and harden. Once cool, inspect the surface. It should be **dark, smooth, and slightly shiny**.
If you see any sticky spots, it means you applied too much oil in that area. You can usually fix this by applying a very thin layer of oil to the sticky spot and heating it again until it smokes completely. A good seasoning feels **dry and slick to the touch**.
First Cook Prep: A Little Extra Love
Before your very first cook, we suggest applying one more *super thin* layer of cooking oil. Just enough to give the surface a **slight sheen, but not wetness**. This acts as a fresh barrier for your inaugural meal.
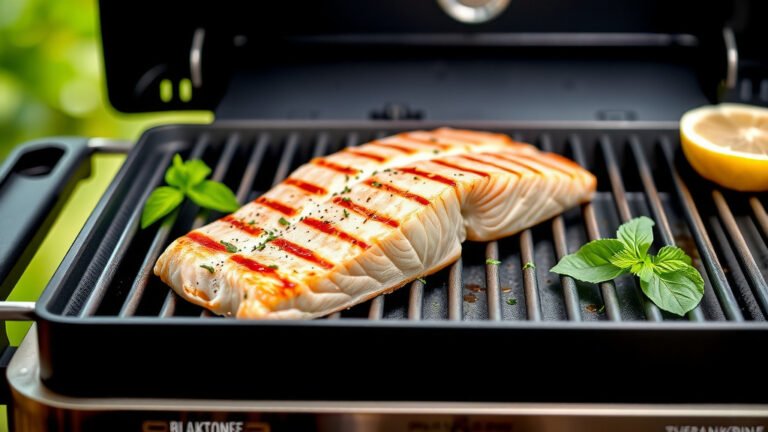
Your griddle is now ready for action! Your first few cooks are also part of the seasoning process. Foods with higher fat content, like bacon or smash burgers, will further **enhance and deepen your griddle’s seasoning**.
Seasoning Checklist for Success
- Clean griddle with soap and water (first time only).
- Dry completely to prevent rust.
- Heat griddle to medium-high until it darkens.
- Apply a very thin layer of high-smoke-point oil.
- Heat until the oil stops smoking.
- Repeat oiling and smoking 3-5 times.
- Allow griddle to cool completely.
Maintaining Your Blackstone Griddle’s Seasoning
Seasoning isn’t a one-and-done deal. It’s an ongoing relationship with your griddle. After each cook, gently scrape off any food residue, then wipe the surface clean with paper towels. You might use a little water if needed, but always ensure to dry it immediately.
After cleaning, apply another very thin layer of cooking oil to the still-warm griddle. This helps to **replenish the protective layer** and keeps your griddle ready for its next use. Consistent care will ensure your seasoning lasts for years.
Conclusion
Seasoning your new Blackstone grill is a simple yet vital step to ensure its longevity and performance. By following these steps, you create a robust, non-stick surface that will make cooking a joy and cleaning a breeze. Remember, patience and thin layers are your best friends in this process. With a properly seasoned griddle, you’re not just cooking; you’re **creating delicious memories** that taste even better on a well-cared-for surface. So go ahead, get that griddle seasoned, and start grilling!
What kind of oil is best for Blackstone seasoning?
For Blackstone seasoning, oils with a high smoke point are best, such as flaxseed oil, grapeseed oil, avocado oil, canola oil, or vegetable oil. These oils can withstand the high heat needed to polymerize and bond effectively with the griddle surface, creating a durable seasoning layer.
How many times should I season a new Blackstone griddle?
You should season a new Blackstone griddle about 3 to 5 times for the initial seasoning. Each layer adds to the durability and non-stick properties, building up a strong, protective coating that will last.
Why is my Blackstone griddle sticky after seasoning?
If your Blackstone griddle feels sticky after seasoning, it typically means you applied too much oil. The excess oil didn’t fully polymerize and instead created a gummy residue. To fix this, apply a very thin layer of fresh oil over the sticky area and heat it until it smokes off completely.
Can I use butter or olive oil to season my Blackstone?
It’s not recommended to use butter or olive oil for initial seasoning. Butter has a very low smoke point and will simply burn, while extra virgin olive oil also has a relatively low smoke point and can leave a sticky residue. Stick to high-smoke-point oils for best results.
How do I maintain my Blackstone griddle’s seasoning after cooking?
To maintain your griddle’s seasoning after cooking, scrape off food debris with a griddle scraper, then wipe the surface clean with paper towels. If needed, a little water can be used, but always dry it immediately. Finish by applying a very thin coat of high-smoke-point cooking oil to the still-warm griddle before storage.