
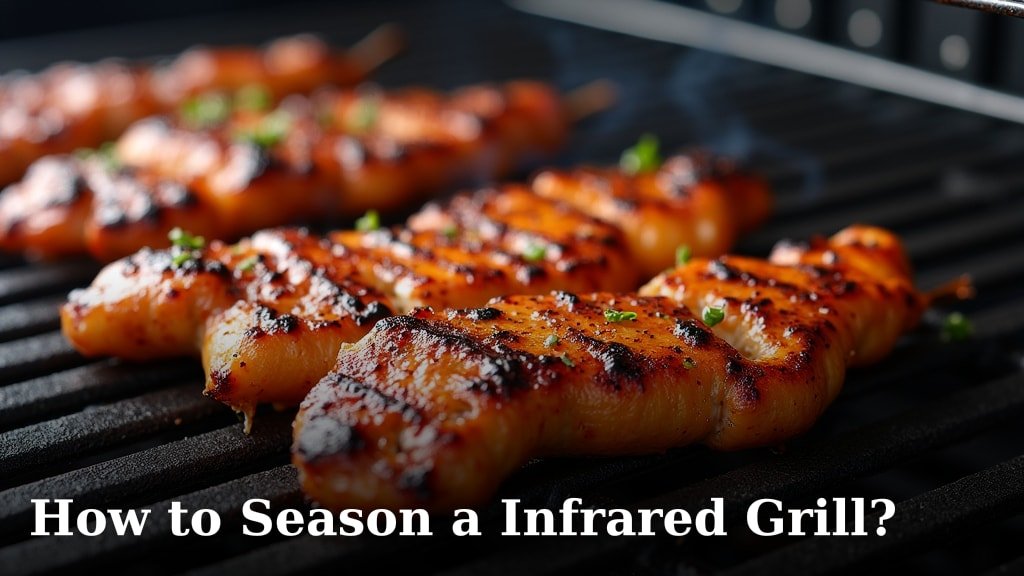
To properly season an infrared grill, you will first need to clean the grates thoroughly, then apply a thin, even coat of high-heat cooking oil, and finally, heat the grill for about 20-30 minutes until the oil bakes onto the surface. This process creates a non-stick layer and helps prevent rust, making your first grilling experience much better.
You’ve invested in an infrared grill for its superior searing and even heat. So, it makes sense to prepare it right. Skipping the seasoning step can lead to food sticking and a shorter lifespan for your grates. We found that a good seasoning ritual ensures your grill is ready to deliver those perfectly cooked meals you’re looking for.
- Clean your grill grates well.
- Apply a thin layer of high-heat oil.
- Heat the grill to bake on the oil.
- This forms a protective, non-stick layer.
- Repeat for best results.
Ready to get that infrared grill in prime cooking condition? Let’s walk through exactly how to season it, step by step, ensuring you get the most out of your new cooking tool.
Preparing Your Infrared Grill for Its First Use
Getting your new infrared grill ready for action means more than just unboxing it. You want to create a protective layer. This layer does two important things: it makes the surface non-stick and helps prevent rust. Think of it like seasoning a cast-iron pan; it gets better with age and use. We found that a little effort upfront saves a lot of headaches later, like food sticking to the grates.
Understanding Why Seasoning Matters for Infrared Grills
You might wonder if seasoning an infrared grill is different from a regular gas grill. The short answer is yes, somewhat. Infrared grills often have different grate materials, and their intense heat benefits greatly from a good seasoning. The high heat of infrared can make food stick if the grates aren’t prepared. A well-seasoned grate means You might also be interested in how to season an electric grill, as the process shares some similarities.easier cleaning and better cooking performance right from the start.
What Exactly Is Seasoning?
Seasoning isn’t just oiling the grill. It’s a process where oil bakes onto the metal surface, creating a polymerized layer. This layer fills in tiny imperfections on the grate, making it smoother and less prone to sticking. It also acts as a barrier against moisture, which helps prevent rust. You’re essentially building a thin, non-stick shield on your grates.
The Benefits You’ll Enjoy
Once you’ve seasoned your grill, you’ll immediately notice benefits. Your food will release easily, those beautiful sear marks will appear, and cleanup will be much simpler. Plus, a seasoned grill is a happier, more durable grill. We found that grill owners who regularly season their grates report fewer issues with food sticking and longer grate life.
Gathering Your Essential Tools and Supplies
Before you start, make sure you have everything you need. This isn’t a complex process, but having the right tools makes it smoother. You’ll need cleaning supplies and the right kind of oil. Don’t skip this step; using the wrong oil can lead to a sticky mess instead of a protective layer.
Cleaning Supplies You’ll Need
First, you need to start with a clean slate. Any factory oils or debris need to go. Grab a stiff wire brush or a grill brush with a scraper. Some grill owners prefer a nylon brush to avoid scratching. You’ll also want some dish soap, warm water, and a few clean rags or paper towels. Make sure to rinse thoroughly to remove all soap residue.
Choosing the Right Oil for Seasoning
This is where it gets important. You need a high-smoke-point cooking oil. Olive oil, for example, is not a good choice because it will burn and leave a sticky residue. We found that oils like grapeseed oil, canola oil, flaxseed oil, or even vegetable shortening work best. These oils can handle the high temperatures of an infrared grill without breaking down quickly. Flaxseed oil is a favorite for creating a very durable seasoning, but it can be a bit more expensive.
| Oil Type | Smoke Point (approx.) | Notes for Seasoning |
|---|---|---|
| Grapeseed Oil | 420°F (215°C) | Neutral flavor, widely available. Good all-around choice. |
| Canola Oil | 400°F (204°C) | Inexpensive, readily available. Very common choice. | Vegetable Shortening | 360°F (182°C) | Good for creating a solid base layer. Easy to apply. |
| Flaxseed Oil | 225°F (107°C) | Lower smoke point, but creates a very hard, durable seasoning. Apply thinly. |
The Step-by-Step Seasoning Process
Ready to get your hands a little oily? This process is straightforward, but attention to detail makes all the difference. We’ll guide you through each step, making sure your grill is perfectly prepped.
Step 1: Thoroughly Clean the Grates
Even if your grill is brand new, clean the grates. There might be manufacturing residues or dust. Use warm water and dish soap, scrubbing with your brush. Rinse the grates completely. Any soap left behind can cause issues when you heat the grill. Dry them thoroughly with a clean cloth or paper towels. You want them bone dry before applying oil to prevent rust.
Step 2: Apply a Thin, Even Layer of Oil
This is crucial: less is more. Dip a paper towel into your chosen high-smoke-point oil. Lightly coat all surfaces of the grates. Think of it like applying a very thin layer of polish, not a thick coat of paint. If you use too much oil, it will become gummy and sticky instead of creating a smooth, protective layer. We found that a barely visible sheen is what you’re aiming for.
Step 3: Heat Your Infrared Grill to Bake the Oil On
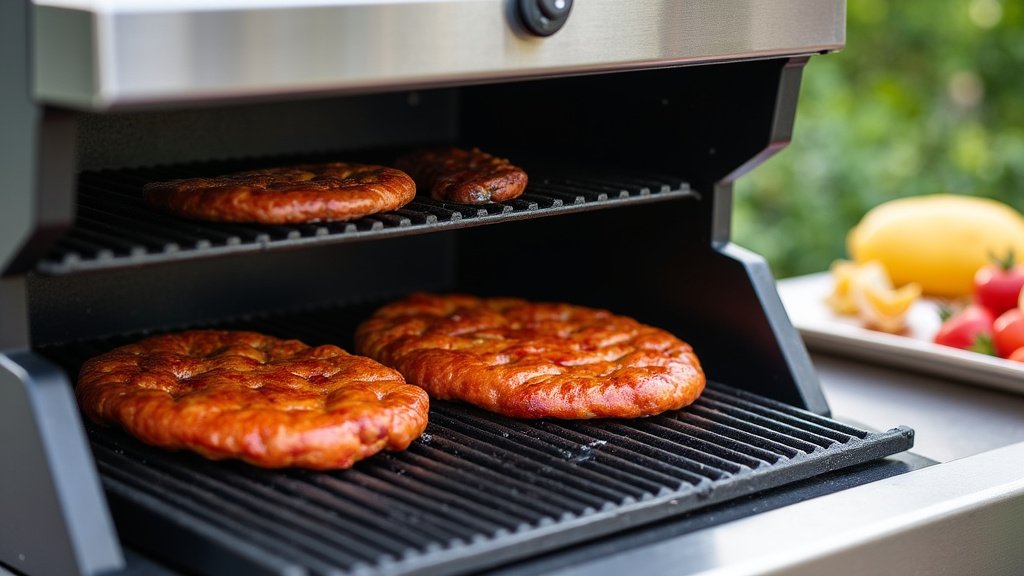
Place the lightly oiled grates back into your infrared grill. Close the lid. Turn all burners to high heat. Let the grill run for about 20-30 minutes. You might see some smoke – that’s normal. It means the oil is polymerizing and baking onto the grates. This is the magic happening, creating that non-stick surface. After 20-30 minutes, turn off the grill and let it cool completely.
Step 4: Repeat for Optimal Results
For the best seasoning, especially with a new grill, we recommend repeating the oiling and heating process two to three more times. This builds up a stronger, more durable protective layer. After the first cool-down, reapply a very thin layer of oil, heat for another 20-30 minutes, and cool again. Each cycle adds to the seasoning’s effectiveness. You’re building up layers, just like seasoning a good cast iron skillet.
Tips for Maintaining Your Seasoned Grates
Seasoning isn’t a one-and-done deal. To keep your infrared grill in top shape, ongoing care is important. A little maintenance after each use will prolong the life of your seasoning and ensure fantastic results every time.
After Each Use: A Quick Clean and Re-Oil
Once you’re done grilling, let the grates cool slightly but still warm. Use a grill brush to remove any food particles. Then, apply another very thin layer of high-heat oil. This helps maintain the seasoning and protects against rust until your next cookout. This is called a “maintenance seasoning” and is key to long-term grate health.
Avoid Harsh Cleaners
Resist the urge to use harsh detergents or abrasive cleaners on your seasoned grates. These can strip away the protective layer you’ve worked so hard to build. A gentle scrub with warm water (no soap!) and a soft brush is usually all you need for stubborn bits. Remember, you want to preserve that non-stick finish.
Seasoning Checklist
To make sure you hit all the marks, here’s a quick checklist:
- Clean grates thoroughly with soap and water (first time only).
- Dry grates completely to prevent rust.
- Apply a very thin, even coat of high-smoke-point oil.
- Heat grill to high for 20-30 minutes until oil bakes on.
- Allow grill to cool down completely.
- Repeat oiling and heating 2-3 more times for best results.
- Perform a light re-oiling after each use.
Conclusion
You now have all the knowledge to properly season your infrared grill. Remember, a little effort in cleaning and oiling creates a non-stick surface and prevents rust. This simple process ensures your grill delivers those perfect sear marks and makes cleanup a breeze. Think of it as investing in better meals and a longer-lasting grill. Get ready to enjoy perfectly cooked food for years to come!
Frequently Asked Questions
How often should I re-season my infrared grill?
After the initial seasoning, you should perform a light “maintenance seasoning” after each use. Simply brush off food debris while the grates are warm, then apply a very thin layer of high-heat oil. This keeps the protective layer strong.
Can I use cooking spray to season my infrared grill?
We recommend against using most cooking sprays for initial seasoning. They often contain propellants and additives that can leave a gummy residue. Stick with liquid high-smoke-point oils applied with a paper towel for the best results.
What if my grill grates start to rust even after seasoning?
If rust appears, it usually means the seasoning layer isn’t thick enough or was compromised. Thoroughly clean the rust off with a wire brush, then repeat the full seasoning process multiple times. Ensure grates are completely dry before oiling.
Will seasoning affect the flavor of my food?
Proper seasoning should not impart any flavor to your food. The oil polymerizes and bakes onto the metal, creating a neutral, non-stick surface. If you notice an odd taste, it might be due to excess oil burning off, so ensure thin coats.
Can I season my infrared grill in very cold weather?
Yes, you can season your grill in cold weather, but it might take slightly longer to reach the necessary temperature. Ensure you have adequate ventilation and monitor the grill closely. The process remains the same: clean, oil, and heat until the oil bakes on.
