
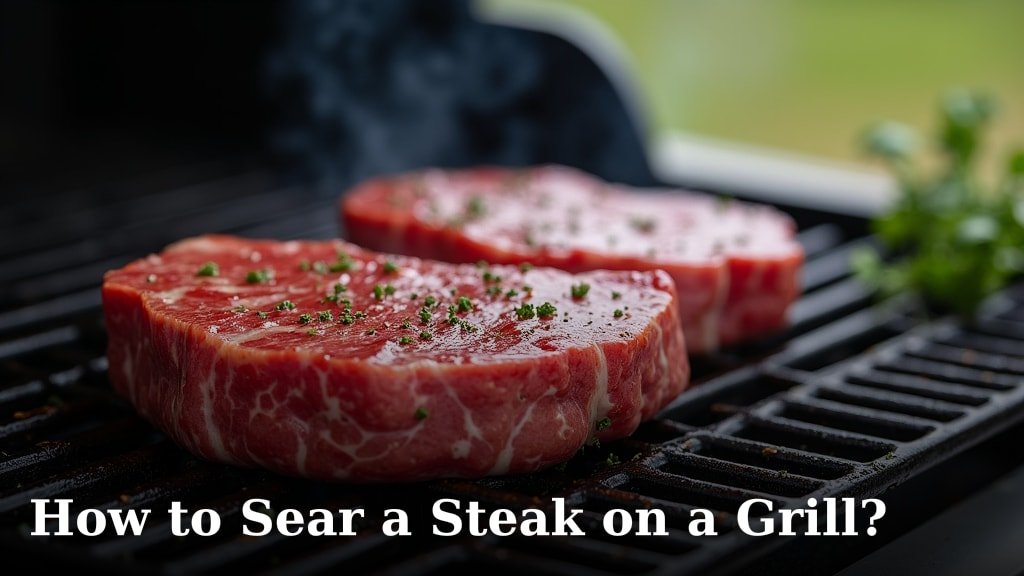
The easiest way to sear a steak on a grill is by using two-zone grilling, creating both a high-heat and a lower-heat area. This method lets you achieve a perfectly browned crust and a juicy, evenly cooked interior. You’ll get that restaurant-quality sear right in your backyard.
Achieving a beautiful sear means you are building incredible flavor on the outside of your steak. It’s all about creating the Maillard reaction, which gives you those craveable, crispy bits. We found that managing your grill’s temperature is key to avoiding burnt exteriors and raw centers. It makes all the difference.
- Mastering your grill’s heat.
- Understanding the science of searing.
- Getting a perfect crust every time.
- Ensuring a juicy, tender inside.
- Avoiding common grilling mistakes.
Ready to turn your next steak into a masterpiece? Let’s walk through exactly how to sear a steak on a grill, step by step.
Grilling Your Steak for a Perfect Sear
You want to achieve that beautiful, crispy crust on your steak, right? This process starts with understanding your grill and the heat it produces. It’s all about control.
Preparing Your Grill for Two-Zone Cooking
Two-zone grilling is your secret weapon. It allows you to create different temperature areas on your grill. This setup is key for searing without burning your steak.
Setting Up a Charcoal Grill
For charcoal, pile most of your coals on one side of the grill. This creates your high-heat zone. Leave the other side empty for your lower-heat zone. You’ll use this for gentle, indirect cooking (Cleveland Clinic).
Setting Up a Gas Grill
On a gas grill, turn one or two burners to high. These will be your searing zones. Keep the other burners on low, or even off, for your indirect cooking zone. This gives you flexibility.
Choosing the Right Steak Thickness
Thickness matters for searing success. A steak that’s too thin can cook through before a crust forms. We found that a steak around 1.5 inches thick works best. This gives you enough time to develop a good sear.
Preparing Your Steak for Maximum Flavor
The right preparation can make a huge difference in your final result. Don’t skip these steps. They build layers of flavor and help with the sear.
Patting Your Steak Dry
This is crucial. Moisture on the surface of your steak will steam, not sear. Use paper towels to pat both sides thoroughly dry. You want it as dry as possible for that golden-brown crust.
Seasoning Your Steak Generously
Seasoning isn’t just for taste; it also helps with the sear. A generous amount of coarse salt and black pepper is usually all you need. You can also add garlic powder or onion powder if you like. Apply it right before grilling.
The Searing Process: Step-by-Step
Now for the main event: searing. This is where you get that incredible crust. Follow these steps carefully to avoid common mistakes.
Preheating Your Grill
High heat is non-negotiable for a good sear. Preheat your high-heat zone until it’s screaming hot. For a gas grill, this might mean 10-15 minutes. For charcoal, wait until the coals are glowing orange with a light ash layer.
Searing Each Side
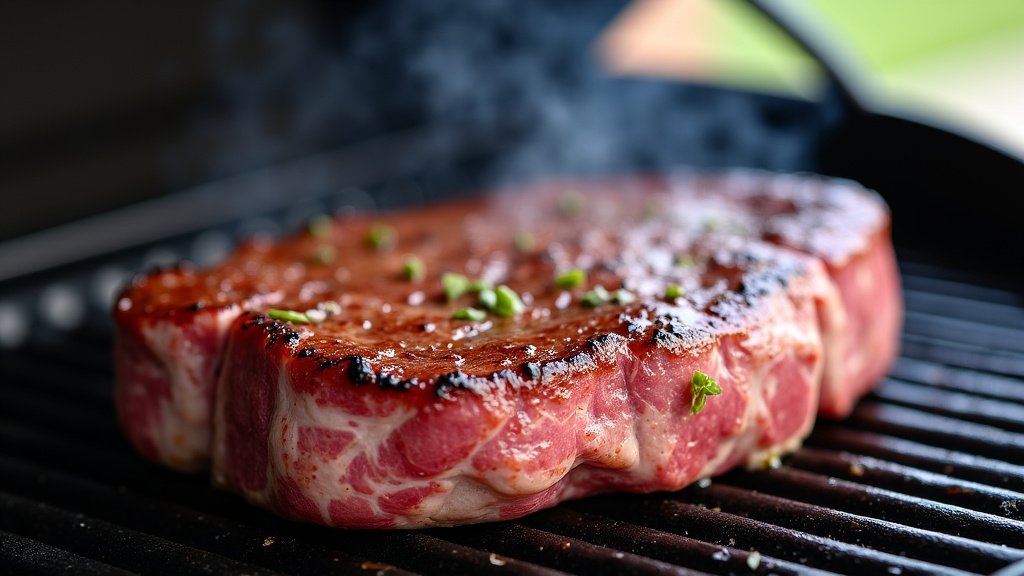
Place your dry, seasoned steak directly over the high-heat zone. Listen for that satisfying sizzle. Sear for 2-4 minutes per side. Don’t move it around too much! Let it sit to develop that crust. Use tongs to flip it once.
Moving to the Indirect Zone
After searing both sides, move your steak to the lower-heat, indirect zone. Close the grill lid. This allows the steak to cook through gently without burning the exterior. This is where you bring it to your desired doneness.
Monitoring Doneness and Resting Your Steak
Knowing when your steak is done is an art, but a thermometer makes it science. Resting is just as important as cooking.
Using a Meat Thermometer
This is your most reliable tool. Insert the thermometer into the thickest part of the steak, away from any bones. Here’s a quick guide to internal temperatures (USDA):
| Doneness | Internal Temp | Post-Rest Temp |
|---|---|---|
| Rare | 120-125°F | 125-130°F |
| Medium-Rare | 125-130°F | 130-135°F |
| Medium | 130-135°F | 135-140°F |
| Medium-Well | 140-145°F | 145-150°F |
| Well-Done | 150°F+ | 155°F+ |
Why Resting is Essential
When you cook meat, the juices move to the center. Resting allows these juices to redistribute throughout the steak. This makes for a much juicier, more tender bite. Tent it loosely with foil for 5-10 minutes. Resist the urge to cut into it early!
Troubleshooting Common Searing Mistakes
Even pros make mistakes. Knowing what to watch out for can save your steak. Don’t get discouraged if your first try isn’t perfect.
Steak Not Searing?
Is your grill hot enough? This is the most common issue. Make sure your grill is blazing hot before the steak goes on. Also, ensure your steak is thoroughly dry. Remember, moisture prevents searing.
Steak Burning Before Cooking Through?
This usually means your high-heat zone is too intense, or your steak is too thin. Make sure you move it to the indirect zone quickly after searing. A thicker steak (1.5 inches) helps with this balance.
Steak is Tough or Dry?
You probably overcooked it. Use a meat thermometer every time. Also, not resting your steak can lead to dryness. Give it that crucial 5-10 minute rest.
Your Searing Checklist
Keep this handy checklist in mind for your next grilling adventure. It covers the essentials for a perfect seared steak every time.
- Set up your grill for two-zone cooking.
- Pat your steak super dry with paper towels.
- Season generously right before grilling.
- Preheat your high-heat zone until it’s very hot.
- Sear each side for 2-4 minutes over direct heat.
- Finish cooking in the indirect zone to your desired doneness.
- Always rest your steak for 5-10 minutes.
Conclusion
You now have all the tools and knowledge to grill a truly exceptional seared steak. By mastering two-zone cooking and paying attention to small details like drying and seasoning, you’ll consistently achieve that perfect crust and juicy interior. We found that patience and a good meat thermometer are your best friends in this process. Don’t be afraid to experiment a little to find what works best with your specific grill.
So, fire up your grill with confidence! Go ahead and impress yourself and your guests with a perfectly seared steak this week. Your taste buds will thank you.
Frequently Asked Questions
Should I use oil on my steak before searing?
You can lightly brush your steak with a high smoke point oil, like avocado or grapeseed, just before placing it on the grill. This can help enhance the crust, but it’s not strictly necessary if your grill grates are clean and hot. The most important step is ensuring the steak itself is very dry.
What’s the best type of grill for searing a steak?
Both charcoal and gas grills can achieve an excellent sear. Charcoal often provides a higher, more intense heat and adds a smoky flavor. Gas grills offer more precise temperature control. The key is setting up a proper two-zone cooking system, regardless of your grill type.
Can I sear a frozen steak?
No, you should never sear a frozen steak. The ice crystals will create steam, preventing any browning and leading to a gray, unappetizing exterior. Always thaw your steak completely in the refrigerator before patting it dry and seasoning it for searing.
How can I tell if my grill is hot enough for searing?
For a gas grill, preheat with burners on high for 10-15 minutes until it reaches at least 500-600°F. For charcoal, wait until the coals are glowing orange with a light layer of ash. You should hear a strong sizzle immediately when the steak hits the grates.
Why is my seared steak tough?
A tough seared steak is usually a sign of overcooking. Use a meat thermometer to pull the steak off the heat a few degrees below your target doneness, as it will continue to cook while resting. Not resting the steak can also make it feel tougher, as the juices haven’t had a chance to redistribute.
