To light a smoke tube for your pellet grill, fill it with pellets, use a high-powered torch to ignite the pellets at one end until a steady flame appears, then let it burn for 5-10 minutes before blowing out the flame. This leaves a smoldering ember that produces consistent, clean smoke for hours.
Ensure a good airflow by keeping grill vents open and placing the smoke tube strategically within your pellet grill, usually opposite the heat source, to infuse your food with delicious smoky flavor.
TL;DR: Quick Smoke Tube Setup Guide
- Fill the Tube: Pack your smoke tube with wood pellets, leaving some space at the top.
- Ignite with Torch: Use a propane torch to light one end until a strong flame forms.
- Burn Time: Let it burn brightly for 5-10 minutes to establish a good ember bed.
- Blow it Out: Gently blow out the flame, ensuring only smoke is coming out.
- Position in Grill: Place the tube inside your preheated pellet grill and enjoy the added smoke.
How To Light A Smoke Tube For Pellet Grill?
Lighting a smoke tube for your pellet grill means getting those wood pellets to smolder consistently. This process gives your food that extra smoky flavor you crave.
Why Add a Smoke Tube to Your Pellet Grill?
Many pellet grills do a great job cooking, but sometimes they lack that deep, smoky punch. A smoke tube fixes this, delivering a constant stream of pure wood smoke to your food (Texas A&M AgriLife Extension).
You get more control over the intensity of smoke. This is especially useful for shorter cooks where your grill might not produce enough smoke on its own.
Choosing Your Smoke Tube
Smoke tubes come in various shapes and sizes. You can find round ones, square ones, and even “V” shaped tubes. We found that the shape often comes down to personal preference and how it fits your grill.
Consider the material; most are stainless steel. This ensures durability and helps them withstand high temperatures in your grill.
| Smoke Tube Type | Shape | Smoke Duration | Best For |
|---|---|---|---|
| Round Tube | Cylindrical | 2-4 hours | Versatile, easy to fit |
| Square/Hexagon Tube | Angled Sides | 3-5 hours | Stable, less rolling |
| “V” Tube | V-shaped | 4-6 hours | Maximizes pellet capacity |
Selecting the Right Pellets
Your choice of wood pellets greatly impacts the flavor profile. Applewood is sweet and mild, while hickory offers a stronger, traditional smoke taste. Cherry provides a subtle fruitiness, often complementing poultry.
Experiment with different types. Many experts suggest matching the wood to the meat, like oak for beef or pecan for pork (Weber Grill Academy).
Always use food-grade wood pellets designed for smoking. Never use heating pellets, as they can contain binders and other impurities.
Getting Ready: Your Pre-Lighting Checklist
- Ensure your smoke tube is clean and free of old ash.
- Gather your preferred wood pellets.
- Have a reliable high-powered torch ready.
- Keep a fire-resistant surface or bucket of water nearby for safety.
- Position your grill in a well-ventilated area.
The Lighting Process: Step-by-Step Guidance
Lighting a smoke tube is simple once you know the steps. It’s all about getting a good, sustained ember without a flame.
Step 1: Fill Your Smoke Tube
Carefully pour your chosen wood pellets into the tube. Don’t pack them too tightly. Leave about an inch or so of space from the top.
This space is important for airflow. Good airflow helps the pellets burn evenly and prevents them from extinguishing prematurely.
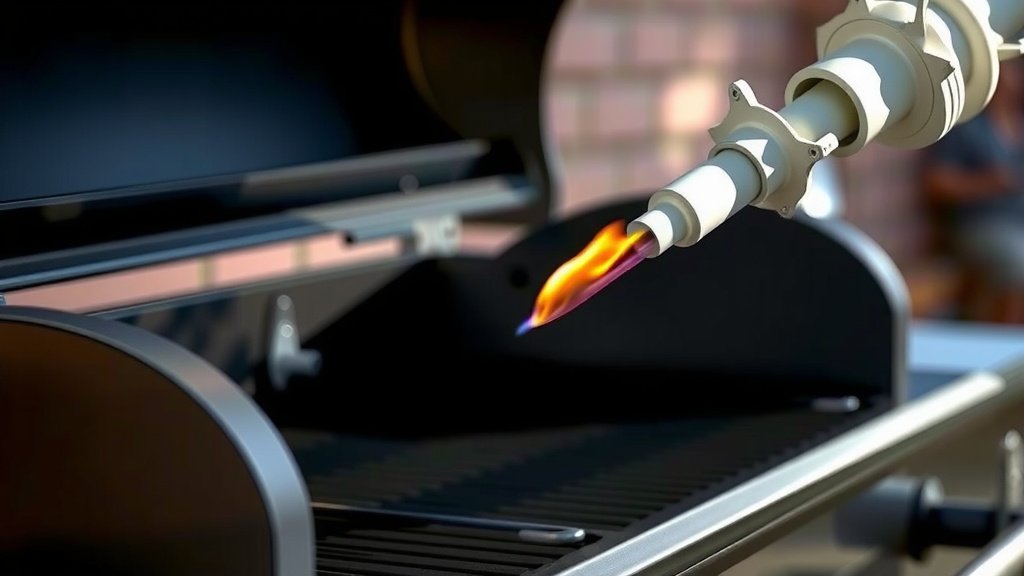
Step 2: Ignition with a Torch
Use a quality butane or propane torch. Aim the flame directly at one end of the pellets. You want to see a bright, consistent flame erupt.
Hold the torch there for several minutes. We found that 6-10 minutes is often ideal to get a really good, deep burn going (Amazing Ribs).
You might see some white smoke initially. That’s normal as the pellets begin to catch fire.
Step 3: Establish the Ember Bed
After you remove the torch, the flame should continue burning on its own. Let it burn for another 5-10 minutes. This creates a strong bed of embers.
This critical step ensures the pellets will keep smoldering. Many people rush this, which can lead to the tube going out too soon.
Step 4: Blow Out the Flame
Now, gently blow out the open flame. You want to see thick, white smoke billowing out of the tube, not fire.
If you still see a small flame, give it another gentle blow. The goal is a steady stream of smoke, indicating a controlled smolder.
Step 5: Place in Your Pellet Grill
Carefully place the smoldering smoke tube inside your pellet grill. We often place it on the grates, away from the direct heat source. Some prefer it on the bottom shelf.
Ensure there’s good air circulation around the tube. This prevents it from suffocating and stopping its smoke production.
Close your grill lid and let the magic happen. The consistent smoke will begin to infuse your food.
Troubleshooting Common Lighting Issues
Sometimes, your smoke tube might not light easily or go out too quickly. Don’t worry, it happens.
If it won’t light, ensure your torch is full and has a strong flame. Wet pellets can also be an issue; always store them in a dry place.
If it goes out, check for airflow. Is the tube packed too tight? Is your grill vent open? Re-light if needed, giving it more burn time initially.
Maintaining Your Smoke Tube for Best Performance
A little care goes a long way. After each use, let the tube cool completely. Then, dump out any remaining ash.
A quick brush-out or rinse helps keep the air holes clear. This prevents buildup that could affect airflow and smoke production over time.
Pro Tips for Amazing Smoke Flavor
Always preheat your pellet grill before adding the smoke tube. A stable temperature helps the smoke circulate better.
Many grillers found that using a lighter smoke wood for longer cooks prevents bitterness. You don’t want to overpower your food.
Positioning is key: experiment to see what works best in your specific grill. Some folks like it closer to the food, others further away for a more subtle infusion.
Conclusion
Lighting a smoke tube might seem like an extra step, but it’s a simple way to elevate your pellet grill cooking. By following these clear steps, you ensure a consistent, clean smoke that transforms your barbecue.
Remember, a good torch, proper initial burn, and adequate airflow are your best friends. Now, go fire up that tube and enjoy the amazing flavors you’ll create!
FAQs About Lighting a Smoke Tube
How long does a smoke tube typically smoke for?
A fully packed smoke tube can produce smoke for about 2-5 hours, depending on its size, the type of pellets used, and the ambient temperature inside your grill. Larger tubes generally offer longer smoke times.
Can I reuse pellets in a smoke tube?
No, it’s best not to reuse pellets. Once pellets have been burned or partially burned, their flavor compounds are mostly gone. Using fresh pellets ensures the best quality and most consistent smoke flavor for your food.
Do I need to soak wood pellets before putting them in the smoke tube?
No, you should never soak wood pellets. Unlike wood chips, pellets are compressed sawdust and will turn into mush if soaked. They are designed to be used dry for efficient and clean burning smoke.
Can I use a smoke tube for cold smoking?
Yes, smoke tubes are excellent for cold smoking. Since they produce smoke without significant heat, you can use them in a grill or dedicated cold smoker to add smoky flavor to cheeses, nuts, or fish without cooking them.
What kind of torch is best for lighting a smoke tube?
A small propane torch, like those used for plumbing or crème brûlée, is ideal. Its focused, high-temperature flame ignites the pellets quickly and effectively, ensuring a deep and lasting ember bed.