
The easiest way to light a charcoal grill is by using a chimney starter. You simply fill the chimney with charcoal, place some kindling underneath, and light it. This method gets your coals hot and ready for grilling quickly and efficiently, leaving you more time to enjoy your cookout. No lighter fluid is needed, which means better-tasting food.
You might be wondering how to get that perfect, even heat for your burgers and steaks. We found that a proper lighting technique sets the foundation for a successful grilling experience. By understanding the basics, you can master your grill and enjoy delicious, perfectly cooked meals every time. It’s simpler than you think to get those coals glowing just right.
TL;DR:
- Use a chimney starter for best results.
- Avoid lighter fluid for better flavor.
- Stack charcoal correctly in the chimney.
- Ensure proper airflow for ignition.
- Wait for coals to be fully ash-covered before spreading.
Ready to fire up that grill? Let’s walk through exactly how to light a charcoal grill so you can impress your friends and family with your grilling prowess.
Getting Your Charcoal Grill Lit Efficiently
Lighting a charcoal grill can seem daunting at first glance. But with the right tools and technique, you’ll have those coals glowing in no time. We found that the key is a good chimney starter and understanding how to use it.
Understanding Your Tools: The Chimney Starter
What exactly is a chimney starter? It’s a simple metal cylinder designed to get your charcoal hot quickly and evenly. Think of it as a small, portable furnace for your briquettes. It works by creating a draft, pulling air up through the charcoal to fan the flames.
Using a chimney starter means you avoid harsh chemical smells and flavors from lighter fluid. Your food will taste cleaner and more natural. Plus, it’s much safer as you’re not spraying flammable liquid near an open flame.
Why a Chimney? Speed and Flavor
Many grill masters swear by chimney starters for their efficiency. They get charcoal ready faster than piling it in the grill and dousing it with fluid. We found that most chimney starters will have your coals ready in about 15-20 minutes, compared to potentially longer times with lighter fluid methods.
Beyond speed, the biggest benefit is the flavor of your food. Lighter fluid can leave a chemical residue that taints your delicious steak or burgers. With a chimney starter, your charcoal burns clean, ensuring pure, smoky flavors.
The Essential Supplies You’ll Need
Before you even think about lighting, gather your ingredients. Having everything ready makes the process smooth and safe. There’s nothing worse than realizing you forgot something crucial mid-light.
- A chimney starter (the right size for your grill)
- Charcoal (briquetttes or lump charcoal)
- Kindling (newspaper, paper towels, or fire starters)
- Long-handled lighter or matches
- Heat-resistant gloves
- Tongs (long ones are best)
Always make sure you have enough charcoal for your cooking needs. Running out in the middle of grilling is a total bummer! Plan ahead based on what you’re cooking and how long you expect to grill.
Step-by-Step: How to Use a Chimney Starter
Now for the main event! Lighting charcoal with a chimney starter is straightforward, and we’ll walk you through each step. You’ll be a pro in no time.
Filling Your Chimney Starter
First, place a few sheets of crumpled newspaper or a couple of fire starter cubes at the bottom of your chimney starter. This is your kindling. Don’t overdo it; a few pieces are plenty. Then, fill the top section with your desired amount of charcoal.
How much charcoal do you need? This depends on what you’re cooking. For direct grilling of burgers or hot dogs, you’ll want a full chimney. For longer, slower cooks, you might use less charcoal, adding more later if needed.
Setting Up for Ignition
Place the charcoal-filled chimney starter on a heat-proof surface. The bottom grate of your charcoal grill is an ideal spot. You want a stable, non-flammable area. Never light it on a wooden deck or near anything that can catch fire.
Once positioned, carefully light the kindling at the bottom of the chimney. The flames will naturally draw up through the charcoal. This is the magic of the chimney acting like a small furnace, creating that essential airflow.
The Waiting Game: When Are Coals Ready?
Now comes the waiting part. As the kindling burns, you’ll see smoke and then flames emerging from the top of the charcoal. Don’t spread the coals yet! Wait until the top layer of charcoal is mostly covered in a light gray ash. This usually takes 15-20 minutes.
A good indicator is when the coals are glowing orange-red at the bottom and are starting to turn ash-white on top. This even ash layer means your coals are hot and ready to provide consistent heat for cooking.
Transferring the Hot Coals to Your Grill
Once your coals are fully ash-covered, it’s time to safely transfer them. This is where those heat-resistant gloves and tongs come in handy. Safety first, always!
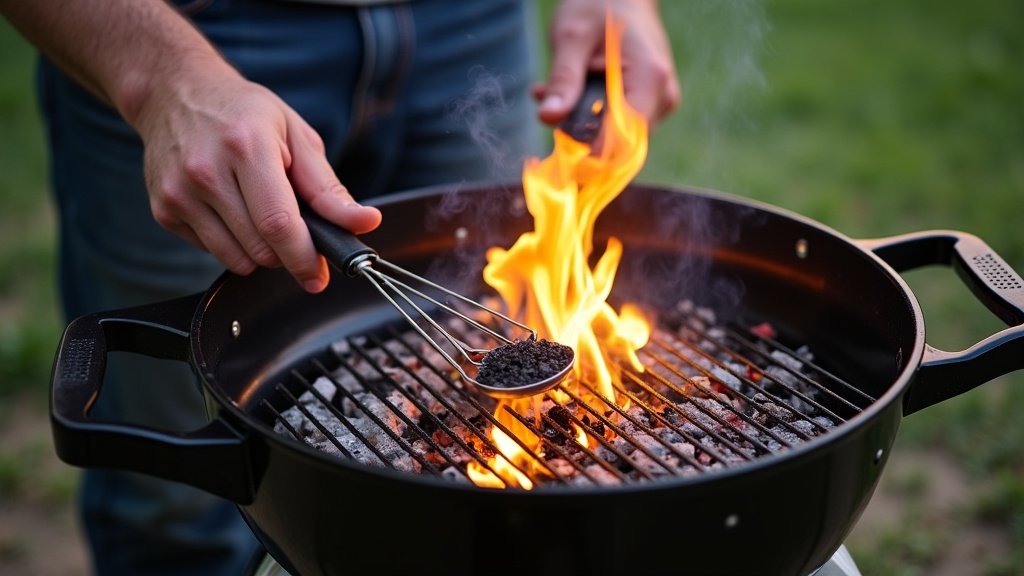
Carefully pick up the chimney starter. Many models have a second, smaller handle for better control. Gently pour the hot coals into your grill. You can arrange them for direct or indirect heat, depending on your recipe.
Direct vs. Indirect Heat Setup
Understanding these two heat zones is crucial for versatile grilling. Direct heat means grilling food directly over the hot coals. This is great for searing and quick cooks like burgers or thin steaks.
Indirect heat involves placing coals on one side of the grill and your food on the other. This creates a cooler zone, perfect for larger cuts of meat that need longer cooking times, like roasts or whole chickens (Weber Grill Academy).
Troubleshooting Common Lighting Issues
Sometimes, things don’t go exactly as planned. Don’t worry, even experienced grillers encounter a stubborn coal or two. Here are some common issues and how to fix them.
Coals Not Catching Fire
If your coals aren’t lighting, it’s usually an airflow problem or insufficient kindling. We found that using dry kindling is super important. Damp newspaper won’t work well. Try adding more dry kindling, or ensure your grill’s vents are fully open for maximum airflow.
Coals Not Staying Hot
If your coals cool down too quickly, it might be due to a lack of oxygen. Make sure your grill’s bottom air vents are open. Airflow feeds the fire. If the vents are closed, the fire will suffocate.
Another reason could be not enough charcoal for your grilling needs, or spreading them too thin. Keep them close enough to ignite each other. You can always add more charcoal to the chimney and repeat the lighting process if needed.
Charcoal Types: Briquettes vs. Lump Charcoal
You might be wondering about the different types of charcoal. Both briquettes and lump charcoal work great in a chimney starter, but they have some differences worth noting.
| Feature | Charcoal Briquettes | Lump Charcoal |
|---|---|---|
| Composition | Processed wood by-products, binders, additives | Pure carbonized wood (no additives) |
| Heat Output | Consistent, predictable heat | Higher, but less consistent, heat |
| Burn Time | Longer, more uniform burn | Shorter, faster burn |
| Ash Production | More ash | Less ash |
| Flavor | Neutral, consistent smoke flavor | More natural, woody smoke flavor |
Briquettes are great for beginners because they provide very consistent heat. Lump charcoal burns hotter and faster, offering a purer wood smoke flavor (National Barbecue Association). It’s often preferred by those seeking a more traditional, authentic grilling experience.
Safety First: Grilling Guidelines
Grilling is a fun activity, but safety should always be your top priority. Accidents can happen quickly if you’re not careful.
- Always grill outdoors in a well-ventilated area.
- Keep your grill a safe distance from your house, deck railings, and overhanging branches.
- Never leave a lit grill unattended, even for a moment.
- Keep children and pets away from the grill area.
- Have a fire extinguisher or a bucket of sand/water nearby.
- Only add more charcoal once the initial batch is fully burning, and do so with extreme caution.
By following these simple safety guidelines, you can ensure your grilling experience is enjoyable and worry-free. Your family and friends will thank you for taking these precautions (NFPA data shows home grilling fires peak in summer months).
Conclusion
You’re now equipped to light your charcoal grill like a seasoned pro. By using a chimney starter and avoiding lighter fluid, you ensure cleaner-tasting food and a more efficient cooking process. Remember, setting up your grill correctly is the first step to delicious meals and memorable gatherings. We found that a little preparation makes a big difference.
So, gather your supplies, fire up that chimney, and get ready to enjoy the rich, smoky flavors of perfectly grilled food. Happy grilling!
Frequently Asked Questions
Can I use a chimney starter without newspaper?
Yes, you can. Instead of newspaper, you can use specialized fire starter cubes or even a wad of paper towels. Just make sure whatever you use is dry and ignites easily to get the charcoal going.
How can I tell if my charcoal is hot enough to cook?
Your charcoal is ready when it’s mostly covered with a layer of gray ash. You should also see a consistent orange glow at the bottom. This means the coals are burning evenly and at the right temperature for cooking.
Is it okay to add new charcoal to already lit coals?
Yes, you can add unlit charcoal to your grill during a longer cooking session. Place the new charcoal near the hot coals. They will eventually catch fire and help maintain a consistent temperature. Use caution, and wear heat-resistant gloves.
What’s the best way to clean my chimney starter after use?
Allow your chimney starter to cool completely before cleaning. Most of the ash will fall out on its own. For any stubborn residue, a stiff brush can help. Store it in a dry place to prevent rust.
Can weather affect how quickly my charcoal lights?
Absolutely. Wind can make your charcoal burn hotter and faster, while cold or damp conditions can slow down the lighting process. In windy conditions, use a sheltered spot. On cold days, allow a few extra minutes for the coals to fully ignite.
