
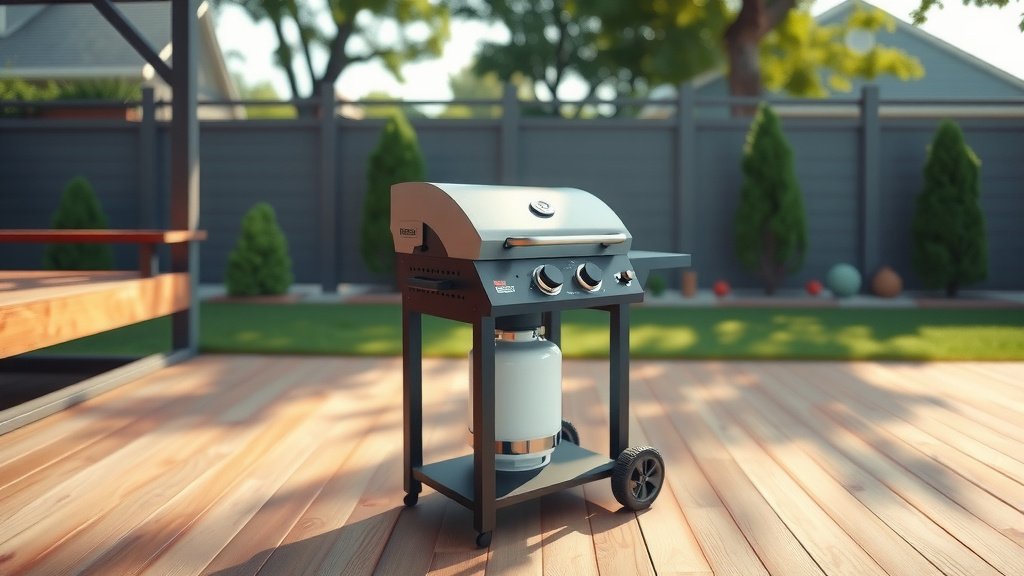
To ignite a propane grill, first ensure your propane tank is securely connected, and its valve is fully open.
Next, turn one burner control knob to the “light” or “high” setting, then press or twist the igniter button immediately, listening for the distinctive whoosh of the propane grill igniting.
For a quick rundown on lighting your propane grill, here’s what you need to know:
- Always check your gas connections before starting your grill.
- Open the main propane tank valve slowly and completely.
- Turn on one burner to “high” or “light” and activate the igniter.
- If it doesn’t light, turn everything off, wait, and try again, or use a manual igniter.
- Safety is key; never light a grill if you suspect a gas leak.
How To Ignite A Propane Grill?
Igniting a propane grill involves a straightforward process of ensuring gas flow, activating a burner, and engaging the igniter. You’ll hear a clear ignition sound as the burner lights.
Gathering Your Ignition Essentials
Before you even think about lighting your grill, take a moment to gather your tools. You’ll need your propane tank, of course, and sometimes a long grill lighter or matches as a backup. Having these items ready saves you time and ensures a smooth start to your grilling experience.
Prioritizing Safety First, Always
Grilling is fun, but safety comes first. We found that checking for gas leaks is a simple yet crucial step before every use (Consumer Product Safety Commission). This prevents potentially dangerous situations. Never skip this check; it takes only a moment.
Quick Leak Check Tips
A quick leak check can really help keep your grilling safe. It’s an easy process that gives you peace of mind. Here’s a simple checklist:
- Turn off your grill and propane tank valve.
- Mix soapy water: dish soap and water in a spray bottle.
- Spray connections: Focus on where the hose meets the tank and grill.
- Watch for bubbles: If you see bubbles, you have a leak.
- Tighten connections: Gently tighten, re-spray, and check again.
- If leaks persist: Do not use the grill; consult a professional.
Step-By-Step Propane Grill Ignition
Now, let’s get down to the actual lighting process. It’s a series of simple steps designed for efficiency and safety. Follow along, and you’ll have those flames dancing in no time.
Connecting Your Propane Tank Securely
Your propane tank needs to be connected tightly to the grill’s gas line. Most connections are hand-tightened, clockwise. Make sure it’s snug, but don’t overtighten it; you don’t want to damage the seal. A secure connection is vital for safe operation.
Opening The Propane Valve
Once connected, slowly turn the valve on top of the propane tank counter-clockwise until it’s fully open. You’re now allowing gas to flow towards the grill’s burners. Opening it slowly helps regulate the pressure and prevents issues (Propane Education & Research Council).
Initiating The Burner
This is where the magic happens! With the tank valve open, it’s time to send propane to a burner and spark it. Remember, only turn on one burner at a time during ignition. This helps focus the gas for a quicker light.
Using The Push-Button Igniter
For grills with a push-button igniter, turn one burner knob to the “high” or “light” setting. Then, immediately press and hold the igniter button. You should hear a clicking sound and see the burner light up. If it doesn’t light after a few clicks, release the knob, wait a moment, and try again.
The Rotary Igniter Method
If your grill uses a rotary igniter, it’s a similar process. Turn one burner knob to “high” or “light.” Then, twist the igniter knob rapidly to generate a spark. You’ll hear a series of clicks followed by the burner igniting. It’s like turning a old-school gas stove knob.
What If It Doesn’t Light? Troubleshooting Common Issues
Sometimes, despite your best efforts, the grill just won’t light. Don’t worry, this is often a simple fix. We found that many ignition problems relate to low gas flow or a weak igniter (BBQ Guys research). First, turn off all burners and the tank valve. Wait five minutes for any gas to dissipate. Then, slowly reopen the tank valve fully, then try lighting one burner again.
Manual Ignition as a Backup
If the electronic igniter still fails, you have a manual option. Many experts say to always have a long lighter or a long match handy. With the lid open, turn one burner knob to “high” or “light.” Then, carefully insert the lighter through the grates to the burner port and ignite it. Once one burner is lit, the others can usually be lit by turning their knobs on.
Mastering Your Grill For The Perfect Cookout
Getting your grill lit is just the first step towards culinary greatness. Understanding how to manage your grill afterward helps ensure delicious results every time. It’s all about control and preparation.
The Importance of Preheating
Once your grill is lit, close the lid and let it preheat. We found that preheating for 10-15 minutes helps achieve an even cooking temperature across the grates (Weber Grilling Guide). This also burns off any residue, giving you a clean cooking surface. Think of it like preheating your oven indoors.
Grill Maintenance for Easy Lighting
Regular maintenance can prevent many ignition headaches. Keep the burner tubes clear of debris and check the igniter electrode for corrosion. A clean grill is a happy grill, and a happy grill lights up easily, every time. Many guidelines point to clean components as a good first step for consistent performance (BTU Magazine).
When NOT To Light Your Grill
Knowing when to hold back is just as important as knowing how to light it. Here’s a quick guide to situations where you should definitely NOT try to light your propane grill:
| Situation | Reason Not To Light |
|---|---|
| Suspected Gas Leak | Risk of explosion or uncontrolled fire. |
| Broken Gas Lines/Hoses | Gas will escape, posing fire and health hazards. |
| Heavy Winds | Flames can blow out or become unpredictable. |
| Strong Odor of Propane | Indicates a significant gas leak; dangerous. |
| Missing Grill Grates | Direct exposure to flames; unsafe cooking. |
Conclusion
Igniting your propane grill doesn’t have to be a mystery. By following these clear, step-by-step instructions and always putting safety first, you’ll be grilling up a storm in no time. Remember to connect your tank securely, open the valve slowly, and then activate one burner before pressing the igniter. If it doesn’t light right away, a little troubleshooting or a manual lighter can get you back on track. Happy grilling!
Frequently Asked Questions
How do I know if my propane tank is empty?
You can check your propane tank’s level by pouring hot water down one side and feeling for a cool spot; the water cools where it meets liquid propane. Another way is to weigh it; most tanks have their empty (tare) weight stamped on the collar.
Can I use a propane grill in the rain?
While a light drizzle might be fine, it’s generally not recommended to grill in heavy rain or severe weather. Water can interfere with the burners, and electrical components might not be fully waterproof. Always prioritize your safety and the longevity of your grill.
Why does my grill sometimes make a “poof” sound when lighting?
A “poof” sound often happens when there’s a slight delay between the gas being released and the igniter sparking, allowing a small amount of gas to build up. It’s usually normal, but if it’s a loud bang, it could suggest a larger gas buildup or igniter issue. Ensure the lid is open before lighting.
How often should I clean my grill’s igniter?
Regular grill cleaning, including wiping down the igniter’s metal tip, can help it last longer and spark more reliably. We found that cleaning it a few times a season, especially before peak grilling times, helps maintain its function (Grill Manufacturer Guidelines).
Is it safe to leave the propane tank valve open when not grilling?
No, it’s a good practice to always close the propane tank valve when you’re finished grilling. This prevents potential leaks and reduces the risk of gas escaping if a hose or connection becomes loose over time. Always close it after cooling down.
