
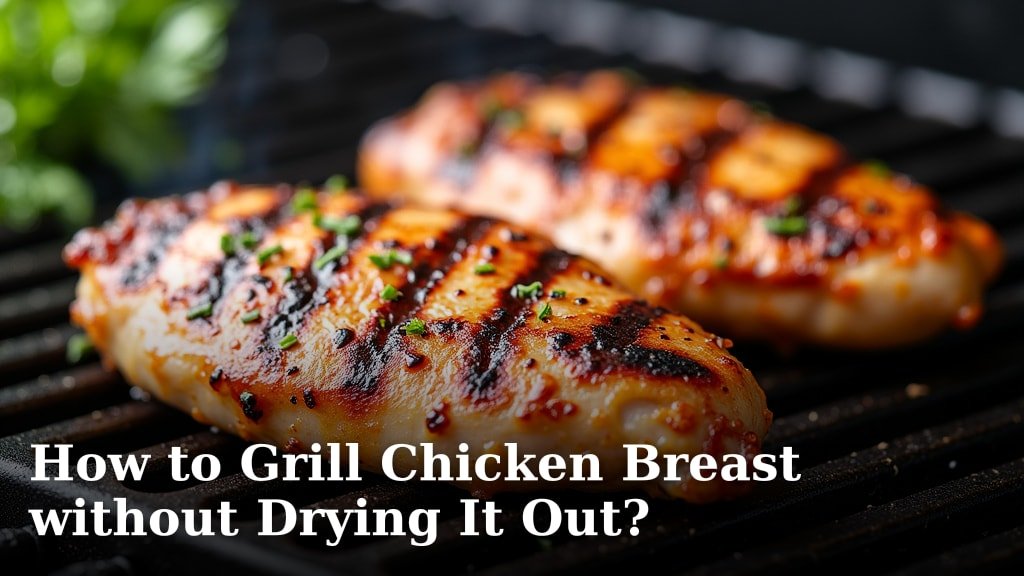
The easiest way to grill chicken breast without drying it out is to use a meat thermometer and cook it to exactly 165°F. You want to aim for high heat and quick cooking to keep the juices locked inside. This method ensures your chicken stays tender and delicious.
Many home cooks struggle to keep chicken breast moist on the grill. We understand it’s a common challenge. You want that perfect char, but not a dry, chewy result. Proper preparation, including a good marinade or brine, also plays a big role in moisture retention. We found that cooking boneless, skinless chicken breast requires a little care but delivers amazing flavor.
- Cook to 165°F internal temperature.
- Use a meat thermometer.
- Marinate or brine your chicken.
- Grill over medium-high heat.
- Let the chicken rest after cooking.
Ready to master your grill? Let’s walk through exactly how to achieve perfectly juicy grilled chicken breast, step by step.
Mastering Moist Grilled Chicken Breast
You want that beautiful char without turning your chicken into shoe leather, right? We get it. Achieving a perfectly juicy grilled chicken breast is all about respecting the heat and understanding the chicken.
Many home cooks struggle to keep their chicken moist. It’s a common challenge. But with a few simple techniques, you will soon be grilling like a pro. Let’s break down the process into easy-to-follow steps.
Prepare Your Chicken for Grilling
Prepping your chicken properly is the first step toward juicy results. This isn’t just about seasoning. It’s about creating a moisture barrier and ensuring even cooking.
Skipping this step can lead to dry, bland chicken. We found that a little effort here makes a huge difference in the final outcome.
Pound for Even Thickness
Have you ever noticed some parts of your chicken breast cook faster than others? This is because chicken breasts are often thicker on one end. Uneven thickness leads to uneven cooking.
To fix this, place each chicken breast between two pieces of plastic wrap. Gently pound the thicker parts with a meat mallet or a heavy pan. Aim for an even thickness of about 3/4 to 1 inch. This helps the chicken cook uniformly, preventing thinner parts from drying out while thicker parts finish.
Marinate or Brine for Flavor and Moisture
This is where a lot of the magic happens! Marinating or brining your chicken breast adds both flavor and, crucially, helps it retain moisture. Think of it as giving your chicken a moisture bath before its hot date with the grill.
A good marinade typically contains an acid (like citrus juice or vinegar), oil, and seasonings. The acid helps to tenderize the meat, and the oil adds flavor and helps with browning. On the other hand, a brine is a solution of salt and water. Many experts say that brining actually changes the protein structure, allowing it to hold onto more water (USDA).
We found that even a 30-minute marinade can make a noticeable difference. For best results, aim for at least 2 hours, or even overnight if time allows. Just be careful not to marinate for too long if your marinade contains strong acids; this can actually make the chicken tough.
Set Up Your Grill for Success
The grill itself is a key player. Setting it up correctly ensures you get that perfect sear and even cooking. It’s more than just turning it on.
You need to think about heat zones. This strategy allows you to cook efficiently and avoid burning your chicken.
Clean Grill Grates
Always start with clean grill grates. Bits of old food stuck to the grates can cause your chicken to stick. This can tear the chicken, releasing precious juices.
Preheat your grill, then use a stiff wire brush to scrape off any residue. Once clean, lightly oil the grates with a high smoke point oil, like grapeseed or canola, just before adding the chicken.
Preheat to the Right Temperature
This is critical. You want a hot grill. We found that medium-high heat is ideal for chicken breast. This typically means about 400-450°F (200-230°C).
Preheating allows the grill to reach a stable temperature. It also helps create a good sear, which locks in flavor and moisture. Don’t rush this step. Give your grill at least 10-15 minutes to fully preheat.
Create Two Heat Zones
For more control, especially with thicker cuts, consider creating two heat zones. This means having a direct heat zone (hotter) and an indirect heat zone (cooler).
On a gas grill, you can achieve this by turning one or two burners to high and leaving others off or on low. On a charcoal grill, push the coals to one side. You’ll sear your chicken over direct heat, then move it to indirect heat to finish cooking without burning.
The Art of Grilling Chicken Breast
Now comes the fun part: cooking! But don’t just throw it on and hope for the best. There’s a technique to achieving grill marks and juicy results.
Your goal is high heat for a short burst, then controlled cooking. Remember, speed and temperature control are your allies here.
Sear and Flip Strategically
Place your prepared chicken breasts over the direct, medium-high heat. Listen for that satisfying sizzle! This is the sound of flavor development.
Cook for about 2-3 minutes per side to get those beautiful grill marks and a good sear. Only flip once you see a nice crust has formed. Resist the urge to press down on the chicken; this only squeezes out juices.
The Internal Temperature Is Key
This is the most important takeaway for juicy chicken: cook to temperature, not to time. Time is just a guide.
The U.S. Department of Agriculture (USDA) states that all poultry should be cooked to an internal temperature of 165°F (74°C) to be safe to eat. To measure this, insert an instant-read meat thermometer into the thickest part of the chicken, avoiding any bones.
We found that pulling the chicken off the grill when it reaches 160-162°F (71-72°C) is perfect. Why? Because of carryover cooking. The chicken will continue to cook for a few minutes after it’s removed from the heat, reaching that safe 165°F.
Rest Your Chicken
This step is often overlooked, but it’s incredibly important. Once your chicken reaches the target temperature, remove it from the grill and place it on a clean cutting board or plate.
Cover it loosely with foil and let it rest for at least 5-10 minutes. As the chicken rests, the juices, which have been forced to the center by the heat, redistribute throughout the meat. Cutting it too soon will cause all those delicious juices to run out onto your board, leaving you with dry chicken.
troubleshoot Common Grilling Mistakes
Even with good intentions, things can go awry. Don’t worry, it happens to everyone. Let’s look at some common pitfalls and how to avoid them.
Understanding these mistakes will help you correct them quickly. You’ll be back on track to grilling perfectly moist chicken.
| Mistake | Impact on Chicken | Solution |
|---|---|---|
| Not pounding chicken | Uneven cooking, dry spots | Pound to even 3/4-1 inch thickness |
| Not preheating grill | No sear, sticking, pale chicken | Preheat to 400-450°F (10-15 mins) |
| Overcooking by time | Guaranteed dry, tough texture | Always use a meat thermometer (160-162°F off grill) |
| Cutting immediately | Juices escape, chicken dries out | Rest chicken for 5-10 minutes |
| Flipping too often | Prevents good sear, extends cook time | Flip only once per side for sear, then once more to finish if needed |
Your Juicy Grilled Chicken Breast Checklist
Before you fire up the grill, quickly run through this checklist. It’s a handy reminder of the key steps for success. We’ve gathered everything you need to remember.
By following these points, you’ll be on your way to perfectly moist and flavorful chicken every time. It’s like a mini recipe for success!
- Pound chicken breasts to an even thickness.
- Marinate or brine for at least 30 minutes.
- Preheat grill to medium-high (400-450°F).
- Clean and lightly oil grill grates.
- Grill 2-3 minutes per side for sear.
- Cook to 160-162°F internal temperature.
- Rest chicken for 5-10 minutes after grilling.
You’ll quickly see that grilling chicken breast to perfection isn’t as intimidating as it might seem. It just requires attention to a few key details. With practice, you’ll be serving up delicious, moist chicken that will impress everyone at your next barbecue. Isn’t that the goal?
Conclusion
Grilling juicy chicken breast is absolutely within your reach. By understanding the core principles like even thickness, proper marinating, and precise temperature control, you can consistently achieve tender, flavorful results. Remember that an instant-read thermometer is your best friend against dry chicken. We’ve shown you every step to prevent common mistakes.
Don’t let past experiences with dry chicken deter you. Put these techniques into practice. Fire up your grill with confidence this weekend and enjoy perfectly moist grilled chicken that will keep everyone coming back for more!
Frequently Asked Questions
What’s the best way to tenderize chicken breast before grilling?
Pounding the chicken to an even thickness is key for tender results, as it promotes uniform cooking. Additionally, marinating with acidic ingredients like citrus juice or vinegar helps break down muscle fibers, further tenderizing the meat over time.
Can I grill frozen chicken breast?
No, you should never grill chicken breast from frozen. Thaw it completely in the refrigerator beforehand. Grilling frozen chicken can lead to uneven cooking, potentially making the exterior overcooked and dry while the interior remains undercooked and unsafe.
How can I add extra flavor to my grilled chicken breast?
Beyond marinades, consider using a dry rub applied an hour or two before grilling for a flavorful crust. You can also baste the chicken with a sauce during the last few minutes of cooking, or finish it with fresh herbs and a squeeze of lemon after it rests.
How do I know my grill is at the right temperature?
For gas grills, rely on the built-in thermometer, aiming for 400-450°F. For charcoal grills, use a grill thermometer or the hand test: you should only be able to hold your hand about 5 inches above the grates for 3-4 seconds for medium-high heat.
My chicken breast always sticks to the grill. What am I doing wrong?
Sticking is often caused by dirty grates or not oiling them properly. Make sure your grates are clean (brush after preheating) and lightly oiled just before placing the chicken. Also, ensure the grill is hot enough before you put the chicken on, so it sears quickly and releases easily.
